
Creating a scrapbook layout can be fun, especially when you try different ways to organize your page. In this article, we’re diving into the "split page" approach. It’s a simple yet effective style where you use something like a ribbon, a line of stitches, or a color strip to split your page into two separate halves. This not only makes your layout look neat but also lets you play around with different content on each side. This method is great for adding a unique touch to your projects.
Let’s check out some cool examples and get some tips on how to do it.
The obvious ribbon
Since ribbons are most often straight, they are ideal elements to use to split a page in half.
Even if your ribbon is not perfectly straight, it can serve the same purpose as in this layout. Both halves of the page use the same color palette and the two photos on the right balance the two elements on the other side.

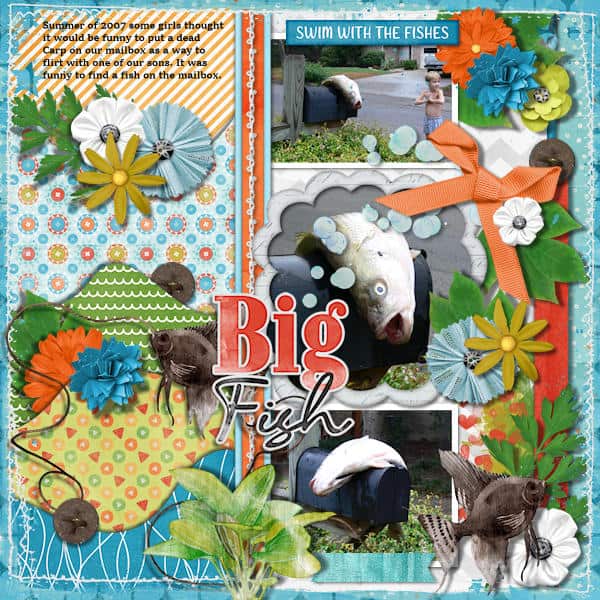
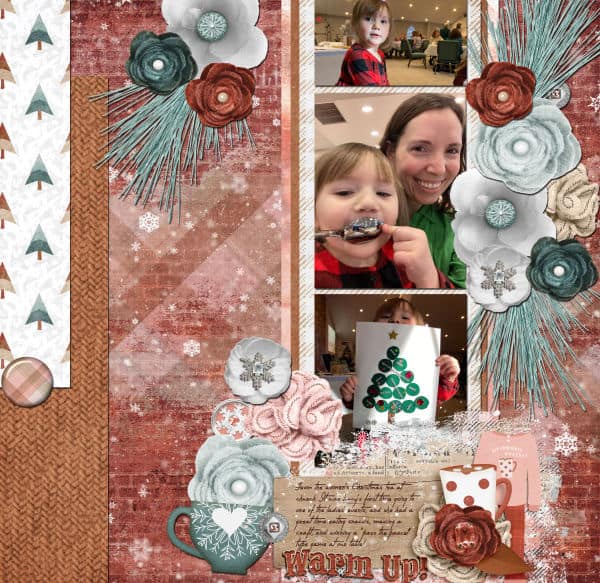
Even when the page is split in half, it does not mean that the central area is off limit. In fact, you can even use it as a way to bridge both sides. In this layout, one half is filled with one large photo, while the other side showcases some decorative elements. The small photo then bridges those sides by overlapping that deviding ribbon.
Ribbon combos
Of course, you don't have to limit yourself to a single ribbon. You can have a ribbon with stitchings. That is a great way to add texture to an otherwise boring flat ribbon.
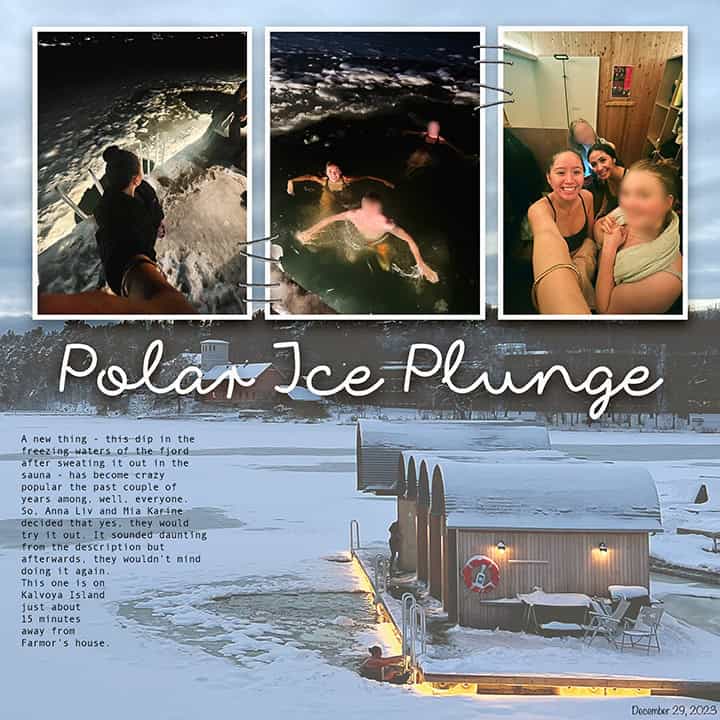
In this next layout, the designer filled the two halves with different content: one half has the photo and the other tells the story. Notice that the title is the overlaping element.
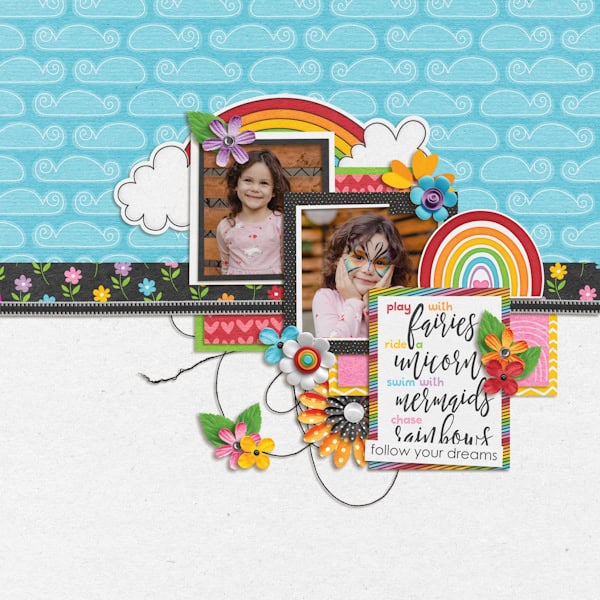
This time, two ribbons serve as a single divider. You can combine as many as you want for unique effect. Here, instead of mirroring the content on both halves, the divide becomes the central point where all the elements gather. Everything touches that divider.
Series of elements
Although ribbons are common dividers for split pages, you can also use a series of elements.
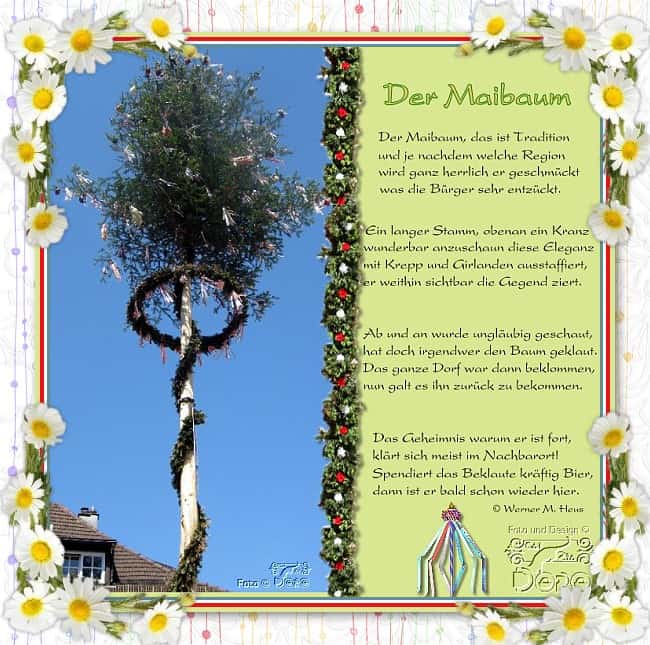
In this layout, the vertical divide is made of flowers and greenery. Both halves are well delimited and showcase completely different content: the photo and the story.
If you are using PaintShop Pro, you can use many of the picture tubes available to create your own divider.
Strips of paper
Papers are colorful and readily available in scrapbook kits. It is easy to create strips of various thickness and combine them as a divider for your split page.
Although papers can be cut in strips, you can also layer them in a way that will create a visual line.
Decorative cutout
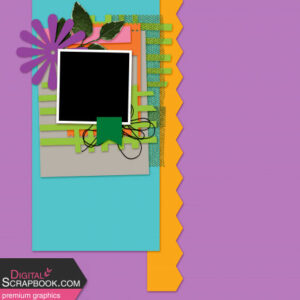
Who said that a divider has to be completely straight? Whether you use a template or do everything from scratch, you can cut out some papers with pinked or scalloped edges. You can use any type of cutout to create your divider.

Some other edges
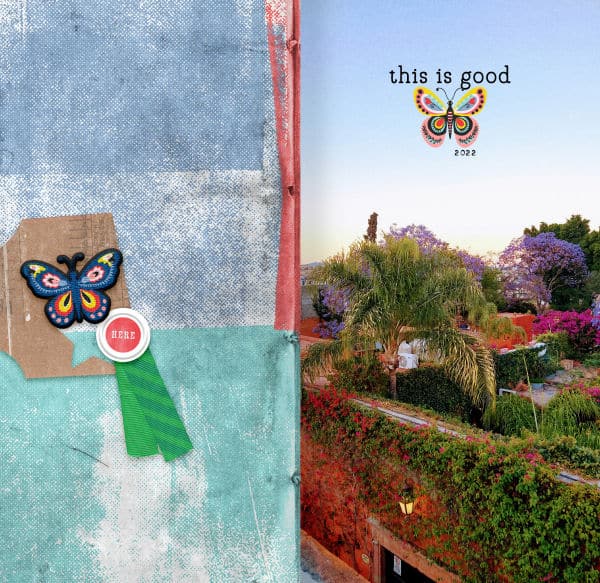
Depending on the supplies you have, you can use the natural edge of a paper to serve as a divider for your page. Here is an example where the edge of a paper has a different color so it can even look like a separate divider. And again, the two halvesbalance each other.
Using text
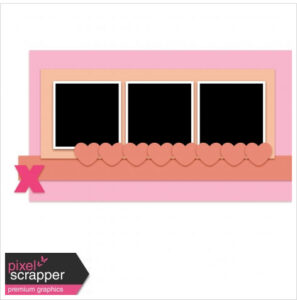
If you have a title, you can place it right in the center and use it as a divider for your page. This is exactly what Linda did with her layout. The top half has individual photos, while the bottom one showcase one larger photo. Notice that the large photo actually covers the whole page, but the top was likely uninteresting, so only the bottom is actually showcased.
How about diagonal?
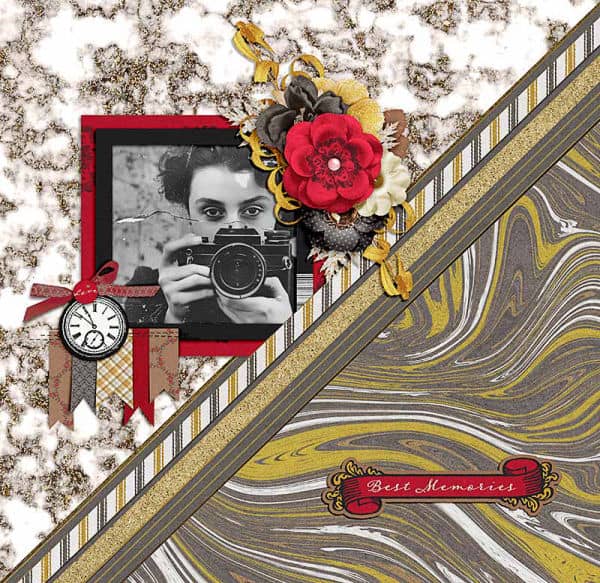
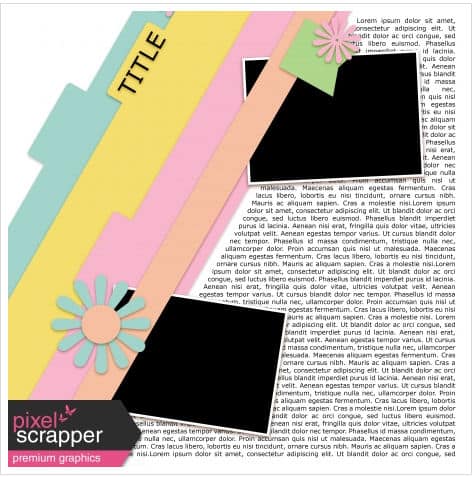
Although we will typically think of horizontal or vertical split, adding a diagonal one will add a level of interest. In this example, one halfincludes most of the content, while the other half balances with a busy background and a single element.
Other ideas for inspiration
If you are not sure how to split your next scrapbook project, you can check out templates and sketches. Here are a few ideas for you. Click on the preview to reach the link to download them.
Now it is time to create a split layout. What will you use as a divider? A ribbon? A lace? A title? And how will you balance the content on both sides of the split? Show us your next layout.


2 thoughts on “Using a split page in scrapbook layouts”
Michele I did the same and I’m wondering too, but at some point they will come in handy!
I downloaded them all. Now let’s see if I ever get to use them!