
In building a scrapbook page, there are multiple ways to arrange and layer the various components. Sometimes, you might feel stuck in front of a blank canvas. Let's look at a fresh approach in scrapbooking where we feature our photos "on the table". This method involves placing photos and elements on a horizontal base—like a ribbon, a strip of paper, or a line of text—that acts as a table. Simple yet effective, this technique helps organize your page visually, guiding the viewer’s eye and adding a layer of storytelling. Perfect for both beginners and experienced scrapbookers, let's dive into how these horizontal elements can enhance your scrapbook layouts.
Let's have a look at some examples of this approach.
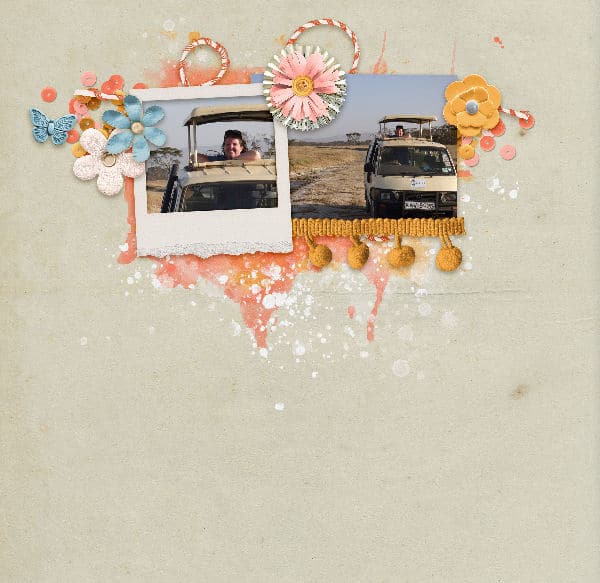
Using a ribbon
As straight horizontal elements, ribbons are easy to use to anchor our photos. We can use simple ribbons, lace ribbons, opaque ribbons, translucent ribbons. In this example, one photo is "resting" just on the pompom ribbon.
Although we would like a flat "table", it is also possible to use some ribbons that are not perfectly straight, yet give an overall visual horizontal line. This is an example, using a ricrac ribbon.

Even a folded ribbon can still serve as a horizontal table to showcase photos.
Of course, instead of a ribbon, you can use a lace.
Using paper strips
Papers are very easy to cut and trim in strips so they are easy to use as an anchor for your photos. You can use simple strips but also some cutout strips. Those would be then appear like lacy elements.
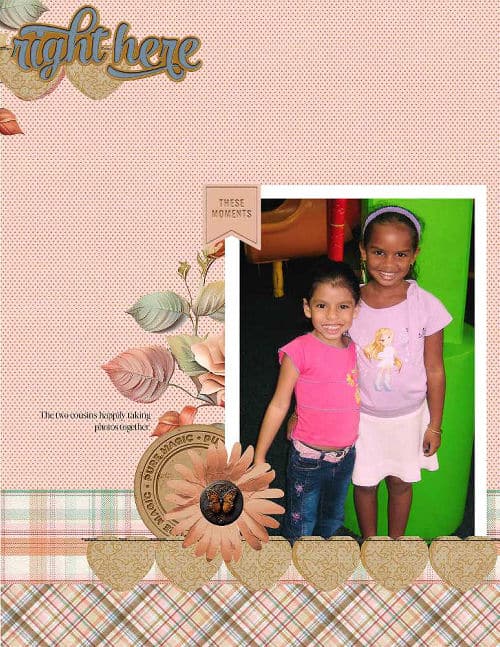
You can also combine and layer several strips of papers to create a cluster as a table. Yet, as long as it is still horizontal, you have a table to place your photos.

If you feel a little more ambitious, you can combine different types of paper strips to create a sort of cluster under your photos.
Strung or stitched elements
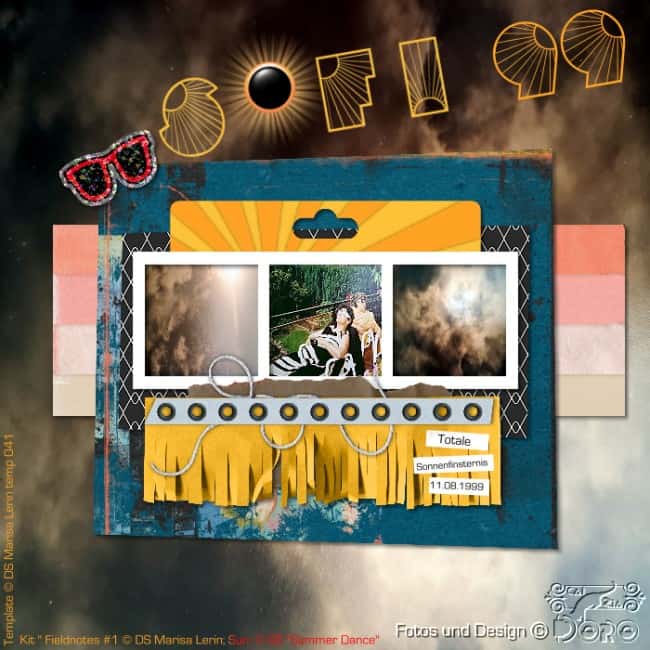
You can find some stitching at the bottom of some photos but on their own, stitches don't look very sturdy to anchor them. However, if different elements are stitched together, that adds weight to the table.
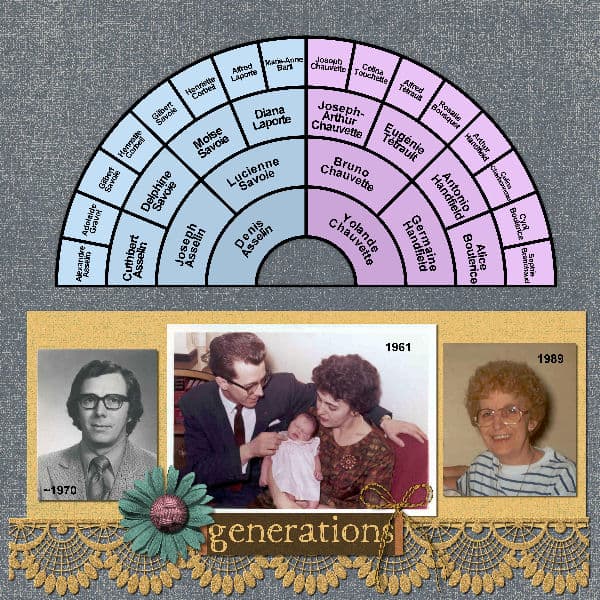
Using text and titles
A horizontal element does not have to be paper or ribbons. You can also use other elements that will replicate the same overall shape of a table to anchor your photo. You can use a title. It can be perfectly horizontal, or slightly uneven, but as long as it looks like a general horizontal element, it serves its purpose.

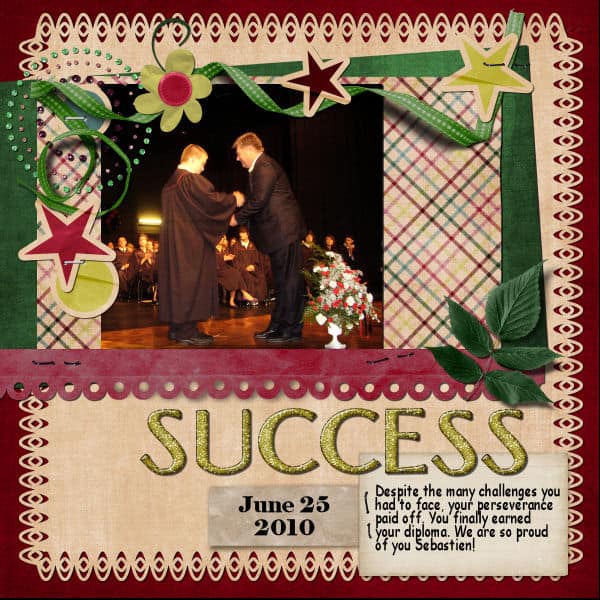
A date or a phrase could also serve as a table for your photos.

If one line of text is not enough, you could use a whole block of journaling as your anchor.
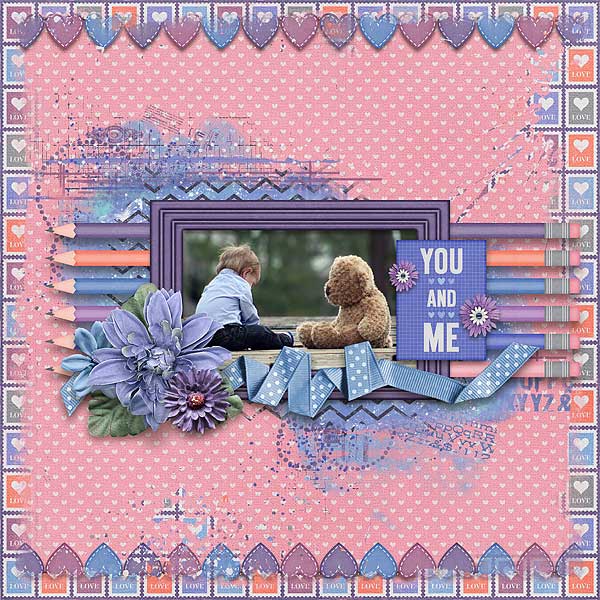
Clusters
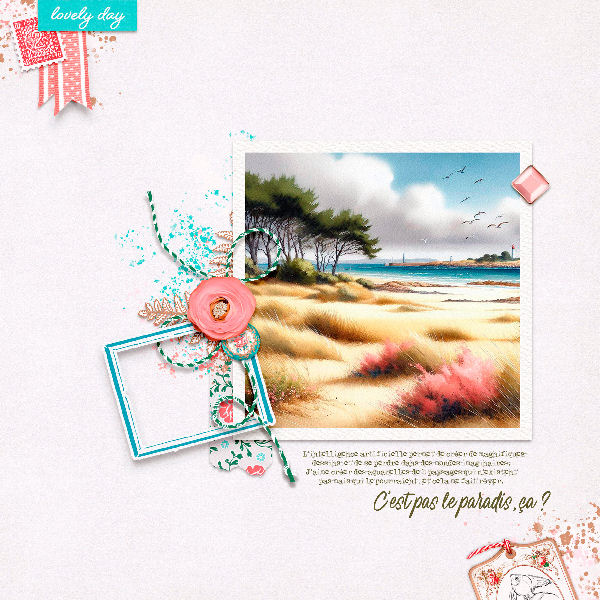
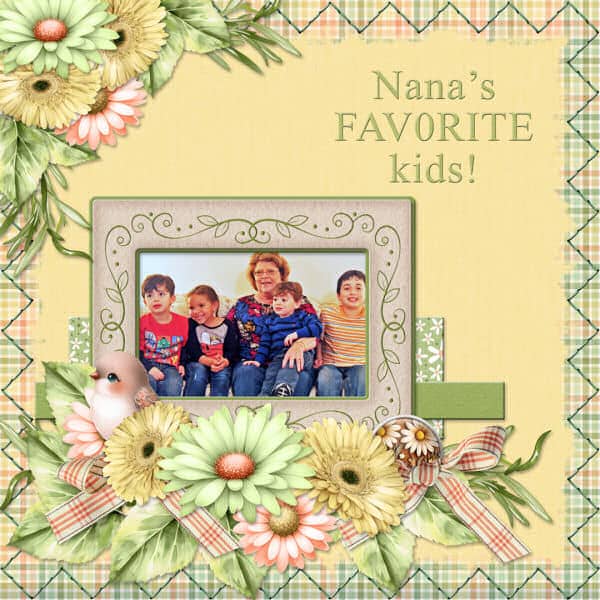
Instead of a single element, ribbons or papers, you can use multiple elements organized in a cluster. Those clusters could be a series of flowers, tags, buttons, etc. Here is an example where a cluster of flowers can serve as a table for the photo.
Other ideas for inspiration
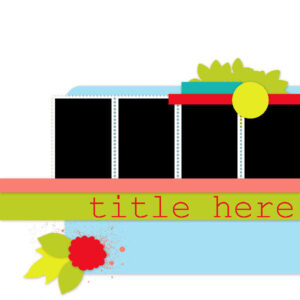
If you are not sure how to build your own "table" for your next scrapbook project, you can check out templates and sketches. Some of them will also use a horizontal element to anchor photos. Here are a few ideas for you. Click on the preview to reach the link to download them.


Now it is time to try to place your photos all "on the table". What will your table look like? A ribbon? A paper? A lace? A title? A journaling block? Or can you think of something else you could use as a table? Show us your next layout.


1 thought on “Using a table in scrapbook layouts”
Interesting. I never thought about a layout this way. I like that the “table” gives you a starting point for designing.