

Whatever you do to set up a photo, if someone wears glasses, you will often capture some glare. That is just to be expected. Whenever you have lights (natural or artificial) and anything reflective, you will see something appear. If it is on someone's face, you want to see their eyes better. Can you do it with PaintShop Pro? Of course!
Not all images are the same
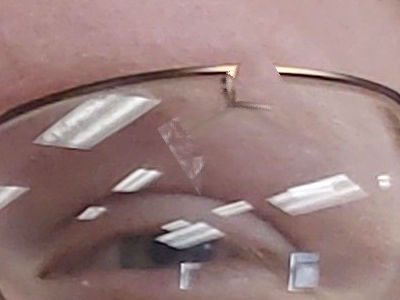
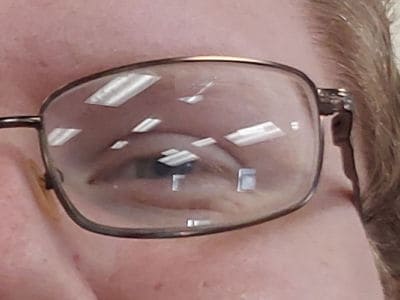
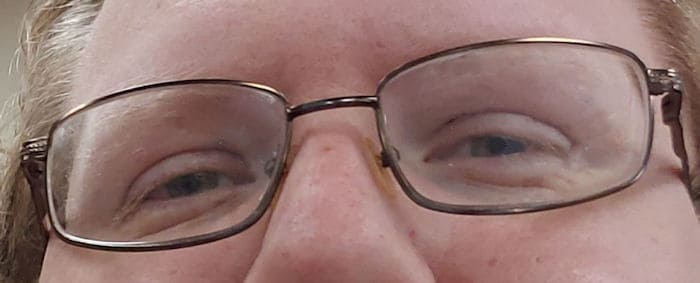
You can remove most of the glare on glasses, but beware that for some photos, it is much more difficult. Depending on the type of reflection that appears on the glasses, you can use a variety of approaches and tools. Also, make sure you work on a version of the image that is as large as possible. Let's give it a try. Here is a photo used with permission that we will correct.

As you can see, there are lots of small reflections on the glasses to remove.
Using the Scratch Remover tool
Although the name includes "scratch", you can use it to remove anything that is somewhat long and thin. You can find the Scratch Remove tool in the Toolbar, usually hidden in the dropdown list under the Clone tool.

Once you activate the tool, you will see a couple of options appear. The most important one is the Width.
![]()
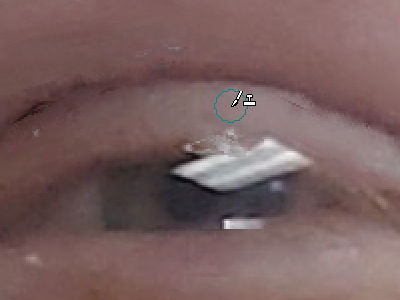
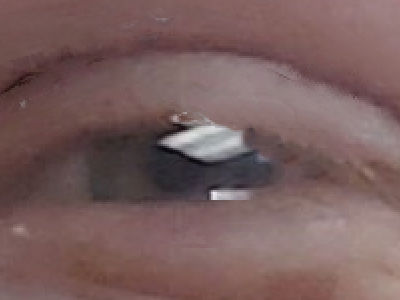
On my picture, I clicked on one end of the "scratch" area I wanted to remove and dragged the cursor to the other end of that line. That process creates three rectangles: the central section (the red arrow) is what you want to fix, and the side sections (the yellow arrows) are the sections that will be used to fill in the middle section.
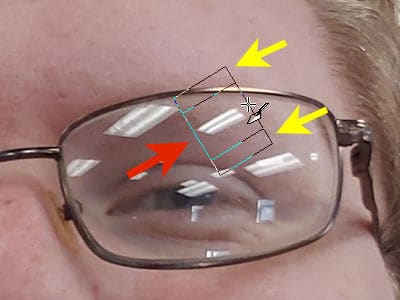
As you can see, the top section overlaps the frame of the glasses, so it will include some of that gold in the fill to give this result:
Although it did remove the glare in that location, the result is not what you want. Let's undo this and change the Width value to 70 so the edges won't touch the frame.
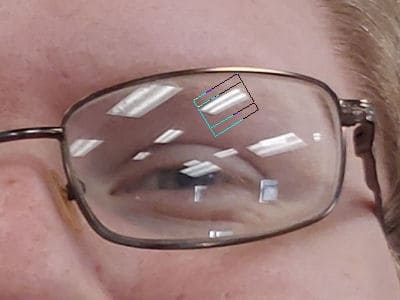
This is what we get with that Width.
It is not bad, but you can see some lines going across the eyebrows. One tip that I found is that if the source used by PaintShop Pro has a sort of direction (like textures or color changes), it is better to angle the rectangle along that direction instead of the direction of "scratch" itself. For this example, the eyebrow is more horizontal than the light reflection so I can place the scratch removal tool area this way.

And the result will be like this:
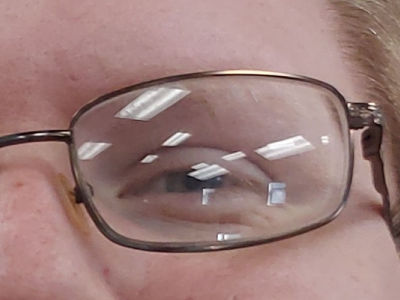
Although it is not perfect, I can repeat the process a few times to remove the whole reflection for that spot.
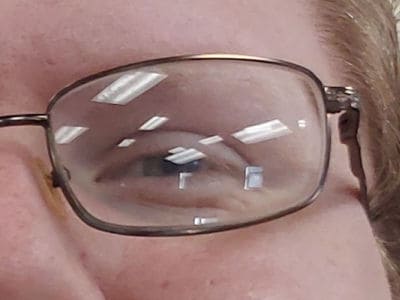
And if I continue with this technique on all the other areas, I can get something pretty decent.
But it still has some areas where the Scratch Remover tool would not work well.
Using the Clone tool
As you can see, there is a line over the pupil, and the Scratch Remover tool would just blend all the colors around it. We will need to do some careful cloning. The Clone tool is in the same dropdown as the Scratch Remover tool.
To use this tool, you will select a source area by right-clicking on a section that would closely match the area you need to fix. This area will then appear with an X while you clone. That lets you see where you are getting the colors from. You can choose an area that does not include obvious lines that you would not want in the target section.
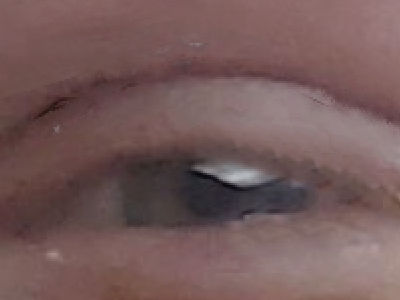
On the other hand, you might want to find a section that has a similar shading or color gradient as the target area. For example, the eyelid goes from light to dark on the edge. I could use the right side of the reflection, close to the eyelid, and clone it on top of the reflection.
You can reset the source multiple times to follow the curve of the eyelid.
Repeat the same process for the pupil, using a small Size (since you don't have much space to source from).
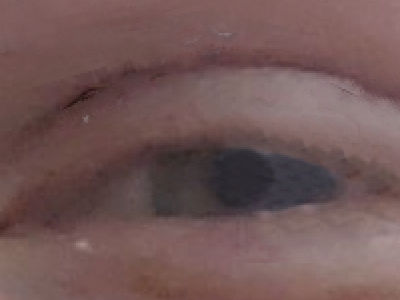
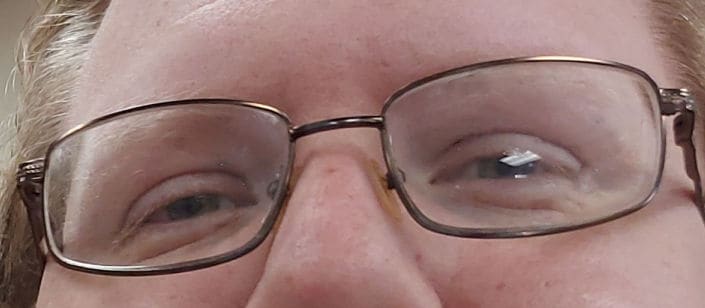
And now, you can see both glasses fixed.
Final touches
If your cloning showed a bit of artifact or extra lines that should not have been there, you can always go back to the Scratch Remover and fix those spots. Of course, you also have to remember that, as long as you are working on a large image, the fine details might not show as much in the final project.
Here is the photo, once all those reflections are removed. It does look much better, doesn't it?

If you want a bit more information about the Clone tool, you can check this article with four useful tips.


6 thoughts on “How to remove glare on glasses”
Very usefull tutorial, thank you!
Very good to know because my husband, son, daughter in law and myself wear glasses as well as most of our friends!
This “trick” will be SO handy. I am certain I’ll use quite often once I get the hang of it!! Thanks!
In the “Using the Clone Tool” instructions, it starts with “As you can see, there is a lover the pupil, ” and I don’t know what this means…
Great catch. I fixed it! Thanks.
GREAT tutorial! My husband and I both wear glasses and this will come in super handy!