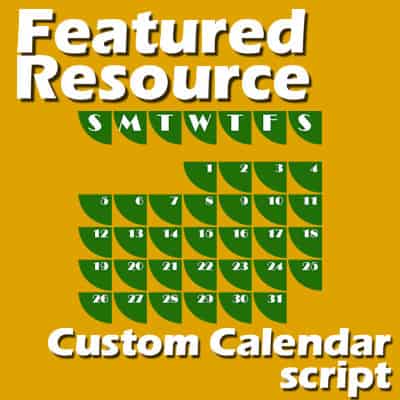
If you like the idea of creating a custom calendar for yourself or as a gift, you might want to make something less boring than the traditional format for dates. You can often see ordinary dates on their own, or with simple boxes. Customizing that format and repeating it for every month is very time-consuming. That is where a script will be a great tool for you.
The Custom Calendar script
This script is available in the Creation Cassel store, here. The script will create a sort of perpetual calendar so you can use it to generate the dates for any month of any year. You have to know when the month starts (on which day) as that is not a function of the script itself.
As its name implies, you can create a calendar with a ton of options. Let's see how the script runs.
Step 1 - Choose the format and the base
Right from the start, you get three options for the format. You can get square boxes, rectangular horizontal, and rectangular vertical. Each box will have the same design that you will create from the blank image you will get. Let's assume we start with the option for square boxes (option #1). As soon as you choose the option, the script will create that blank image for you and will stop, asking you to create the design you want to see repeated. I will simply fill that box with a rounded square using a light color.
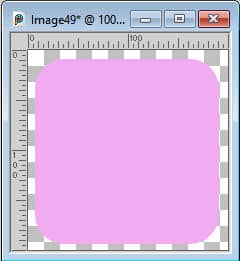
Once that is done, run the script again for the next step
Step 2 - Choose the font and color for the text
Since you have designed the basic box, the script will repeat it on a large image that will include lots of columns. This is because the script will let you decide if the first of the month will be on what day of the week.
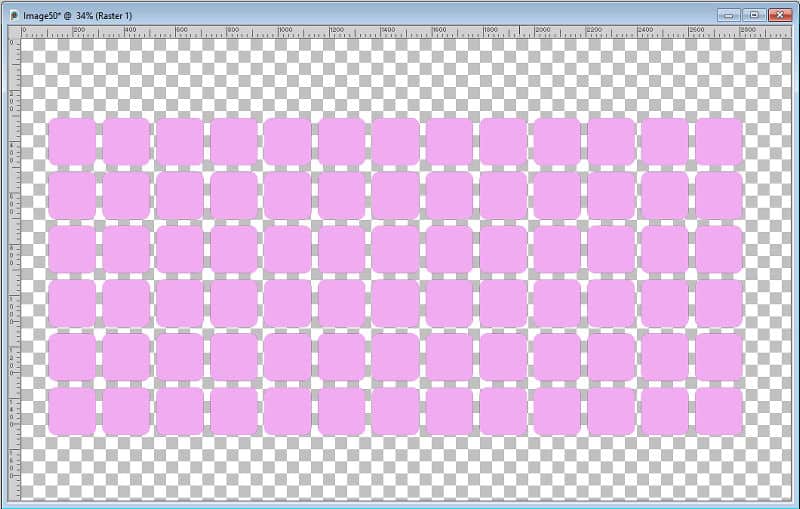
Then, the script will stop, and prompt you to select the font to use for the dates.
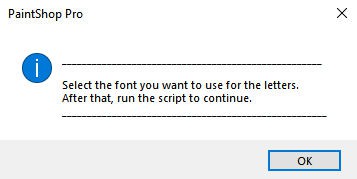
Choose the font you want, and run the script again. Don't worry about all the other settings for the Text tool as the script will ignore them all.
Step 3 - Choose when the month starts
Once you run the script for the third step, it will ask you to choose the color. Select any font you want. You can choose a fat font, a thin one, or an ornate font. Whatever you choose, the script will add all the dates on those boxes. In addition, it will place guides and a reddish selection.
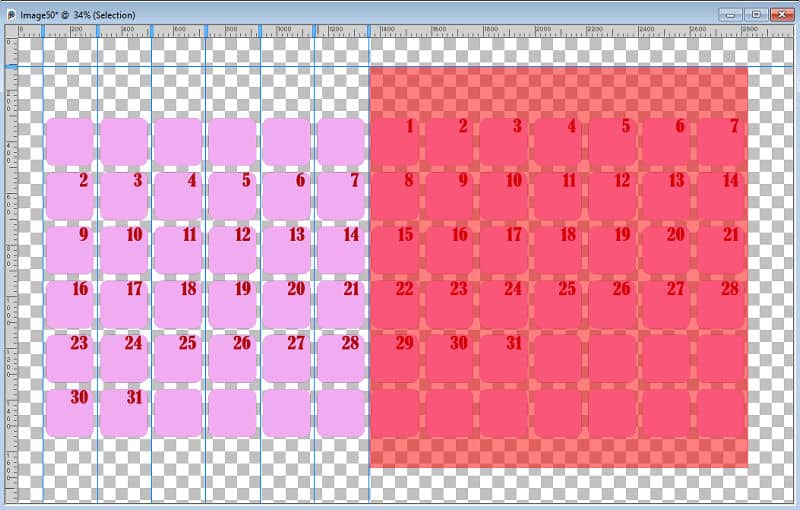
That selection is covering all the weeks and seven days wide. You can move the selection with the Move tool and you can use the guides to snap to the correct edge. That is where you choose whether the first of the month will be on the first column (which could be Sunday or Monday, depending on your preference). Wherever you move that selection, you will always have 7 days and the dates will appear continuous.
Once you have moved the selection in the position for the particular month, run the script again.
Step 4 - Choose the days of the week
The script will then take that "month" and copy and paste it onto a separate image and it will give you three options for the days of the week: using initials only, using full names, or using an abbreviated form. Whichever you choose, the script will adjust the size of the text (larger for initials and smaller for whole words). You will then be prompted to enter the text for those days. This gives you the option to start the week on a Sunday or a Monday (or any other day if you want), and also write those days in the language of your choice.

Customize
All the layers are unmerged so you can use the Pick tool to tweak the placement of the date (if you want them at the bottom, or in the center of the boxes). You can also adjust the placement of the days of the week.
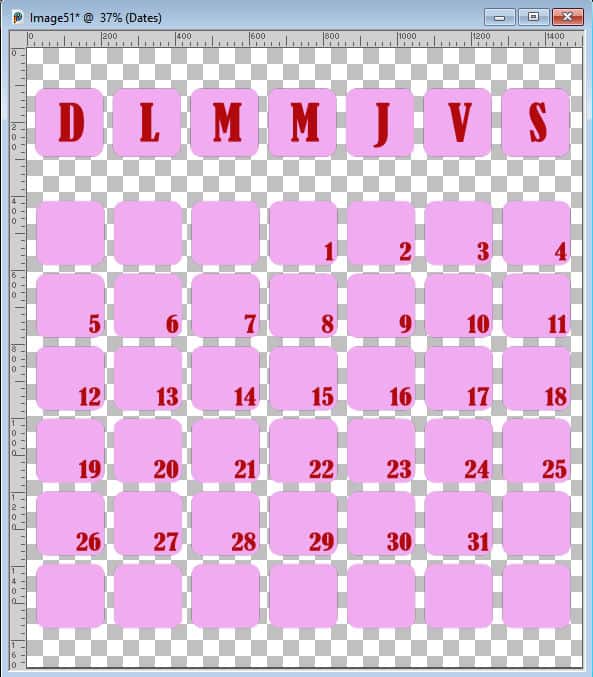
Since the layers are unmerged, you can choose to remove the boxes behind the days of the week. In addition, those layers are grouped so you can resize everything if you want, and you can also copy the whole group to paste onto your project. Keep the layers grouped or not. That is up to you.
Once you are "finished" with the script, you can still remove unnecessary boxes or dates. If you are creating a calendar for April, it has only 30 days so you can delete the 31. You can also remove all the unused boxes or leave them there.
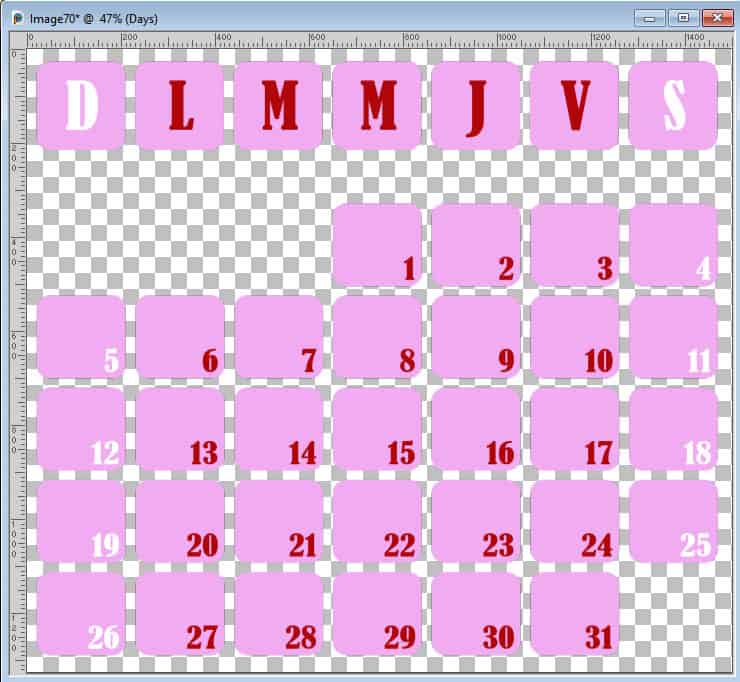
Although the dates are not editable, you can still change their color by painting over them using the locked transparency. For more details on this technique, check this article.
Do you need more months?
If you want to create more months with the same settings, you don't have to go through the whole script again. There is a little trick you can use. Go back to the large image with the Selection, and use the Undo command. That will "undo" the last step and bring back that pinkish area that you can now move to a different location. Then, run the script again to complete a separate calendar month.
Do you want more ideas?
You can create a wide variety of "boxes". Just about anything you can do in that starting image would work. You can be bold or subtle, choose traditional shapes and designs, or something more unique.
You can use only an outline for the boxes.
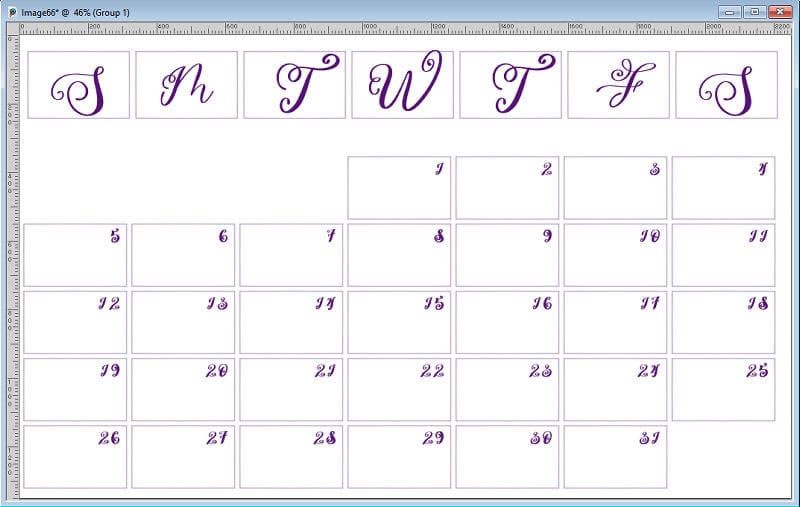
Even though you can use the whole area, you can also have some cutouts and use just part of the area.

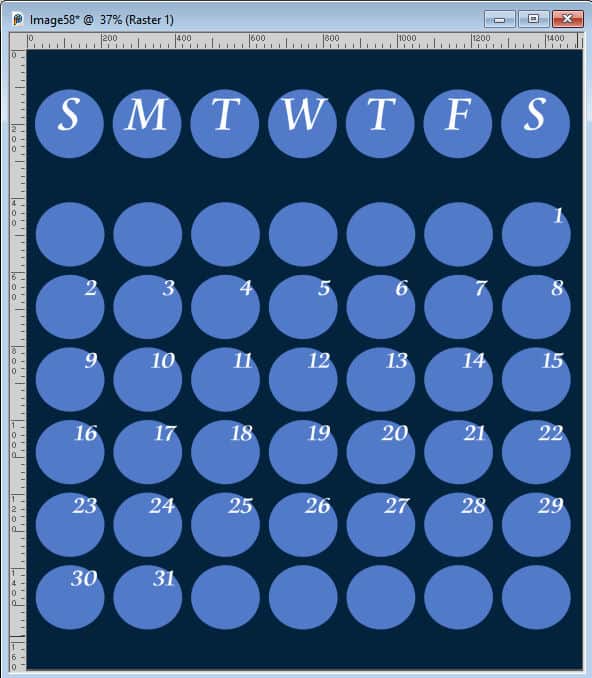
You can replace the traditional rectangle with another shape.
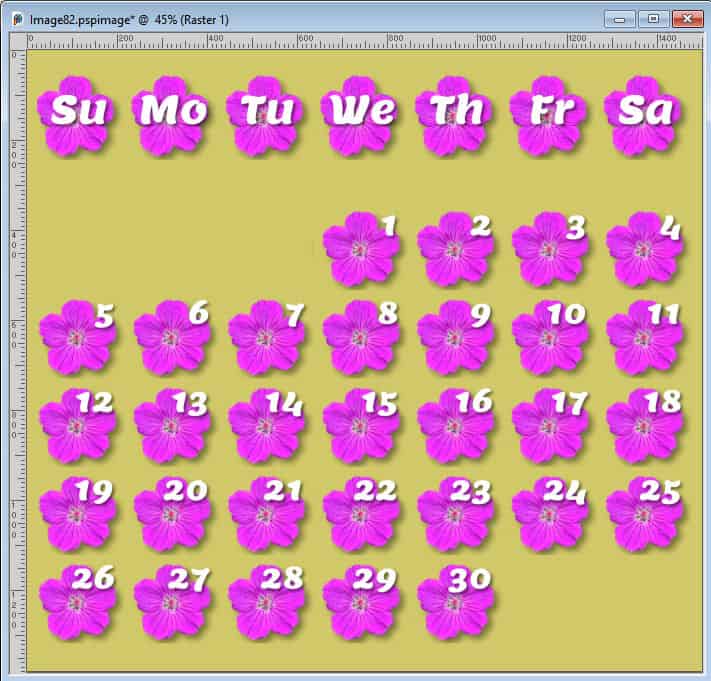
And you can even choose to have no outline at all and place a picture tube. Of course, that might not leave much room to put information in the boxes, but it still is an interesting look.
If you want this script, head over to the Creation Cassel store and grab your Custom Calendar script. If you have purchased this script in the past, grab an updated version that was uploaded in November 2023.
See this script in action:

