

For many versions, you were able to save various color swatches for later use. However, since version X6, you can create a color palette that will group individual swatches for easy reference. Let's see how you can create your own custom color palette.
Where to find the color palette?
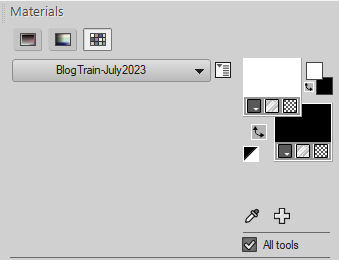
You will find the color palette In the Materials palette, under the swatches tab.
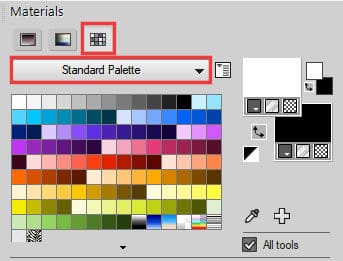
By default, you will see the Standard Palette, which includes all those color swatches. If you are using PSP2018 and more recent, you will also see some additional palettes in the drop-down list. The number of available palettes will depend on your version, and if you have imported the content from previous versions. In addition, you can add your own color palette to suit whatever project you are working on.
Creating your own palette
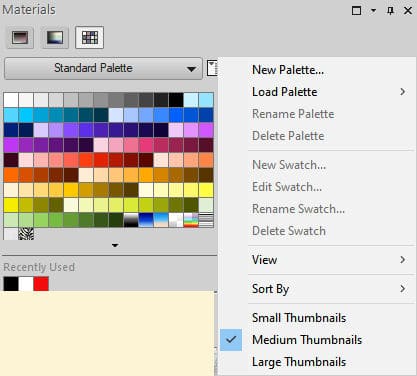
In the Materials palette, you can see the little icon beside the drop-down list of palettes. Click on it to access these options.
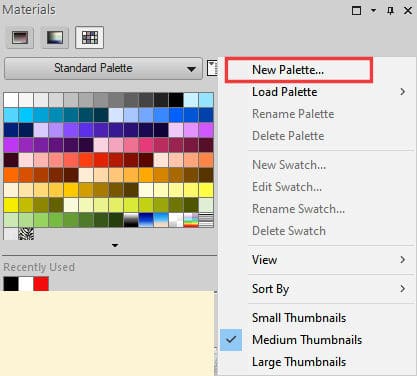
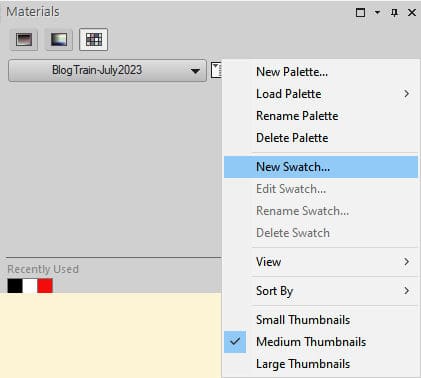
In order to create a brand new palette, choose New Palette...
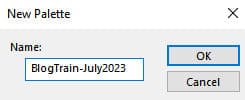
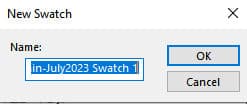
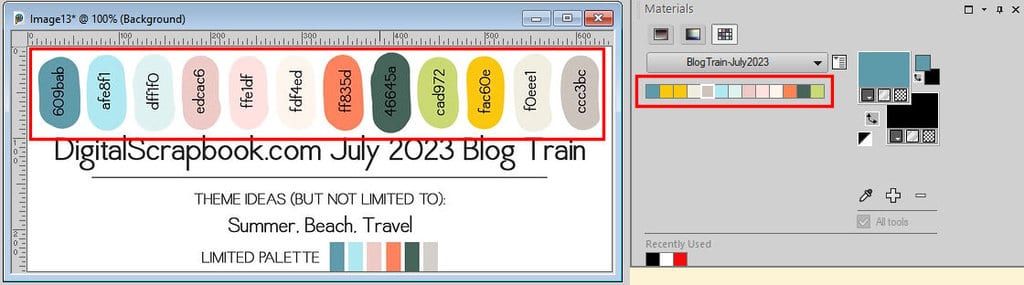
Now, enter the name of your palette. Make sure it will be a descriptive enough name since you won't have any preview of the swatches in the list. Let's assume we are working on a color palette from a blog train. We can call this palette "BlogTrain-July2023".
You will then immediately see that new palette added to the drop-down list. It is showing and as you can see, there are not swatches included yet.
Adding swatches to the new palette
Before you add the swatches to your palette, open the image that will be used to pick the colors. Of course, if you have the hex codes, you will also be able to use them.
When you click on the More Options icon again, you will see that you can now add a New Swatch...
This will bring up another option to name that new swatch. Notice that it will include the palette name and it will add "swatch-01" by default. Of course, you can change that name to something else, but typically, you might not need to name the swatches individually.
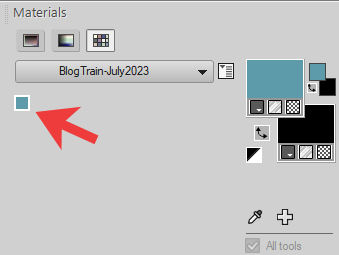
As soon as you click OK, you will get the Material Properties dialog window, and you will be able to pick whatever color you want for this first swatch. Notice that it will immediately appear in the palette.
Now, repeat the process for each color swatch you want to add until you have all the colors you needed. You can add as few or as many swatches as you want in the palette. And if you want to add more later, you can also do it.
Although this process is simple and easy, it can also be tedious, especially if you have many colors you want to add to the new palette. If you want to save time, you can use a script available in the store called Swatch Palette. You can see a video of this script in action, in the description.
What you can add to a palette
Although adding swatches to a color palette makes sense and is kind of obvious, did you know that you can also add gradients or patterns? When the Materials Properties dialog window opens, you can change tab and select any gradient or pattern that is displayed. Not only you can select a specific gradient or pattern, but all the settings you chose will be included. For example, you can have a gradient that is linear or sunburst, and they will be saved as separate swatches. The same is true for a pattern; it will save the design but also the scale and the angle.
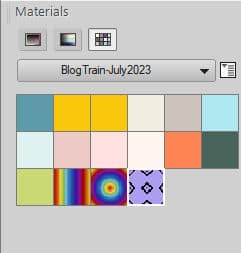
This means that not only you can create COLOR palettes, but really gather all kinds of base material that you might need for a project. Who knew?


1 thought on “Creating color palettes in PaintShop Pro”
I never knew about adding the gradients and patterns to the palettes….that could be very helpful. Thank you.