
A Bokeh effect is created, usually, by photographers using particular settings on their camera to focus on a subject and turn everything else, in the background, into a set of diffuse light spots. Since most people might not have that option on their camera, or might just want to create such a background afterward, let’s see how we can do it with PaintShop Pro.
Bokeh from scratch
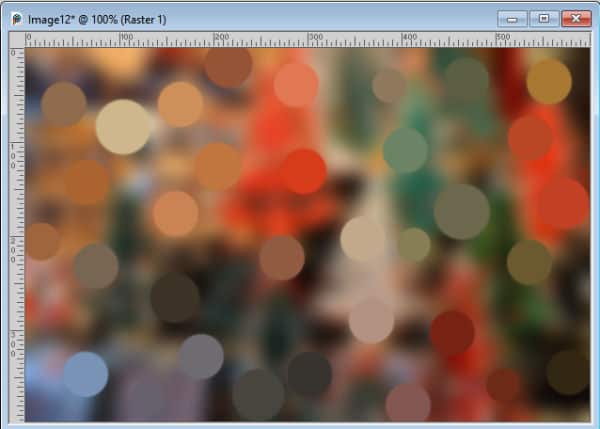
Find a colorful image that can be used as a base to pick the colors for the Bokeh effect. For our example, I will use a Christmas image so the colors will be "Christmas-y" once the Bokeh is created.

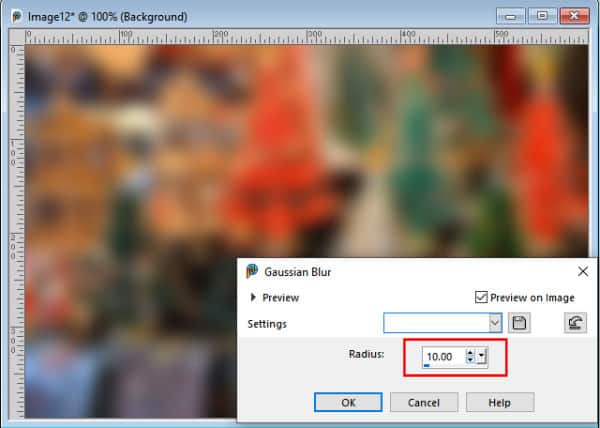
I will not be using the image itself, so it does not matter if the subject is centered or if it is in focus. In fact, I will now Blur this image using the Adjust > Blur > Gaussian Blur set to about 10.
Setting up your tools
Add a new layer to your image so you can create the "dots" separately from the background image.
Now, activate the Brush tool with these basic settings:
Shape: Round
Size: this will depend on the size of your project,
Hardness: 90 (I like to avoid 100 so it is less pixellated)
Step: 100 (avoid a very small step size so you don't accidentally get multiple dots where you don't want to)
These settings will be needed to create the dots, one at a time. However, you will need the Dropper tool to pick up the colors from the base image. Although you can alternate between the Dropper tool and the Brush tool, we will use a shortcut to pick the colors.
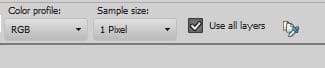
Before you can start using the Dropper tool for this project, you need to set it up correctly. Make sure the Use all layers is checked, so you won't have to switch from layer to layer.
The steps to create the "dots"
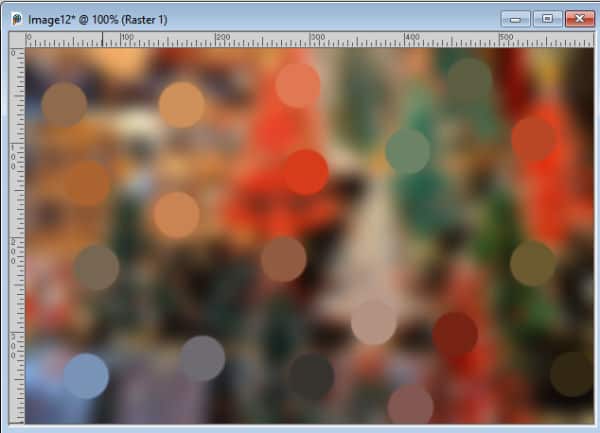
Now that we have our tools set up correctly, we can start creating our "dots". Activate the Brush tool, and hold the Ctrl key on your keyboard. You will notice that the cursor changes from the Brush to the Dropper. Click on a color you want to "pick", and without moving your cursor, let go of the Ctrl key and click on that location. Repeat all over your image. Try to select lighter colors since you are supposed to showcase some "lights".
You can change the size of the brush and create more dots that are smaller, but you can also use the Brush Variance palette (F11) and adjust the Size Jitter to 1 (for versions older than X6, you can adjust it to 3 or 4).
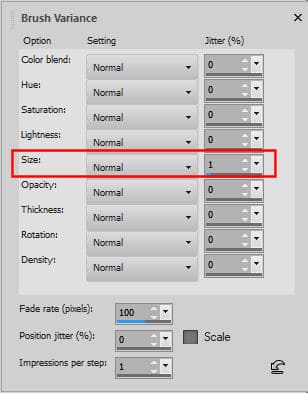
And that will give you some variation in the size of the dots.
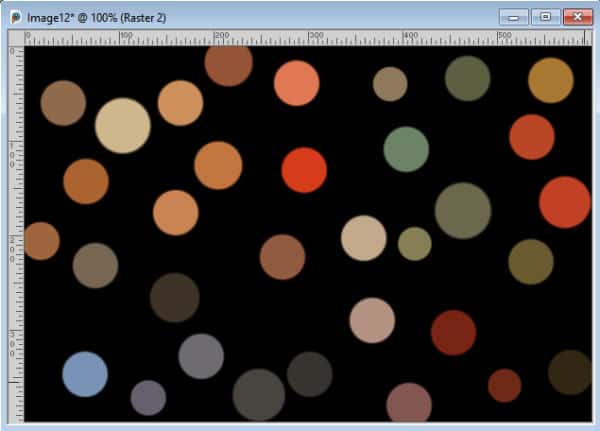
Here is what the layer looks like if I add a black layer between the image and the dots (it is just easier to see):
Once you have covered a wide area of your image, add a Gaussian Blur with Adjust > Blur > Gaussian Blur and set it to a value between 5 and 10. The exact value will depend on the size of your project: the larger the size, the higher the blur value.

Now, you can repeat the same process with two more layers, creating more and more dots. For the next layer, use a smaller Brush size. and then smaller for the third layer.
Here I have three layers of dots on top of that black layer. Each one has slightly more blur than the previous one.
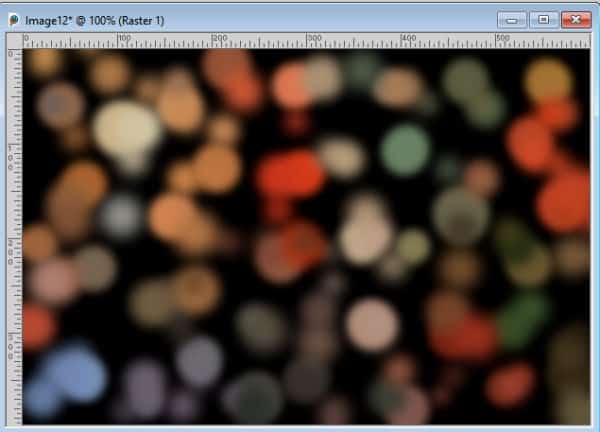
To give even more variance, let's reduce the opacity of the three layers to 60%, 70%, and 80% respectively.

If you want to keep that black background, you can do so, but you can also choose another dark color from your image, like green.

Make sure it is a really dark shade so the dots will stand out. Once you are happy, you can merge all the visible layers, and you now have a new Bokeh background to use for other projects.
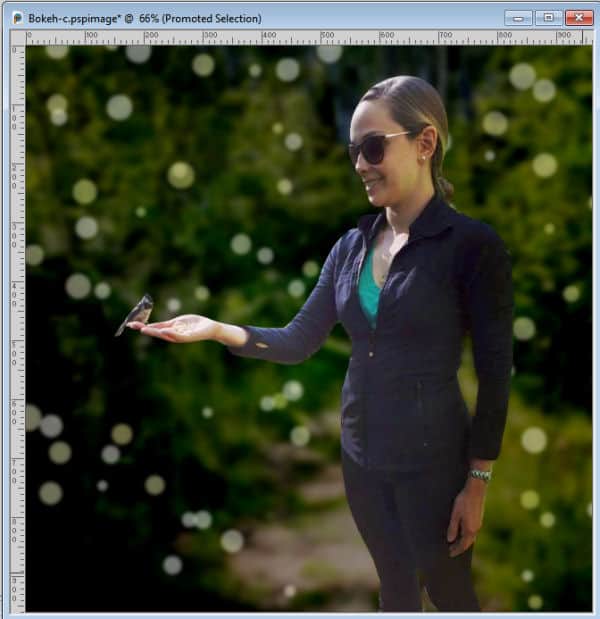
Creating Bokeh along with a subject
If you want to add a Bokeh effect but keep the subject of the photo, the steps are similar, although you will have additional ones. Let's start with this image:

We need to extract our subject from the image using the tool you want. Since the background is important, work on a duplicate of that layer before isolating the subject.

Remove that area from the background so the colors of the subject won't seep into the Bokeh you will create on the outside. Add a blur to the background and darken it too. This will put more focus on your subject and make the Bokeh stand out too.

Add the layers of Bokeh as explained in the first example.

Put back the subject on top of that background and you have a magical Bokeh effect.
This article is based on tutorials from two Master classes: PaintShop Christmas and Photo Cheat.
If you want full access to those classes (and a hundred more), you can join our DIAMOND membership. For more information, click HERE.
And if you don't want to work manually, to create those Bokeh effects, you can use the script Bokeh Maker available in the store.


