
The Object Remover is a tool that appeared in PaintShop Pro version X. It can be a very useful tool to literally remove elements of a photo. It can be very useful when it is not possible to retake a shot. Let's see how to use it.
Where it is?
The Object Remover is a command that is "hidden" under the Clone tool. Click on the arrow to pull all the "hidden" tools and you will see the Object Remover.

How does it work?
The Object Remover will replace the unwanted area that you will select with another area from the same image, that you will identify. Unlike the Magic Fill (which came later in PaintShop Pro history), you can replace a section with another one that is NOT adjacent. This has some advantages if you don't have any adjacent areas that could be used.
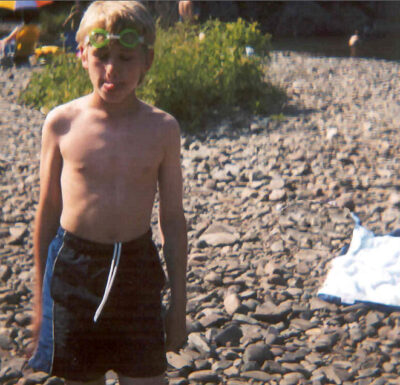
Let's start with this photo. It is definitely not the best photo and there is a lot we can remove.
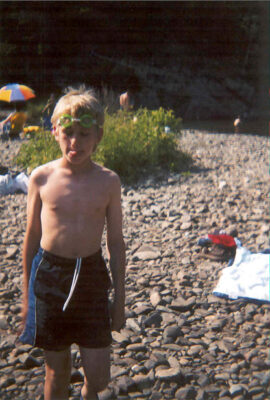
Let's start by removing the items beside the white towel.
Selecting the element to remove
Once you have activated the Object Remover tool, the toolbar will show these options, and the only active one is the Selection mode. This is the tool that will let you select the area you want to remove.

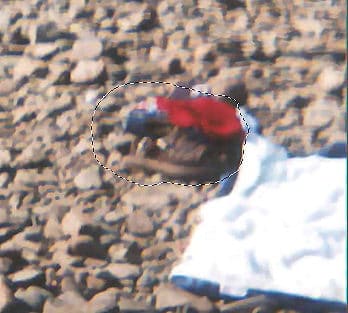
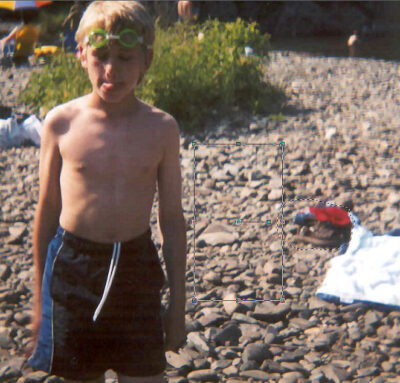
Let's make a selection around the element we want to remove. Considering that it is touching the white towel, I will go as close to the edge but make sure I include all the unwanted section, even if it overlaps slightly, onto the other.
Once you have made the selection for the target area, you will see that the other icon in the toolbar is now active:

Setting the source area
Click on the Source Mode icon in the toolbar. At that point, you will notice that a bounding box has appeared on the image.
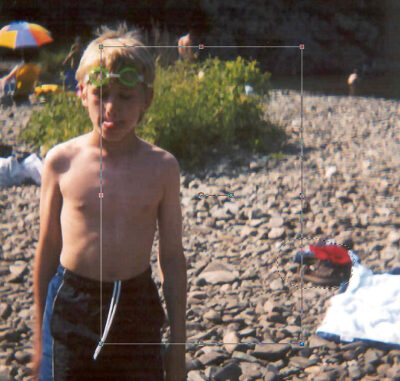
This will be the area you will select to be used to replace the target area. The bounding box does not have to be of the same size or shape as your target selection. The program will take care of any discrepancies. Make sure that the box will cover an area that won't include additional unwanted sections, like the bushes, in this case.
Once done, click on the checkmark icon in the toolbar to accept this combination of target area and source area.
![]()
And the program will fill in the target area with content from the source area you designated.
Once you deselect, you will see the result. Of course, in this case, it is not perfect because you can see, when zooming in, some distinct lines.
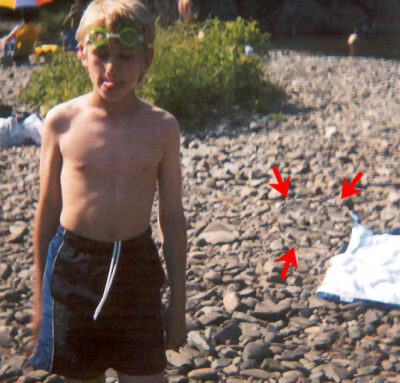
Depending on your image and the source/target areas, it might be less obvious. If you want to avoid some sharp edges, you can add some feathering to the selection in the first place.
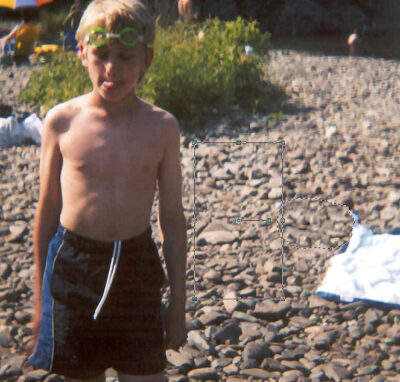
Let's try to remove the log on the left side of the child. First, we make a selection around the target area.

Then, let's put the bounding box around an area that has rocks about the same size.

Finally, we accept it.
Pros and cons
Although the Object Remover can be a great tool, it is still not a magic tool that will work with every situation for every photo.
The best advantage of this tool is that you can have a target and a source area that are in different areas of the image. On the other hand, unlike the Clone tool, you can't add that new section on its own layer, which means that it is a bit harder to tweak the result once it is done.
How will you use the Object Remover?
For more information about various tools available in PaintShop Pro to remove unwanted elements in a photo, you can check the Master Class, Get Rid of It, which is available for purchase or for our DIAMOND members.


