
When working with PaintShop Pro, you are likely to use several layers, and sometimes, you want them perfectly aligned. What if you now need to move them a little further? How can you keep them aligned? That is when you can link or group your layers. But what is the difference between the two, and how do you use those features?
What is linking?
If you ever use the Drop shadow on a separate layer, you will notice that, by default, the two layers are linked, meaning if you move the main layer, the shadows will follow along. That is a good idea, don't you think? Here are two layers that should be linked: the element and its shadow.
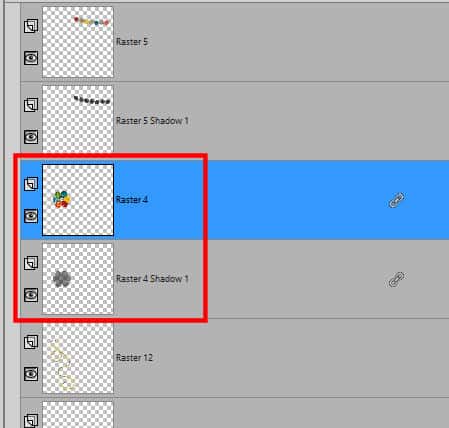
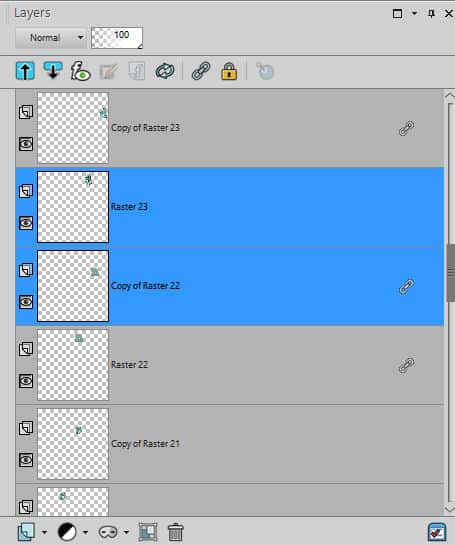
How do I know they are linked? Because of the little icon on the right end of the layer:

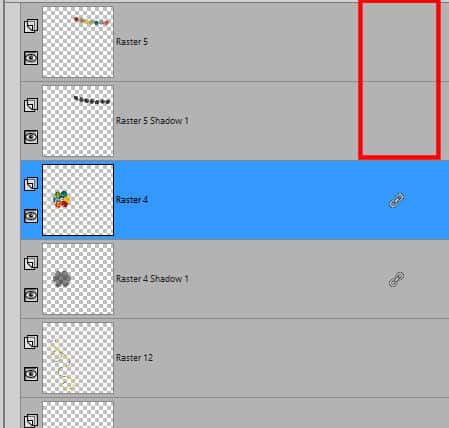
Once you activate one layer that is linked to at least another one, you will see that icon and the same icon will appear on all the layers linked to this one. However, you cannot see the icon on any other linked group. For example, the first two layers on this example are also linked together, but until I activate one of them, the icons don't show up.
How to link layers?
Although sometimes, PaintShop Pro will link layers by default (like in the case of the Drop Shadow), most of the time, you will have to do the linking yourself.
Hold the Ctrl key on your keyboard and select the layers you want to be linked. They don't need to be adjacent to each other.
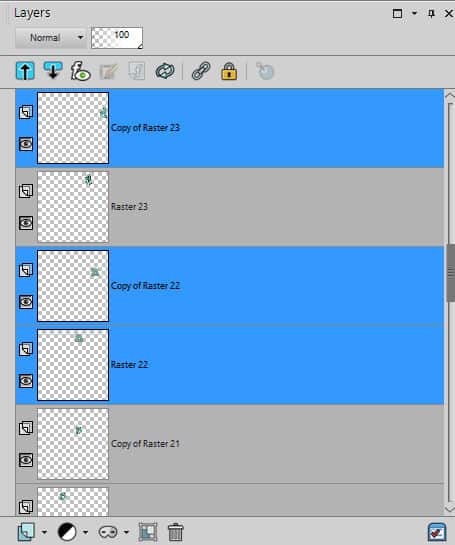
Then, click on the Link icon on top of the Layers palette. Then the Link icon will appear on the right of each of the linked layers.

How to add a layer to the link set?
If you want to add one layer to the set of linked layers, simply select one layer from the existing set (and you will see the Link icon on all the layers from that set), and select the "new" layer, holding the Ctrl key.
Then, click the Link icon on the top of the Layers palette, and you will see the new layer is linked to the others.

How to remove a layer from a link set?
You can remove one layer (or more) from an existing link set by highlighting the layer in question and clicking the Link icon on top. That icon will toggle the adding or removing of the link.
Another way to link
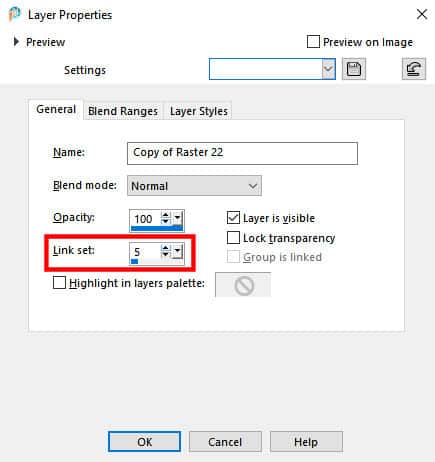
If you double-click on any layer, you get the Layers properties dialog window. That window includes a setting called Link Set. This is associated with a number. Each link set is numbered. You can change the association of that particular layer into another link set using this number. Although this might not be as obvious, since you cannot see the link set number in the Layers palette, it could still have its use. At least, you know where that is!
Moving linked layers
Although you likely linked several layers together so that their alignment won't change if you need to move them, on occasion, you might want to do so. While layers are linked, you cannot move them separately using the Move tool; they will all move together. However, if you use the Pick tool, it will allow you to move (or modify) an individual layer without affecting the others in the Link set. You can move the layer, but you can also rotate or resize the element independently of the others.
What is grouping?
In PaintShop Pro, there are many situations when a group is used. For example, when using a Mask, that layer will be in a group so the Mask will affect only the other layers inside that group. Similarly, you might want an Adjustment layer to apply only to one or two layers, so putting them in a group will achieve that result. Grouped layers will behave in a similar way as the linked layers, with a few differences that we will look at later.
How to group layers?
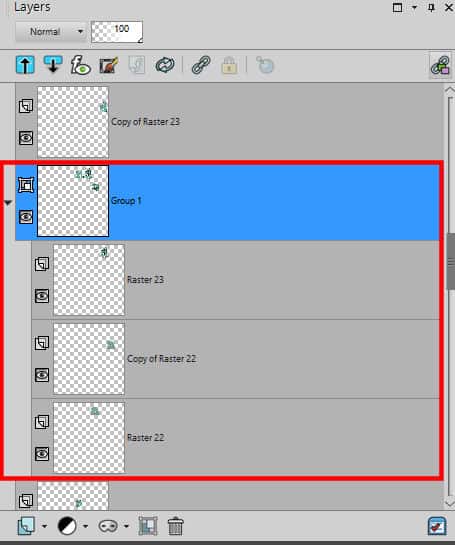
You can group layers in two simple ways. The first way is to create a group layer from the icon on the Layers palette.
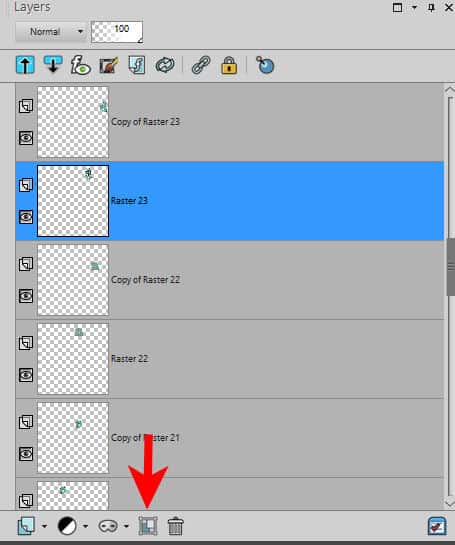
This will create a group where the currently active layer will be... alone. If you had several layers highlighted, all the layers would be included in the group.
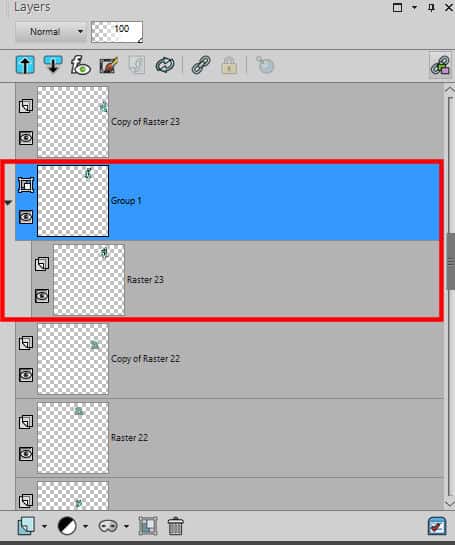
You can add layers to the group simply by selecting them and dragging them to that group.
Similarly, you can remove layers from a group by dragging them out.
Linking or grouping?
As you can see, the process of linking and grouping layers is a little different. Whether layers are linked or grouped, they have some similar behaviors:
- they will move together as one unit if you use the Move tool
- they can be moved separately if you use the Pick tool
However, they also offer some very different features.
- you cannot rotate or resize Linked layers together. but you can do so with Grouped layers if you activate the Group layer (not the individual layers inside the group)
- you cannot copy and paste a set of Linked layers as a unit on a different project, but a Group can. And once pasted onto a new project, you can ungroup the layers if you need more individual adjustments.
If you are working on a project and you only need the elements to be aligned together (like the letters in a title or different layers that are "blended" together), Linking is enough. If you need to modify or move layers onto another project (like puzzle pieces after running the Jigsaw Puzzle script), then Grouping is going to be more useful.
Now that you know a bit more about Linking and Grouping, you should find some benefits for each of them, depending on your workflow and the type of project you are working on. Don't hesitate to use this feature.
How about getting started with PaintShop Pro with the Basic Scrap Course? You will have a chance to link elements and practice using this newfound feature.


2 thoughts on “Linking and Grouping in PSP”
This is really helpful. I didn’t know that you could change a link group with pick but not move. I often get a bunch of letters linked to make a title then decide I want them bigger so I will try experimenting. Thanks so much!!
Thank you – great information.