
Another year means another version of PaintShop Pro that is now available to you. Each version has new features and tools and this one is no different. Let's have a look at some of the main new additions in this 2022 version.
A new Welcome page
Depending on which version you are coming from, you might be familiar with a HOME page or not. This was added in PaintShop Pro 2018 when you could pick between the Essential workspace or the Complete workspace. Then, with the 2020 version, the Photography workspace was added, and finally, in 2021, we saw the Sea-to-Sky workspace join the list.
In PSP2022, the Home page has been redesigned. Although you get the same four workspaces as in the previous version, you now get a button to Apply your choice.
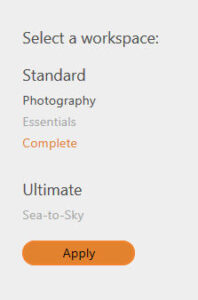
Although it means one extra click, it also seems clearer to the user than before.
More AI tools
In the last version of PSP, two new AI tools were added: Denoise and Resize. This time, two new AI tools were added and for that reason, they rearranged the interface to group them together under the Adjust menu.
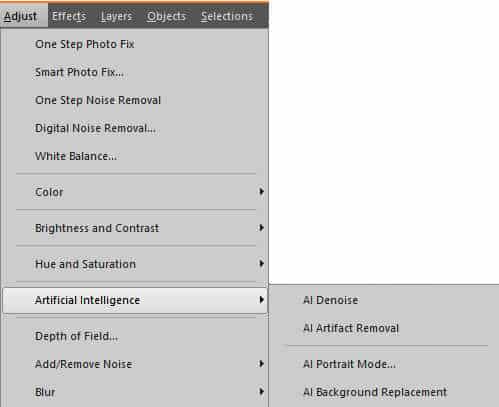
Let's look at those two new tools.
AI-Portrait Mode...
This tool will allow you to create a depth of field for photos where you don't have any. The AI will analyze and select all the human subjects on your photo and add some blur around it.
Here is a starting photo:
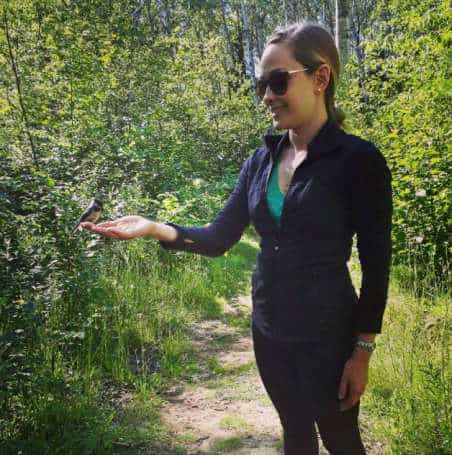
As you can see, there is no depth of field in it. Activating the AI Portrait mode will generate this selection:
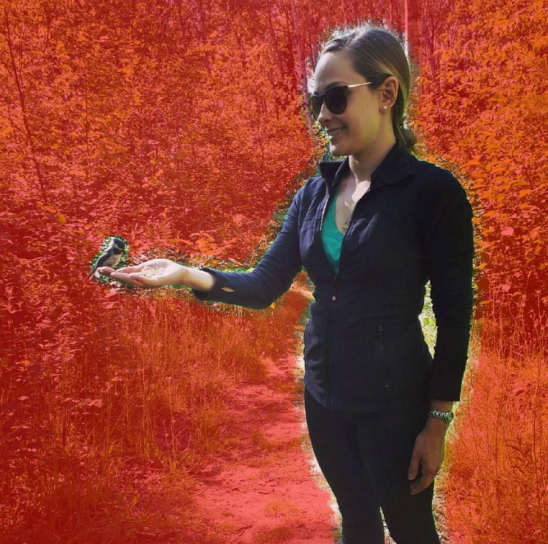
The bird was not selected initially, so I added it since it was an important part of the subject. Then, using the tools available, I tweaked the edges of the subject. I also added a section at the bottom that didn't need a depth of field as it was at the same level as the subject.
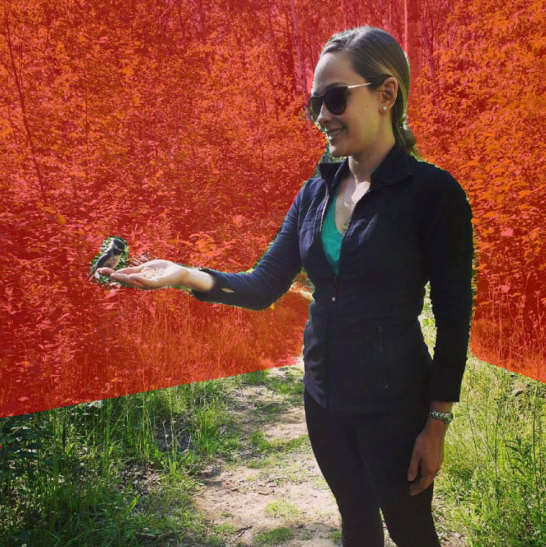
Finally, I got the option to adjust how much depth of field I wanted on that particular photo.
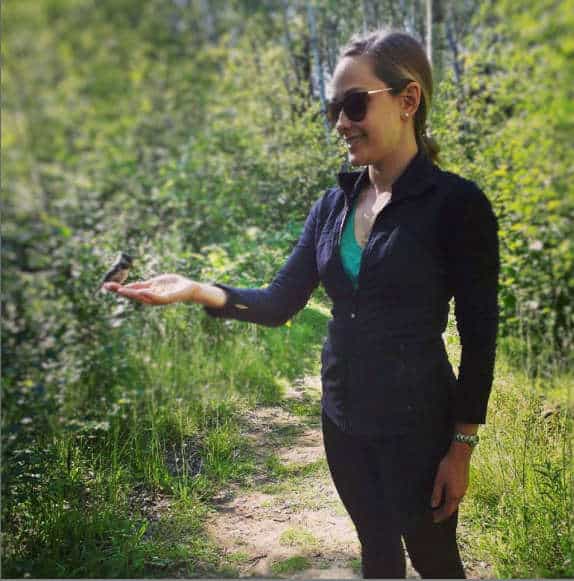
A nice touch of this tool is that it will not affect your original image as it will create a duplicate with the depth of field, so if you are unhappy with the result or if you still need the original for another adjustment, it is still available.
AI-Background Replacement
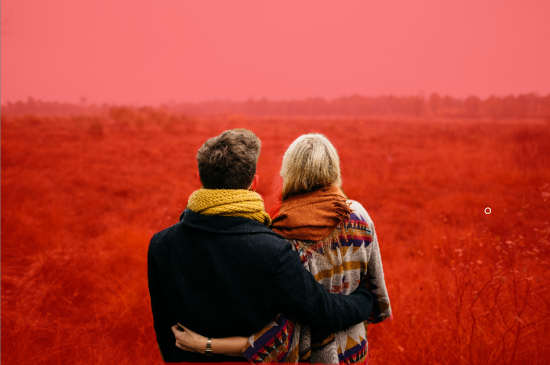
This new tool is pretty nifty. It will speed up the process if you want to place the subject of a photo in a different environment. Starting with an ordinary photo, like this:
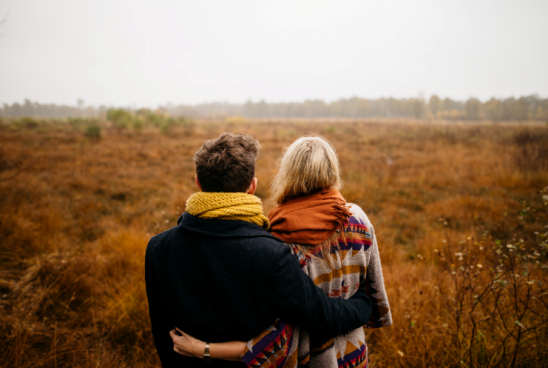
The program will also select the subject on its own. It does a pretty good job, although you might need to tweak some areas (like the man's ear, and the lady's hair).
And then, you get a series of options. You can choose one of the backgrounds provided. You can choose your own background scene. You can also choose to not change the background at this time, but just keep the subject extracted from the rest of the photo so you can use it later.
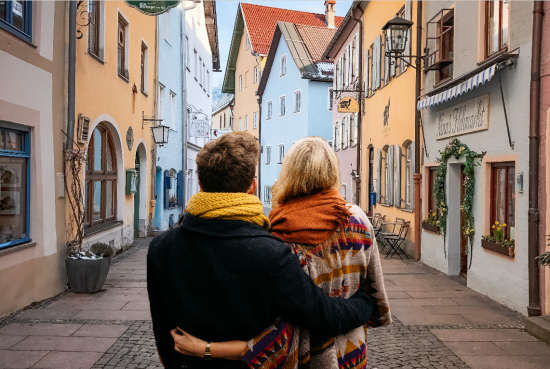
And just like for the AI-Portrait Mode, your original is left intact so you can reuse it as needed.
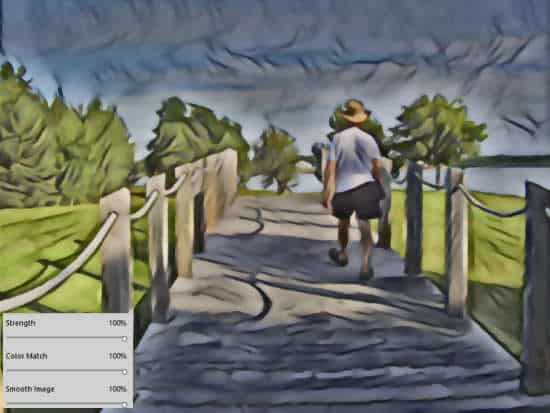
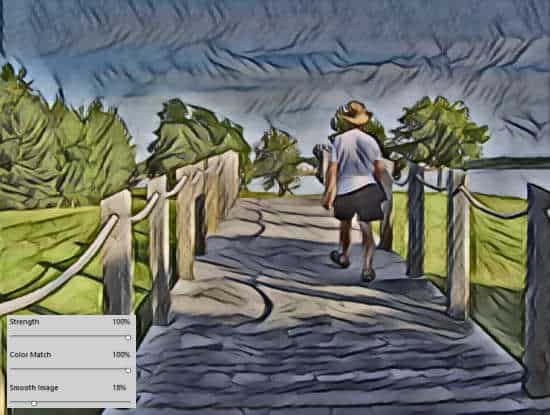
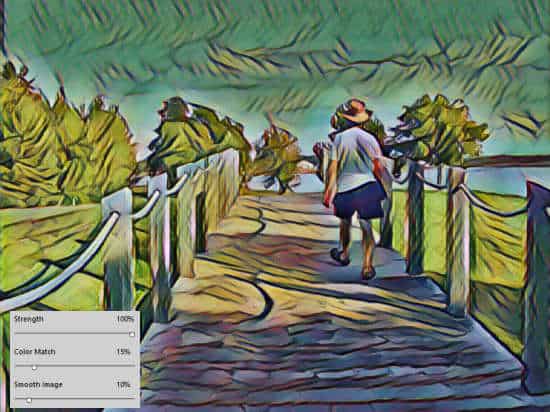
AI-Powered Instant Effects
Two settings have been added to the Instant Effects: the Color Match and the Smooth Image. These give you more options to tweak the end result for those instant effects.
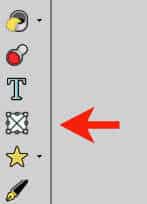
The Frame tool
This is a brand new tool that acts a little like a mask but with a faster process. It was added in the Tools toolbar here:
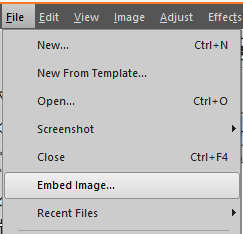
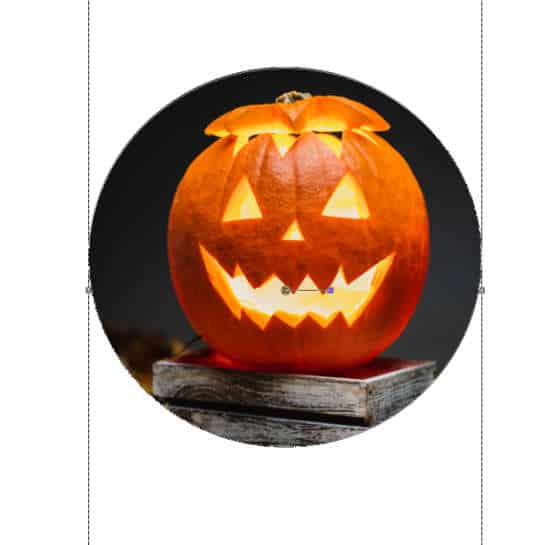
With this tool active, you will make a selection on your project, and it will create a group in the Layers palette with the frame in the shape and size you picked.
Then, under the File menu, you will find the Embed Image... command that will get you to pick the photo you want to place in that frame.
The program will automatically resize the image to the maximum to fit in that shape.
In the Layers palette, you will notice that group of layers.
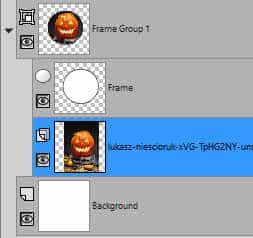
One great advantage of this Frame layer over a typical Mask layer is that you can easily move it around, resize it or even rotate it. You can read more about how to use this tool in this post: The Frame Tool
Higher maximum
Corel had not updated most tools to accommodate larger images. The tools designed in 2000 were likely sufficient for the image sizes of the time, but now, we often work with much larger files. This means that some tools became almost useless since the maximum values were no longer appropriate for those sizes. This has changed in this version. Several tools now have a higher maximum value available in the dialog windows. In general, the increase has been by 50%. Here are the tools with new maximum:
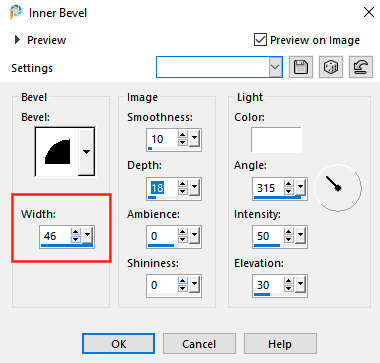
Inner Bevel and Outer Bevel: Width went from 31 to 46
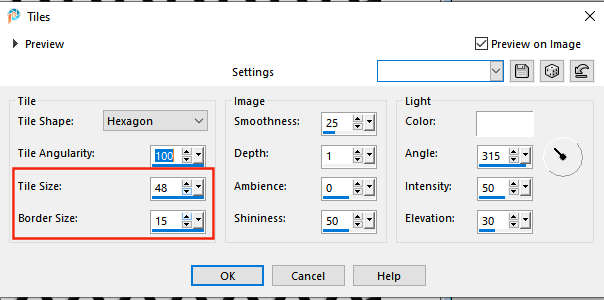
Tiles: the Tile Size went from 32 to 48, and the Border Size went from 10 to 15
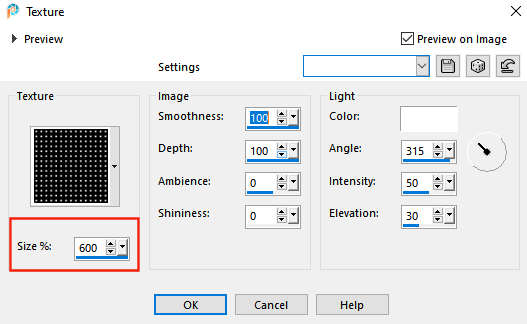
Texture: the Size % went from 400 to 600.
Brush Stroke: the Length and the Width have increased from 20 to 30.

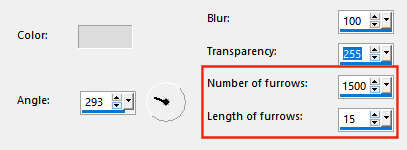
Fine Leather: the Number of furrows went from 1000 to 1500 and the Length of furrows went from 10 to 15.
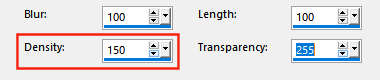
Fur: the Density went from 100 to 150
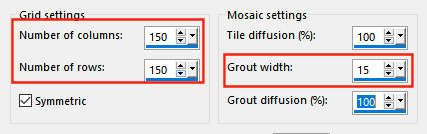
Mosaic Antique: three settings have also increased by 50%
HEIF/HEIC Format
PaintShop Pro can now open these image formats that are often used with iPads and iPhones. So now, you don't need a third-party program to open and edit your favorite photos taken with those devices.
Should I upgrade?
This is the eternal question. It all depends on your current and expected workflow. At these tools useful to you? Are these settings making a difference in your workflow and the images you are working on? If you answer yes, then an upgrade might be very useful to you. On the other hand, if you are not using any of these tools and settings, maybe you don't need an upgrade.
Whatever your situation is, you can always give it a try for a 30-day period. That will give you a better feel for what you want and need, than any written review. What do you have to lose? That is a free trial. If you like it, you buy it (make sure you buy the UPGRADE option, not the FULL one). If you don't like it, just delete it and wait for next year.


1 thought on “What’s new in PSP2022?”
Thank you for this information. Much appreciated.