

Although PaintShop Pro has been often associated with photo editing, it can do a lot more. It can be a tool to help you create a variety of graphic projects, even if they are not meant to be "artistic". Today, we will look at a simple project that you might want to print, for yourself or for a gift: recipe cards.
Choose the size
By default, you would consider a recipe card to be smaller than a sheet of paper, of course. If you have a storage box for file cards, you might look into creating cards in that format so you can store them. This means that the typical dimensions for cards to fit those boxes would be either 5 x 3, 6 x 4, or 8 x 5-inch. Honestly, do you think you could put a whole recipe on a tiny card?
If you want to print your recipe cards, you also have to consider the paper (or cardstock) you have available. If you have blank cards, in 8x5 inch size and you can use them in your printer, go ahead. If you don't have index cards in that size and you have access to regular 8.5 x 11-inch cardstock (or paper), you might consider creating your recipe cards in 8.5 x 5.5-inch size, as it will be so much simple to just cut those pages in half.
In this tutorial, I will be using that full-size 8.5 x 11-inch dimension as it is the easiest to find.
Start with your blank
Assuming that the paper will be 8.5 x 11-inch, open a blank image in that dimension. There should be a preset for that size in the New File dialog window. This 8.5 x 11 size is the US Letter preset. If you need different sizes for your printer or your supplies, you can use any other preset.

If you have an older version of PSP and you don't have those presets, enter the dimensions manually.

Although you would be working on a full-size paper, you should plan on using only half of it, so you can cut your paper in half and have a real "card". To help you, place a guide in the center of your page. That will tell you how much space you really have to work with. I placed my guide at 1650 pixels since my page is 3300 pixels high. You can create two different cards, or make a duplicate of the first one, once it is completed, to print two cards per page. That will be your choice.

The background
This is a very personal choice. Do you want to keep the background white? It might save in ink. Do you want a different color, gradient or pattern? It is time to add it. If you want to have two cards of different colors, use your guide to start/end a rectangular selection, and fill it with the color of your choice. Remember to create the two cards on different layers.
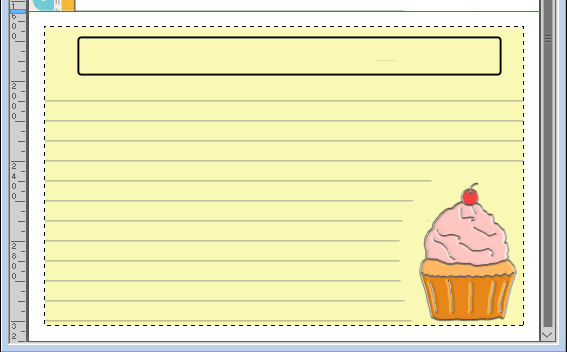
For this project, I will use one white section and one light yellow.

Start with the lines
In your PSP, open a blank image that is 100x100 pixels, and draw a vector line (using the Pen tool) across. A thickness of 4 or 5 pixels is sufficient. You can choose any color you want. Of course, black or grey would be traditional, but you can choose another color altogether if you prefer.
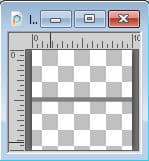
This will become a fill pattern for your card.
On your main project, select the area of one of your cards (you can use the Magic wand if you want). Add a new Raster layer. In the Materials palette, select the Pattern tab and find that tiny image you created with a horizontal line. Use that pattern to fill the area for one card. If you leave the scale to 100%, it should give you about 15-16 lines to write your recipe on the front. If you want more lines, they would be narrower if you reduce the scale to 80% or so.
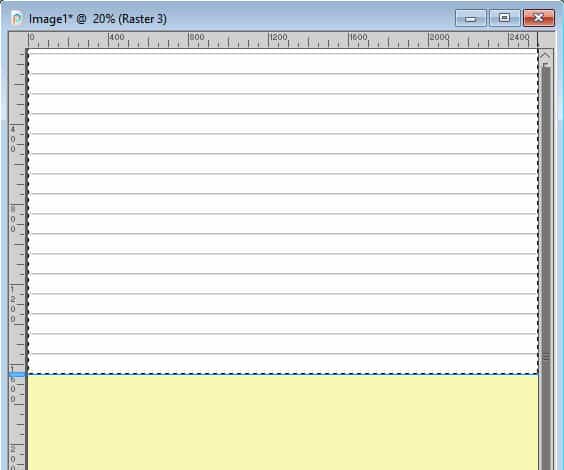
If you will have two different cards, you will repeat this process on the bottom section, on a new layer.
Add a header
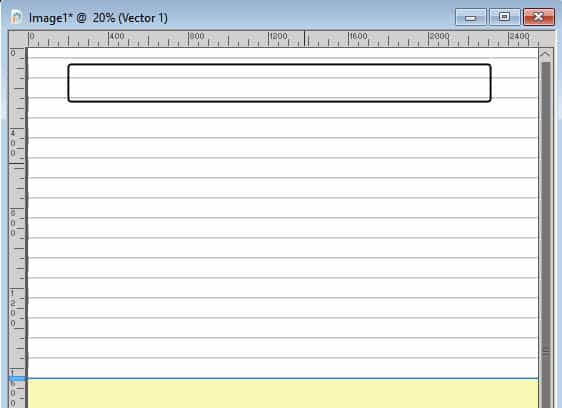
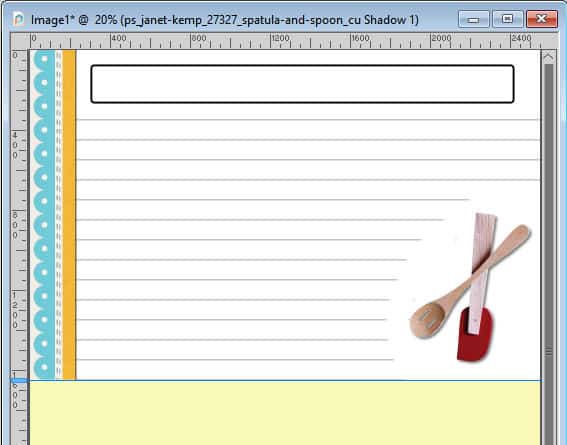
This is obviously optional, but you might want to add an area to write the title of your recipe. You can use a simple rectangle shape (don't worry about overlapping the lines, we'll take care of that later). Just don't make it too tall as it will take the space of a couple of lines. You should also consider whether your printer will leave a white edge or if you can print up to the edge. If you know your printer will not print to the edge, move your header a little further down.
Add a focal point
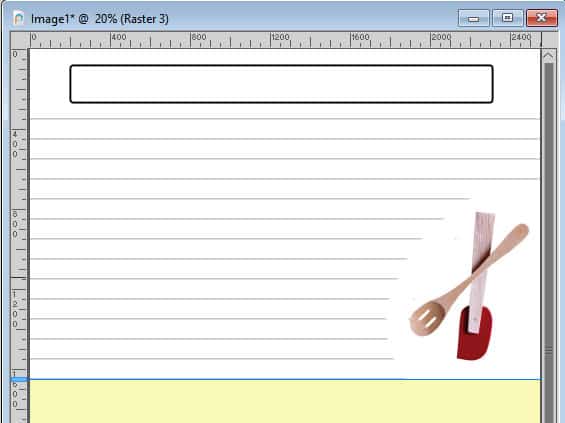
Now is the time to add some decoration to your card. Right now, it is pretty plain and boring, isn't it? Find some cooking or baking cliparts you might want to use. Here, I used a simple extracted element from Pixel Scrapper to put in the corner of my card.
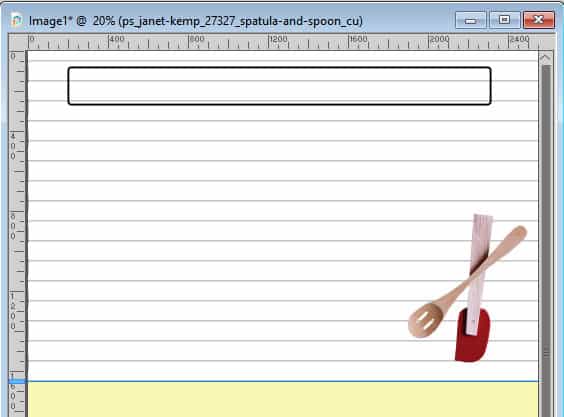
If you want this particular design, you can get it HERE.
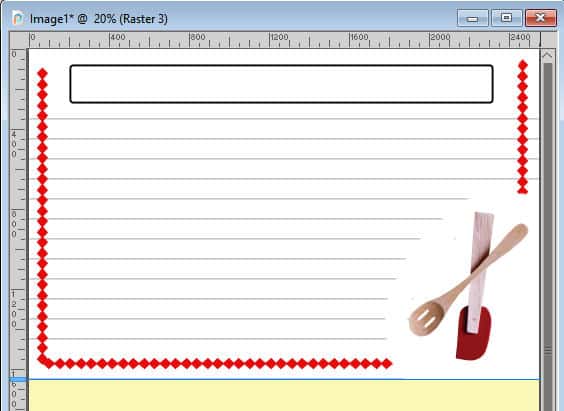
Here is another option for a focal point if you want to decorate along a border instead of a corner.

Or you can decorate a vertical edge. And your element does not even have to be food-related either. If your decorative element is as high as your whole card, you might want to move your header box a bit.
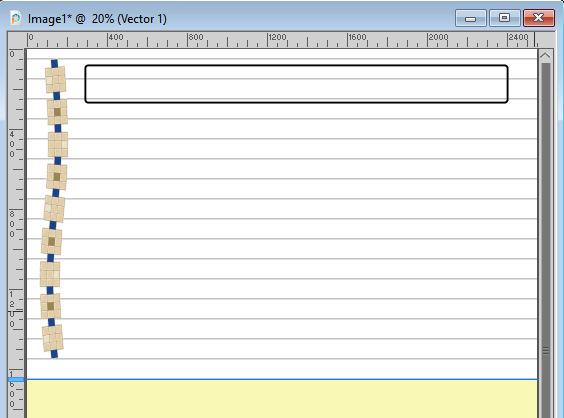
This border is available HERE.
Adjust those lines
Of course, there are areas that we cannot use to write, due to the placement of the various elements. Leaving the lines in place is one option (if you are in a rush or if you like that style). However, you can also remove the lines where you can't write. Simply use the Eraser tool, and remove the lines on top (behind the header), and behind the decorative elements.
Isn't that easy? That's why it was important to keep the lines on a separate layer.
Optional decorations
Although your card can already be printed as is, you might want to add other elements.
You could use some dingbats to embellish the ends of your header, to add a category, or a theme.

You could choose to add a frame around the card, using a simple rectangle and a line style. Make sure you adjust the placement based on whether your printer will cut off the edges or not, where your header is, and where your other elements are. Convert the shape to a raster if it is a vector, and erase the lines strategically.
You can also just add a border using a rectangular selection that you will fill with a color, a gradient, a pattern or a paper.
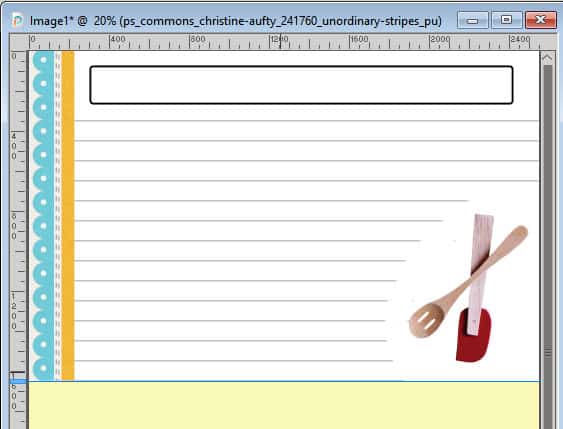
This is the edge of a full-size paper that you can get HERE.
Overall, you don't want too many elements to decorate your card because you need as much space as you can to write those delicious recipes, right?
Do we want shadows?
This is a personal choice. Because it is going to be printed, you might want to keep the clipart look. In that case, you don't need to add shadows. However, if you prefer the realistic look, then go ahead and add shadows to your element.
And the bottom?
It is really up to you what you will do with the bottom card. Will you use the same design or something different? Will you use the same color or different color? With they coordinate or not? And you can also create several similar pages to print many copies of each.
Printing with a gap on the edge
If your printer will automatically create a white edge all around the paper, you might want to consider incorporating a white border around any card that is not white. If that is your case, select the area with the Magic Wand, add a new layer and fill it with white. Then, go to Selection > Contract and choose a value that will match the gap your printer will leave (like 1/4 inch would be 75 pixels). Delete that selection.
Then, deselect. This "frame" will also give you a guide as to what your card will look like so you can adjust the placement of your elements, like the header and the focal point or any other decoration.
And for the back?
Unless you have a very short recipe, it is possible that you will need more than the front. What about the back? Of course, you can create the back in the exact same way, and you can also add some decorative elements that will match the front. But you can also create a "blank" back, with lines only to give you even more room to write.
You can use the same background color as the front, or leave it white. That is up to you.
Print it all
Now that you have created your design, it is time to print on cardstock. Once printed, you will just have to cut your page in the middle and you will have fun and unique recipe cards that you can use to write all those family recipes, for yourself, your family, your kids, etc.


1 thought on “Creating a recipe card”
Thank you for this tutorial, such cards can also be useful for other topics.
And how easy this way, to fill the card with lines !
great idea those recipe cards!