
Templates can be great time-savers. Having to search for new templates all the time, however, could waste the time you hope to save. Why not reuse the same template more than once? Although you might be ok reusing a template more than once, you might want a little more variation. Let's see what you can do, starting with a single template.
Let's start
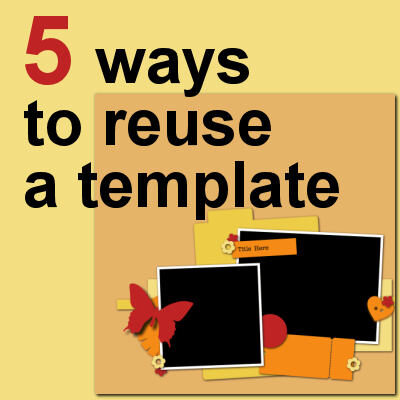
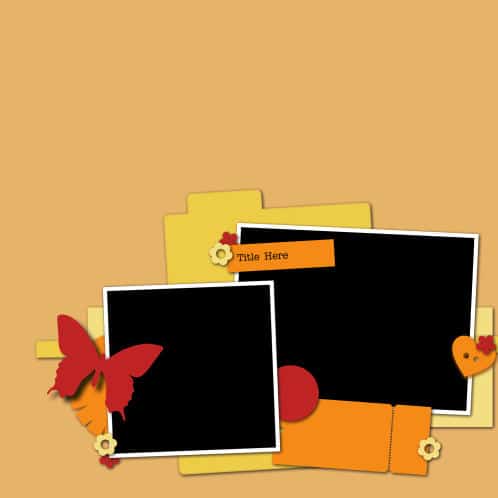
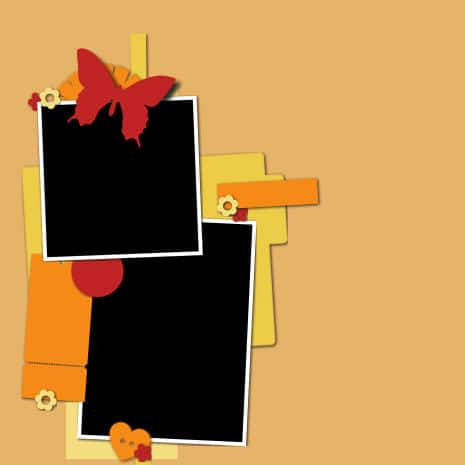
For this illustration, I will be using a template from Marisa Lerin. You can find this template HERE. This template is meant for two photos a few paper elements and some decorative elements. You should already know that you really don't need to follow everything on a template. A flower shape could be replaced by a star element. A long thin rectangle could be replaced by a ribbon. A photo that has square corners could now have rounded corners. Remember that a template is only a guide and a starting point.
If you like a particular template, it might be because of the theme, the clustering, or the number of photos you can showcase. Maybe it just suits your particular style of scrapping. Whatever the reason, if you like a template, you might want to reuse it, but you could want to tweak it a little bit more so it won't look like the same one.
Mirror it
This is a very simple way to use a template in a slightly different way. You can go with Image > Mirror > Horizontally (in older versions of PaintShop Pro, it was only Mirror). There is no single-click command to mirror all the layers on your project, so you have to do it, layer by layer. However, you can find a free script in the store called Switch it all. It will go through all the layers and switch them horizontally for you in just a few seconds.
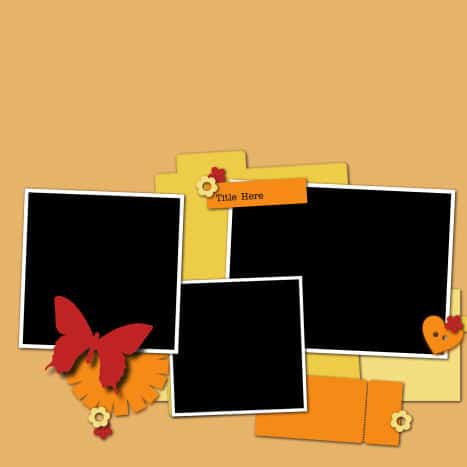
Using this technique, the original template now looks like this:
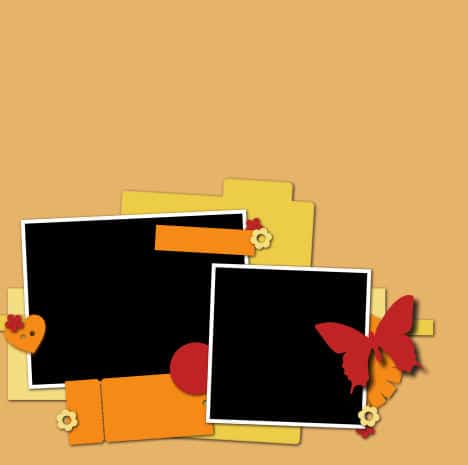
Of course, the text will be also mirrored, but you will replace it by your own anyways. Typically, there are very few elements that will look odd when they are mirrored horizontally. If you encounter one, don't worry: you can still tweak it manually.
You can also mirror vertically (in older versions of PaintShop Pro, "Flipped"). Just like for the other mirroring command, there is no one-click solution. The same script will do that for you though.
Here is our initial template, mirrored vertically.
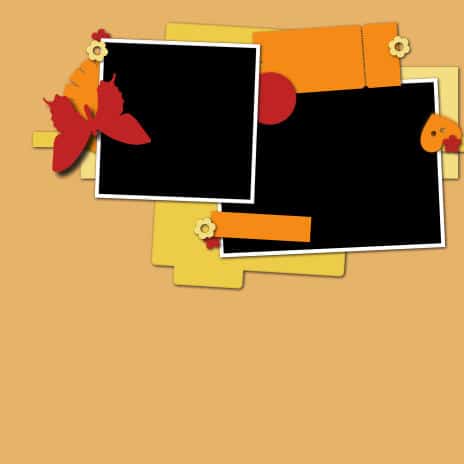
In this case, some elements will look odd. For example, the butterfly has a typically up-down orientation. So has the heart. If you encounter those elements, obviously, you will want to flip them. Using a recent version of PaintShop Pro, you can simply use Image > Flip > Vertically and flip it on itself. If you use an older version of PaintShop Pro, you will need to use Image > Flip, and then move it back to its place since it will go toward the other edge of the page. Since it is just to be used as a guide, it is ok if it is not precisely moved.

Rotate it
Whether you mirror horizontally or vertically, you will likely recognize the layout of the elements quite easily. However, if you rotate the whole template by 90 degrees, left or right, it will definitely look different. This time, you have a one-click command at your fingertips: Image > Rotate right (or you can choose Rotate left). This will rotate your whole project at once.
Here is the same initial layout rotated 90 to the right:

Again, some elements look a little odd with that rotation, so we can rotate them back. For that, you will need to go to Image > Rotate > Free rotate and manually set the rotation for the single layer.

And this is how I rotated the butterfly, the heart, and the strip of paper meant for some text.
Add or remove
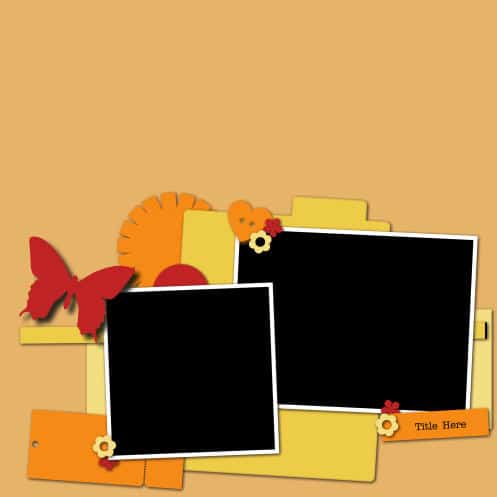
As we said earlier, a template is only a starting point and a guide. If you like a template, you can still add or remove elements from it. You can add photos by doing a little rearranging. For example, you can tweak this template, meant for two photos, so it can accommodate three.
Although you have a similar feel, you can now use more photos.
Move things around
Layered templates are fun to use because each element is on its own layer. This means that you can play with the placement and the layering until you get something you like.
Replace things
Although you can obviously replace a paper by a ribbon, a flower by a bow, and so on, you can also replace photo areas by journaling. We might have lots of photos of some events, but on occasion, we might not have any photos (or very few) related to some events. In this case, why not take a photo spot and replace it by a mat to put journaling on?
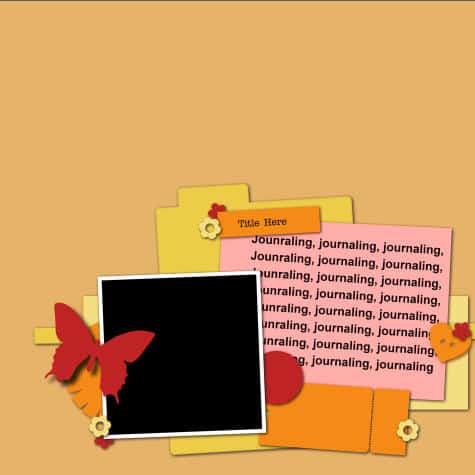
Remember that you should add your text among the last elements in your project. Why? Because you will likely want your text to show between elements and you will only know where that is once you have added all those elements. In our example, the placement of the smaller photo, the title tag, and the decorative elements might end up in slightly different locations, or they might be of different sizes. For more information on adding text within a specific area, read this article.
You can also combine these suggestions like rotate your template and add some photos, or mirror your favorite template, replace an area, and rearrange some elements. The starting template might no longer be recognizable. And that is the point, right?
Keeping all those ideas in mind, you can reuse your favorite template multiple times, and it will never be obvious. What a way to save time (and money if you are using paid templates)!


