

If you like to have a finishing touch to your photos or projects, you might like to add a picture frame. Of course, you can find some online, but PaintShop Pro has some, already integrated into the program, for you to use. And even better, you can build your own collection too.
Where is it?
The basic command to add Picture Frames is found under Image > Picture Frame...
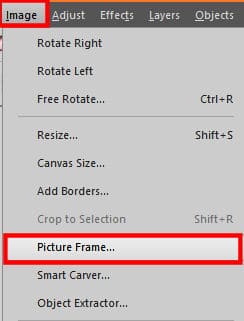
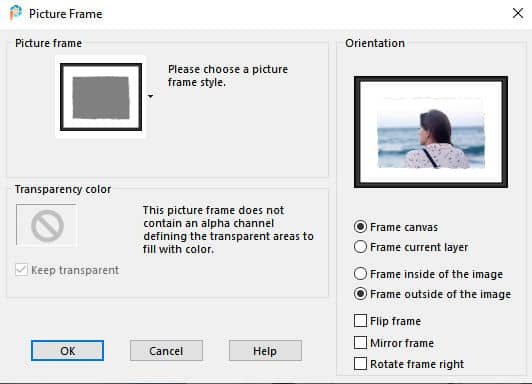
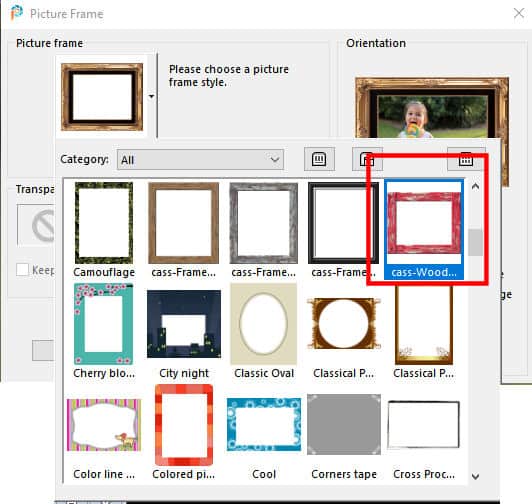
As you notice, the three dots means that you will have another dialog window to appear, which is this one:
What does that all mean?
Let's go over the various settings available in this dialog window.
The first setting is the choice of Picture frame that you will be using.
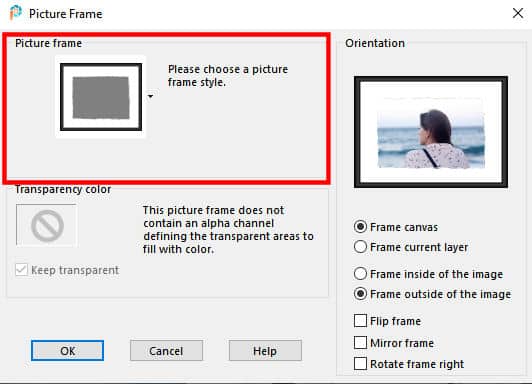
Clicking on the little arrow on the right of the displayed frame will open the list of available frames. By default, you might have only a handful of frames. Don't despair; upon installation, PaintShop Pro will come with only a few and that is normal. You can install the Creative Content, from the Home page (for newer versions) and it will install many more. The list will also display any custom frames you might have designed.

The next option is the Transparency color. Some frames will have a straight edge and will cover all four edges and four corners of your image, but in some cases, there is a gap.
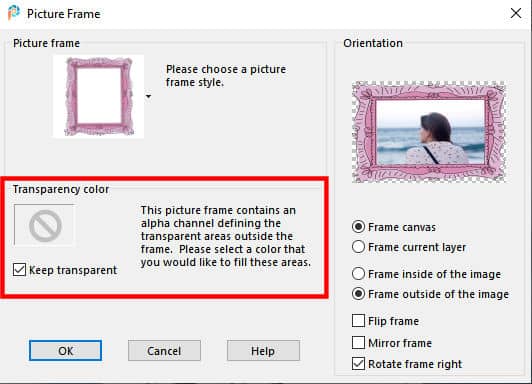
This option will give you the choice to either leave that space empty (transparent) or to fill it with a particular color of your choice.
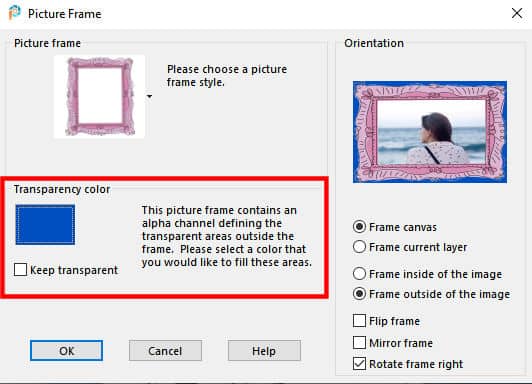
If there is no transparency on the outside of the frame, that option will be greyed out, obviously.
The Orientation gives you even more options in using those frames. Unlike other commands, the Picture Frames can be applied to the whole image, or to a particular layer. This is important if you only want to frame one image from the project, but not the project in its entirety. Here, the option to frame the whole canvas will not take the picture dimensions into account.
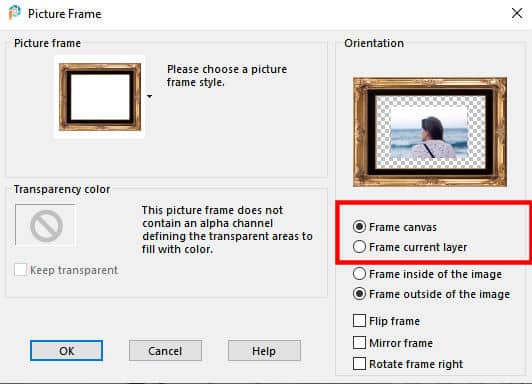
One detail worth mentioning is that the frame itself will be resized proportionally to what it is framing. If you add the Picture frame to the entire image, it will likely be thicker than if you were to add it to the image on its own layer.
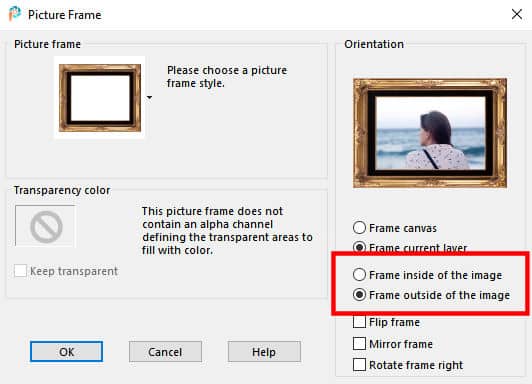
The next setting has to do with whether you want the frame to use the space inside the canvas or start on the edge of the current image. An inside frame will obviously cover parts of the photo, on the edges. An outside frame will start at the edges, and will end up with a larger project.
Finally, you can choose to have your picture frame applied as is, or flipped (upside-down), mirrored (left-right), or rotated.
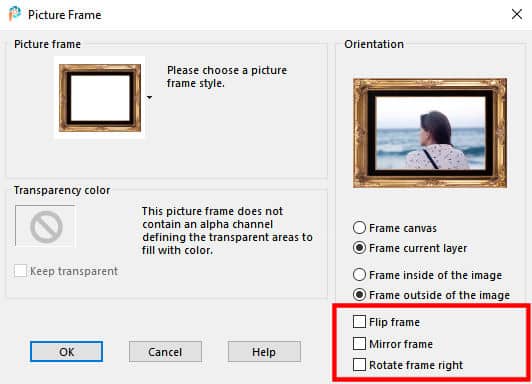
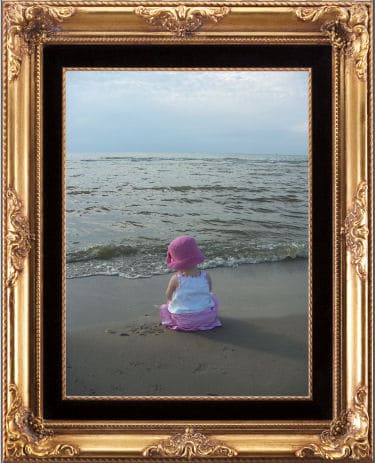
Be mindful that some frames will include details that will not work well if you change the orientation. Bevels, shadows, text, will obviously not allow good orientation changes. On the other hand, if you are using a frame that is designed for one orientation, and you want to use it on a photo in the other direction without rotating it, the frame will be stretched to fit your image, and therefore will be distorted. For example, this frame (meant for landscape orientation) applied to a vertical image will give this result:

But if the option to rotate the frame was checked, this is the result I would get.
Doesn't it look better?
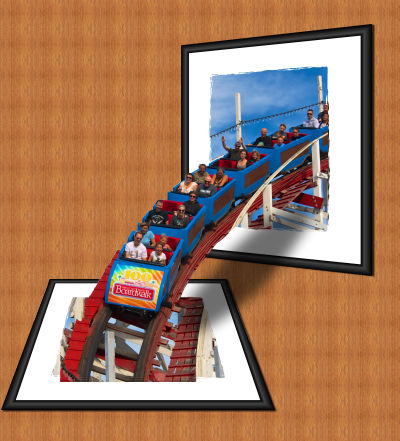
One very interesting feature of those picture frames is that they will be placed on a separate layer allowing you to modify them or use them in different ways. Here is an example where the frames were applied to the layers only and the frames became part of the project themselves.
Let's create our own picture frames
You can easily use ready-made picture frames simply by layering them on your photo or project. However, you might find it useful to have all those settings and options at your fingertip, so how would you do that?
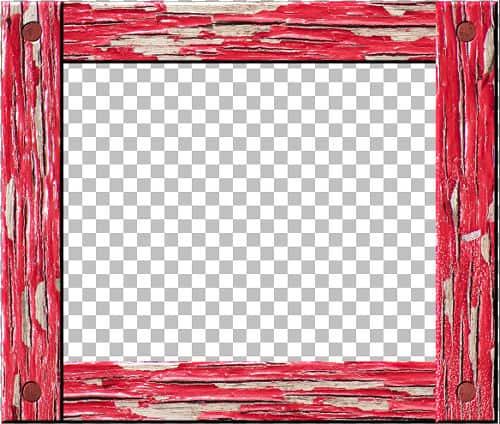
The first step is to create your frame. Use whatever supplies you want, whatever technique you want. I created this frame (using a script called WoodFrame):
Once you are happy with your frame, merge all the visible layers because the export function will only use the active layer. This means that if you have several layers composing your frame, only the active one will be saved. Obviously, you will want the whole frame saved, right?
To export your frame, you will go to File > Export > Picture Frame...
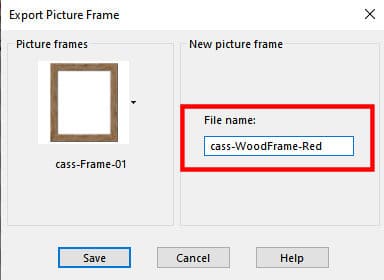
There, you can enter a unique name for your frame. Make sure it is unique so it won't overwrite an existing frame. And as an additional tip, give all your frames a specific prefix. This will ensure they are easy to identify from the others, and will also be grouped together in the alphabetical listing. Now, your frame should be accessible in the drop-down list of picture frames.
You can use those frames you created on a variety of projects, and take advantage of the various settings offered by this command. The files will be .pspFrame format, and you can exchange them with other PaintShop Pro users. Note that ONLY PaintShop Pro users will be able to use those files! If you ever get some of those files from a fellow PSP user, make sure you save them in the correct folder. That location will be in the Picture Frames folder. It could be in the Documents folder (created by default). But you might also create your own custom folder, following this tutorial.
It is time to explore those frames!


1 thought on “Picture Frames in PaintShop Pro”
I use these all the time and when I remember, if a new kit includes a frame, I open it in PSP and export it to the Picture Frame “gallery” so it’s there when I’m looking over my collection. It retains the name of the kit creator so I can credit them with the details of my layout.