
Among the various supplies that one can use with PaintShop Pro, overlays are not native or specific to the program. You will not find a tool or a command to use overlays, so you will just have to use them "on their own".
What is an overlay?
As the name implies, an overlay is an image that is going to be layered on top of another one. Typically, they are black and white or greyscale. Once you have layered an overlay on top of your image or paper, you will have various options to make the best use of that new layer.
Are they all the same?
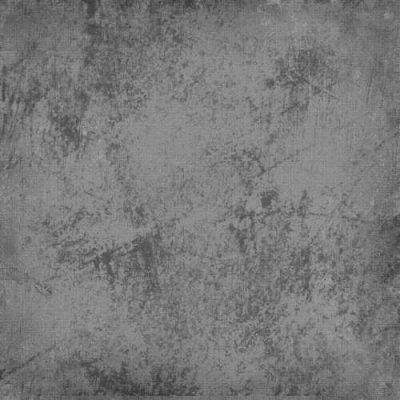
There are many types of overlays and the most common ones will be for patterns, for textures, and for edges. Here are some examples.
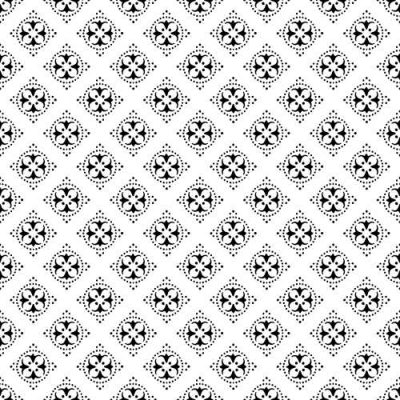

Some overlays will come in .jpg format, while others will be in .png. Other formats might be available in some cases, but they might not work in PaintShop Pro.
How to use patterned overlays?
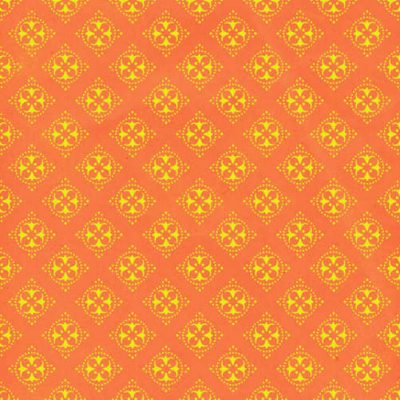
As mentioned before, overlays are meant to be layered on top of another image. Here, I layered the patterned overlay on top of a solid color paper.
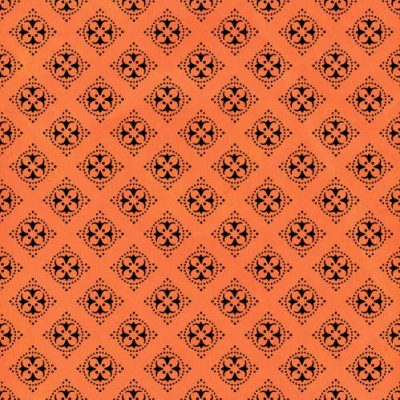
If you want a black pattern, you might be ok with this but you probably will prefer something different. In order to change the color of the pattern, you can fill the layer with the locked transparency. You can find that option in the Layers palette, as a padlock. Once you click on it, only the non-transparent pixels will be "painted" and furthermore, the level of transparency of each pixel will be respected, which will allow you to maintain the effects for translucent designs.
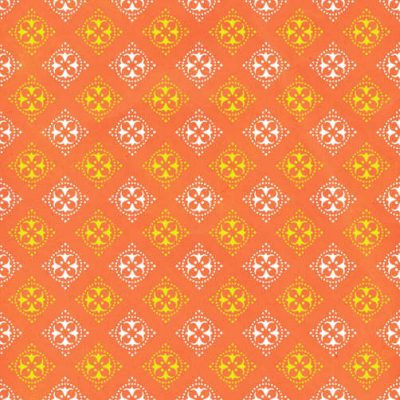
Once the transparency is locked, I can paint over the patterns or, after selecting all (Ctrl-A) use the Fill tool. Here, I painted that pattern with yellow:
But since the transparency is locked, I can also take a bit more time and paint each pattern separately too, in order to create a different look.
As you can see, depending on the design of the overlay, you can create an infinity of papers, which would be perfect if you want to use and reuse the same supplies, while getting totally different results. You can use different colors, gradients or even patterns to "paint" the overlay so you can always match those colors with your photo or the rest of your project.
How to use textures overlay?
A texture overlay will also be layered on top of your image, but it will not be meant to be colored. Instead, it will be best to use a blending mode to integrate the texture into the paper or the photo.
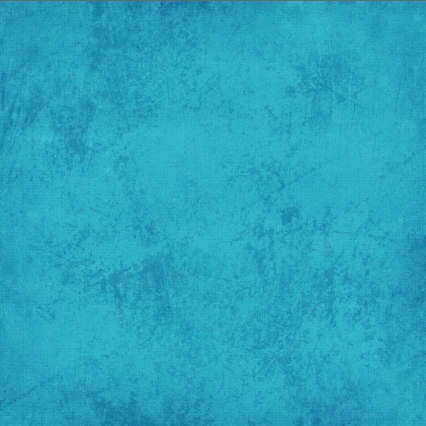
Let's start with a blue mostly solid paper and the texture overlay.

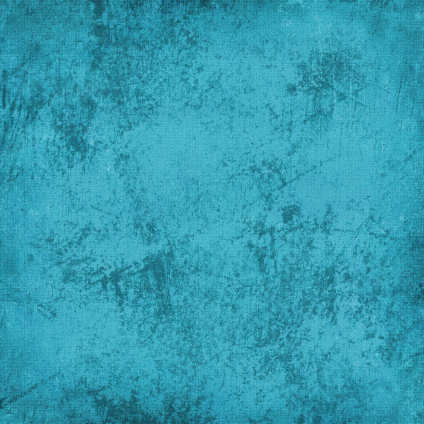
Once the texture overlay is on top of the blue paper, changing the blend mode will yield very different results, depending on the Blend mode selected. Here is with the Multiply.

And using the Overlay blend mode, we get a lighter result.
Using the Hard light blend mode will keep a lighter base color, but the texture will be darker.
In addition to the variety of Blend modes that you can use, you also have the option to change the opacity of the overlay layer to make your texture more subtle if you want. And then, why not combine more than one texture overlays? Yes, you can do that, and the end results can be infinite.
How to use edges overlays?
Depending on what is on those overlays, you can use them in the same way as the textures overlays. You obviously don't want to paint them, so you will play with the blend modes to create different types of edges around your papers (or photos). However, you can also use those edge overlays as masks and the edges will be "trimmed" from the paper or photo.
In order to use that overlay, keep it open on your workspace. Then, activate the image you want to mask. Go to Layers > New Mask Layer > From image. At this point, you will get a drop-down list of all the images you have on your workspace, including the overlay you want to use.
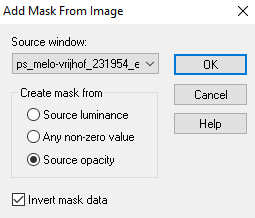
If the overlay is in .png format and the center is transparent, use these settings:
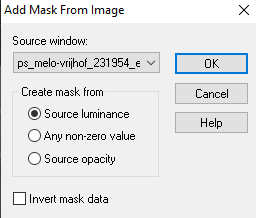
However, if that overlay is in .jpg format, with the center being completely filled with white, you will need to use these settings:
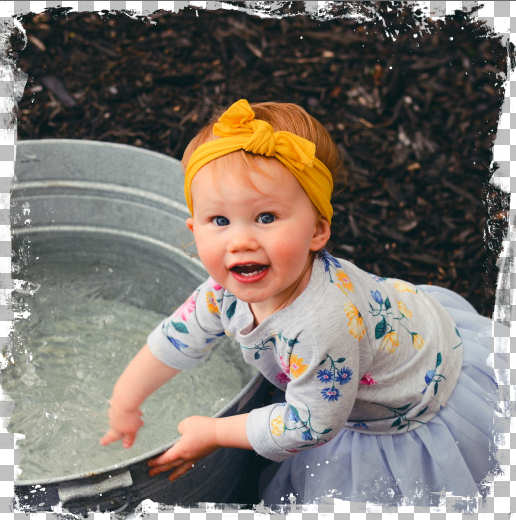
And this is the result of using this overlay, as a mask on a photo:
As you can see, overlays can be great tools to create a variety of effects and even expand your current supplies to make new ones.
What will you do now?
Overlays on this post can be obtained at PixelScrappers, here, here and here.


1 thought on “Using overlays in PaintShop Pro”
These tips will help me a lot in future projects using overlays.