

In various projects, adding text is essential, whether it is for a title, a name or additional information. By default, text will be displayed in a straight line. However, with PaintShop Pro, one can get very creative and place the text in different ways, following a different path.
What is a path?
Any vector object created in PaintShop Pro can be a path and can be used to add text to. You can use the Pen tool and create free-flowing lines. You can use any preset shape that is available in the program or that you have downloaded or created. You can even use text if it is created as a vector.
Create your path
When you create the path, you can create it with a fill or a stroke or both, depending on the end result you are after. Do you want the text to follow the path while in the end, the path will be visible or do you want the text to be on its own? One interesting thing is that, since the path will be a vector, you can always change your mind later and add or remove the stroke or the fill.
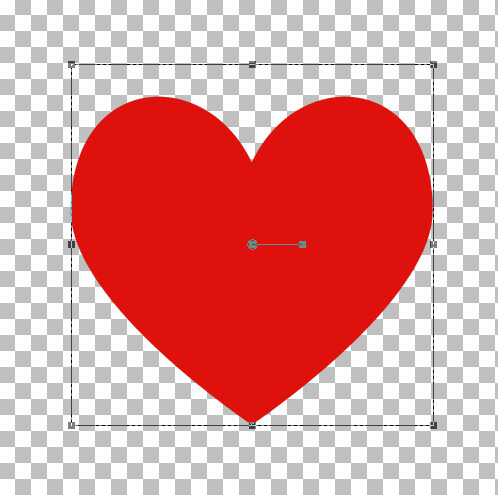
So, let's create a simple shape. I will be using this heart shape.
Activate the Text tool
Once you have your shape drawn, activate the Text tool. Although you can use the same color as your path, you can also choose something different. Just for better visibility, I will change the color, in the Materials palette to a black fill (and no stroke).
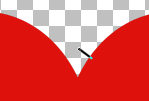
Once you have selected the color for your text, hover your cursor close to the edge of the path. You will notice that the cursor will change shape: it will rotate to the left and show a little curve underneath.
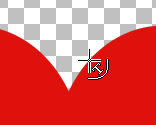
Once you see your cursor change like that, it means that it is going to be anchoring to the path. Click and you should see the blinking cursor appear where it will expect you to enter the text.
Type in your text
This is where you can type or paste the text you want to display along the edge of that shape.
If you want to change the color or the font of your text, simply select all (Ctrl-A), which will highlight all the text, and you will be able to choose a different color for the stroke or the fill of your text. Beware that text without fill might become difficult to read when it is along a path like this. If your text is much too long or too short for the length of that path, you can also adjust the font size.
Adjust the spacing
If your text is still too long or too short for the whole path, you can adjust that by changing the Kerning. Find the three lines on the Text toolbar that says More Options when you hover over it. That will display several options, including the Kerning.
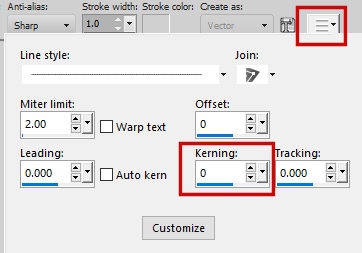
In older versions of PaintShop Pro, the Kerning setting is in plain view in the Text toolbar.
![]()
If you increase the Kerning, it will increase the spacing between the characters that are highlighted, and if you decrease the Kerning value, it will make those characters come closer together. Here, I increased the Kerning to 25 and you can see that the text is slightly longer than it was, filling the length of the path.
Remove the path
If you want the text to stand on its own, without the shape inside, it is the time to hide it. And this is important: you HIDE it and NOT delete it. If you delete the shape (therefore the path), the text won't have anywhere to go and it will revert to the ordinary straight text.
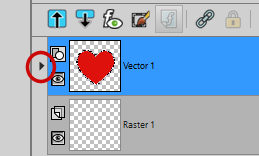
Go in your layers palette and click on the little triangle on the left of the Vector layer to display the text and the shape objects.
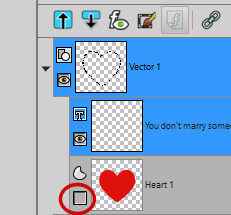
And now, you can hide the path/shape object while keeping the Text intact.
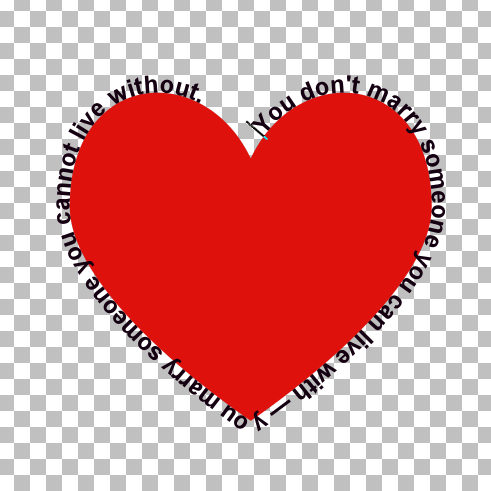
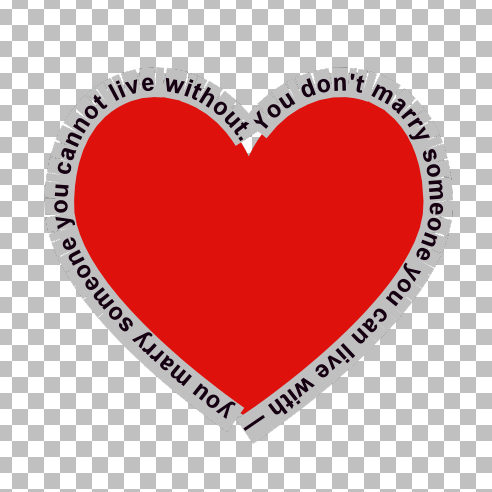
And here is the end result.
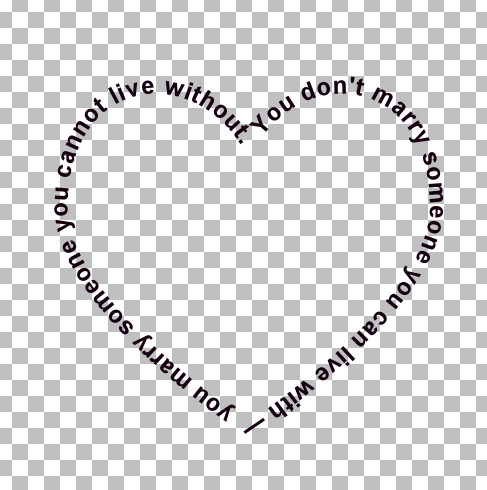
Once you are happy with your text, you can convert it to a raster layer, which would allow you to copy and paste it onto any other project. You can also keep it in its original format, as a vector, which would give you the option to resize it any way you want but for that, make sure you keep that hidden shape because without it, you have no more text on a path.
What else?
You can use this type of text on any other shape you have or that you can draw. You can use such text to frame an element on a photo, or just to add meaningful information in an original way.
If you want to create text on a path, but need some text in the opposite direction (like the bottom part of a logo), you can read this article.


6 thoughts on “Add Text Along any Path”
On my 2018 edition I am clicking on the little arrow but it doesnt make the heart disappear. Is there another way to make that happen?
Once you click on the little Arrow, it will show the different objects. You have to click on the eye to hide it.
Thank you so much I got it.
This is great thanks for the info.
I can’t thank you enough for this tut!!!! So very appreciated.
I want to be on here more often but RL just doesn’t allow it, but the minute it does I will be here:-0
I have your book and it’s so VERY helpful and I want you to know it. I have used PSP since version 1 but I am not a person that will “try anything” on my own and having encouragement from others is a big help and YOU ARE a big help with your scripts and tuts!!!!! thank you:-)
Ellen
Thank you.