
You might have gathered some digital laces, either by purchasing them, by extracting them (that is quite a chore) or by using picture tubes. Sometimes, they might be exactly the color you want, but most of the time, you might have to use whatever you have on hand. But that is not the case when you have PaintShop Pro. In fact, there are several ways you can change the color of lace using different techniques. Let's have a look at three of them.
Colorize
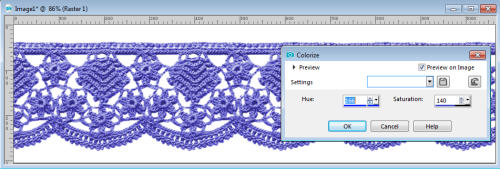
The first and probably most common way you can change the color of lace would be to use the Colorize command. You can find it under Effects > Hue and Saturation > Colorize.
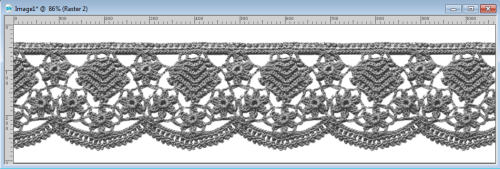
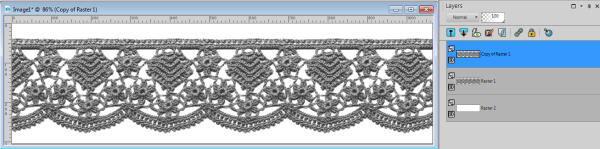
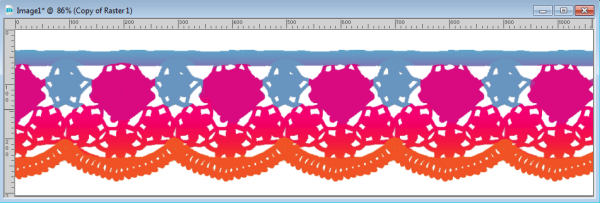
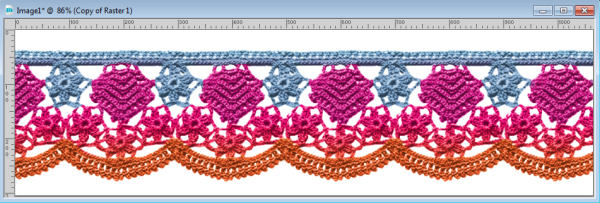
Let's take this basic crochet lace (made using the Crochet Lace tube available HERE). I place it on a white background layer for better visibility.
By using the Colorize command, I can adjust the Hue and the Saturation separately, leading to a variety of colors, like these:

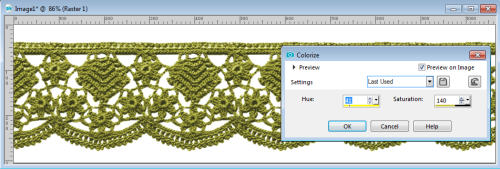
Although you can adjust the colors pretty well, some colors (like the yellow) don't always come out as clear as you would want, which is why you can use a different approach.
Hue/Saturation/Lightness
Although this command might seem quite similar to the previous one, it has the option to tweak the Lightness too, which will give you even more possibilities as far as colors. Make sure you check the Colorize box and then, play with the three sliders to get the color you want. Using the same setting for the Hue, see how that green can be tweaked for different effects based on the Saturation and the Lightness settings.


Blend modes
This technique requires a few more steps, but will also allow you even more flexibility to colorize differently. Blending a colored layer with the greyscale lace will yield different colors. You might have to experiment a little since the resulting color might not always be exactly what you would expect. But let's start with the basic preparation steps.
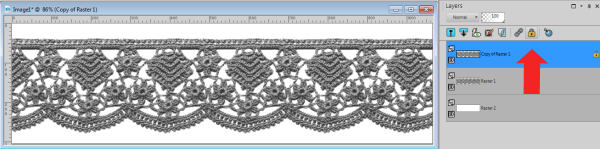
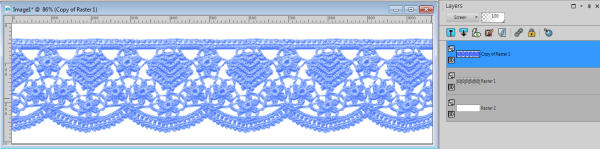
First, right-click on the layer where the lace is, and select Duplicate. This will make a second layer exactly the same as the first one.
Then, lock the transparency; you should see a lock icon; click on it.
Using the Brush tool paint over your lace using any color you want.
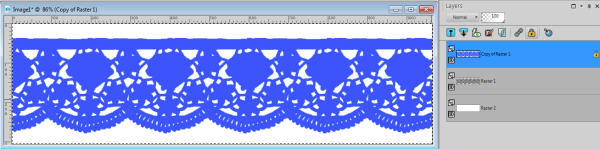
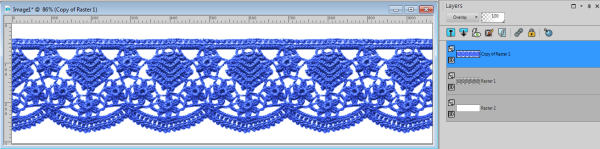
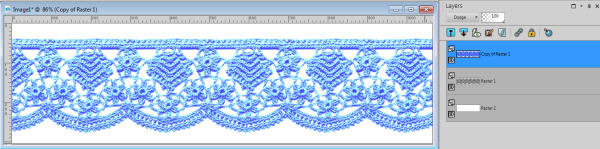
Now, you can unlock the transparency by clicking on that lock icon again. It is time to play with the blend mode and see which one would give you the color you want. Let's see how the same color to start can give a completely different result depending on the blend mode you are choosing.
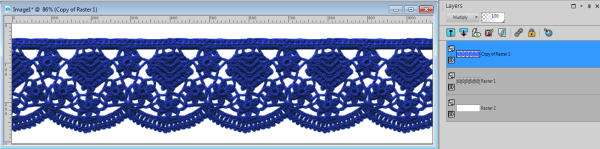
With Multiply:
With Screen:
With Overlay:
With Hard Light:

With Soft Light:

With Dodge:
The advantage of using the Blend modes is that you can also use a gradient instead of a solid color, and using various blend modes, you can get some very interesting results.


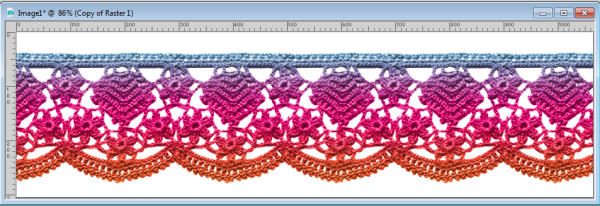
Finally, you can even use your Brush to paint only sections of that area with different colors.
And when applying the Overlay blend mode, we get this:
Once you are happy with the colors and blend mode you choose, you can merge the two layers and you have a brand new lace to match your project.
What technique will you use next?


4 thoughts on “3 ways to colorize laces”
Love this!
Oh WOW! That is great. I will have to try those techniques out.
I enjoyed this but I could find how to do the blend one of how to use a gradient in the colouring x
When you have duplicated the layer and locked the transparency, you can “paint” that lace with a gradient or any other design before changing the blend mode.