

When taking pictures in any busy area, it might be hard to avoid extra elements in the photo and the more popular the landmark or area is, the harder it would be to have only your group in the frame. How can you take care of that? With PaintShop Pro, there are various tools to get rid of something and pretend that you were the only ones at that place!
Pick your photo
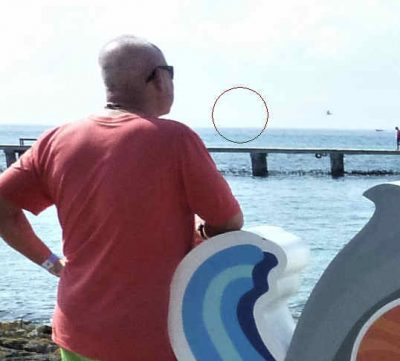
Although PaintShop Pro can help you get someone out of the picture, not all pictures can be salvaged in that way. If the extra person happens to be in front of you, it would be much harder, and sometimes extremely tedious to work with. Try to find a photo where the extra person is not in plain view, and not too large.
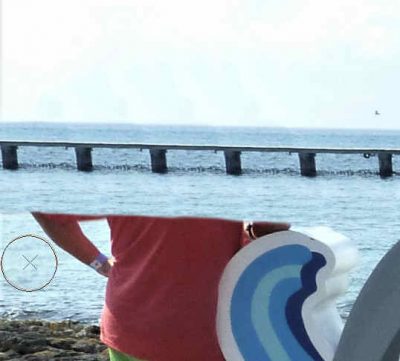
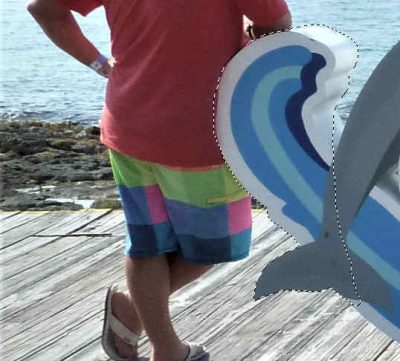
We are going to be using this photo provided by Stephanie Liszniansky.

Different ways
Depending on the location of the photo bomber, cropping a photo might be enough, but in this case, cropping would also cut off part of the sign that is obviously the important element in the picture.
The Magic Fill could work on other types of photos if the section to remove was clearly separate from the important elements which is not the case in this photo. The person leaning on the sign is obviously too close to use that tool.
The Clone tool is probably the older tool that one has used in PaintShop Pro and is the one we will use in this example.
Start easy
The Clone tool will copy a section onto another one. Let's set our tool for best results. In the tool options, check the Show Overlay box. This will be very helpful in lining up any line you will try to clone. Then, since the photo bomber is very close to an element, we'll add a separate layer so we can manipulate the cloned area separately later on. Finally, in order to clone onto a separate layer, check the Use all Layers option.
![]()
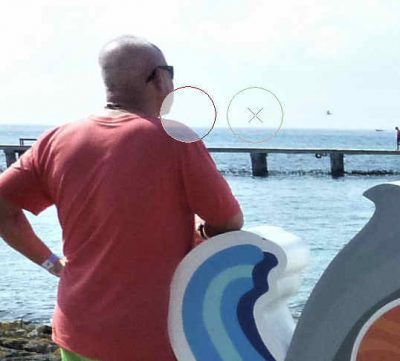
Let's start by finding a straight line that we can "continue". I will pick the horizon (it should be straight, right?). In this photo, I will right-click on the area that I want to source which is on the horizon, not too far from the head that will want to remove.
Since you can see the overlay, align the horizon as well as you can.
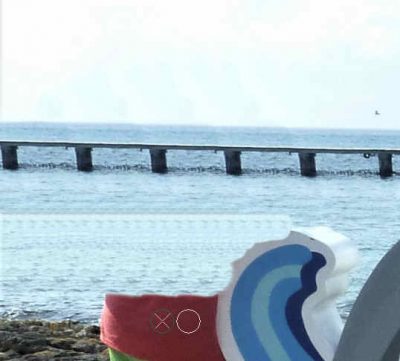
Continue to clone the horizon the full length. It is possible that after a few steps, the horizon won't line up anymore but since it is plain, we can just continue up to the edge and replace the existing horizon with a cloned one. After all, nobody will see the difference.
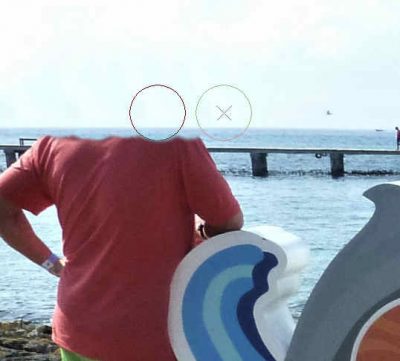
When we get to the bridge, I checked and it was no longer lining up, so I right-clicked to get another source, and then, align it better to cover the shoulders. I continued and just like the horizon, the existing bridge can be replaced by a cloned version which will be quite similar, even if not identical.
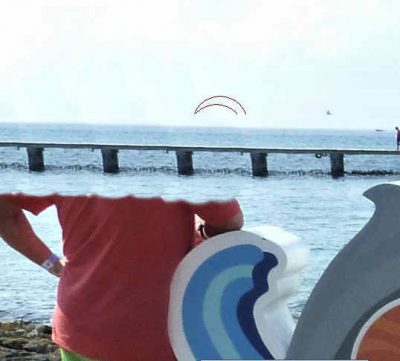
Continuing the process, there is little space on the right of the subject to clone onto it, so we can go to the left. Here I am selecting a source under the arm, where the water is.
Let's clone toward the right as far as we can even overlapping a little, the sign. Since we are working on a separate layer it won't really overwrite it.

If I wanted to use the same source a little further up, I would catch the edge of the photo, which will give an obvious line, so I will size down the clone tip and repeat the process. It is great to follow the line of the water as it will blend in better.
I continued and went as far as possible, up to the element that I will be keeping, from the sign. I will be able to cut it off later.
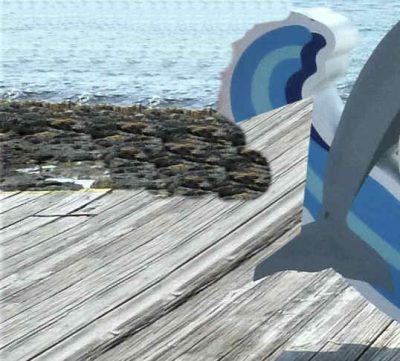
By repeating the same steps over and over again, we can see some obvious repeats in the pattern. Don't worry, it will be tweaked later. Let's do something similar on the edge of the water, and since the rocks don't have to be perfectly straight, I can be "less accurate" and still get a good result. Let's continue, even to the point of overlapping the edge of the deck a little.
A bit more tedious
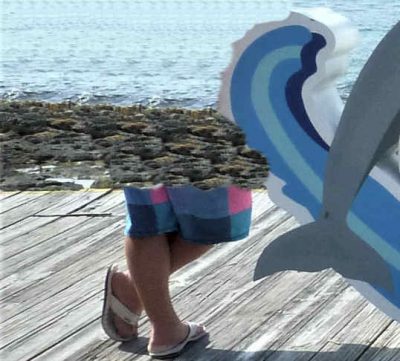
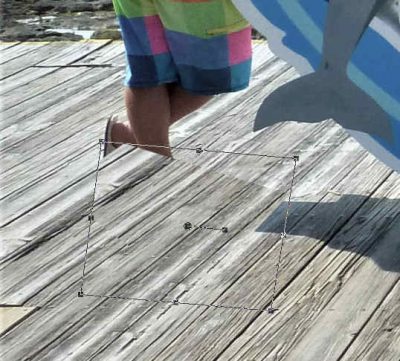
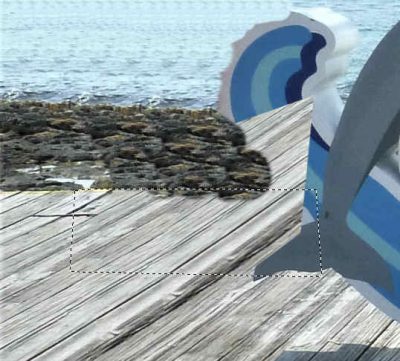
Now, we are onto the wooden deck. We cannot use exactly the same approach because although the planks are straight, they are not parallel so cloning them as we did for the water would result in wider planks where they should be narrower. So for this part, I will, instead, make a selection of planks in the same area.

Then, I promoted that selection to its own layer and moved it to cover the feet.
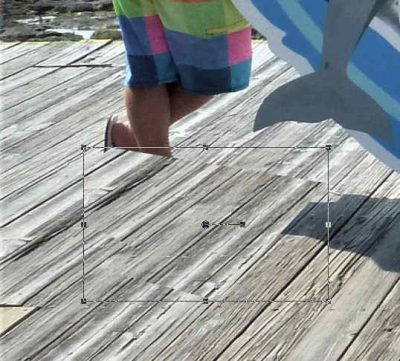
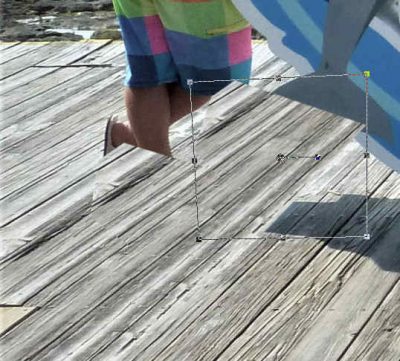
Using the Pick tool, I need to adjust the alignment of the planks with a little rotation, and using the nodes, narrow the top area so they line up with what is visible. I set the mode to Free so I could move the nodes independently.

More tweaking is needed to align and add the proper perspective.
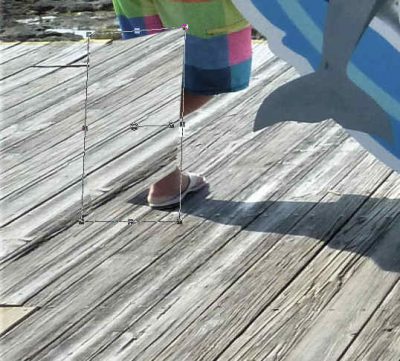
Then, I will duplicate that layer and move it further, to cover up to the sign again. As before, I will use the Pick tool to adjust the size, angle and perspective the best I can.
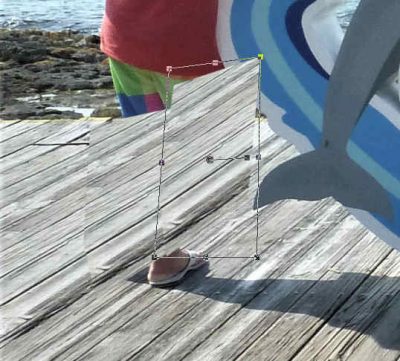
In order to cover more of the photobomber, I will make a selection of more planks in another area. Notice that those are a bit lighter in color so by continuing them, it would be more appropriate than the darker planks we used before.

I promoted that selection to its own layer and adjusted it to match the alignment.
Since that section does not cover the subject, I duplicated it and repeated the process further.
As we can see, here are the three segments we used to cover the legs. The top two layers were almost perfectly aligned, but a vertical edge was visible. That is where I used the Eraser tool set to a Hardness of 40 and an Opacity of 40 to smoothen that edge.

I will also have to adjust those edges in other places so they match the original image.

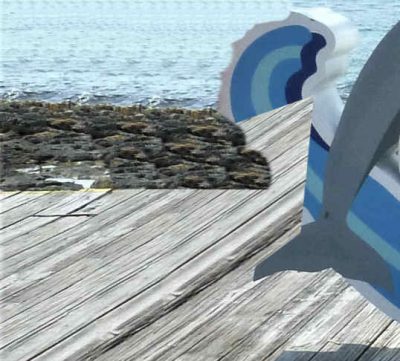
As I hid some layers to see better, let's unhide them all. We can see the subject is completely covered by various layers.
Final touches
The rocks are now covering the edge of the deck. That will be an easy fix as we can use the Selection tool to select an edge for the deck.
Let's just delete that section from the cloned layer.
I said, earlier, that we would take care of the water that seemed to have too many obvious repeats. Here, I used the Clone tool again, and I changed the Opacity to 40 and cloned a few areas. Instead of making a straight line or covering large areas, I would pick a source and randomly clone around, covering some of those repeats, and then selecting a different source. That will make the edges better blended.
Let's now take care of all those layers covering the sign that we want to keep. Let's hide all those extra layers so we can work based on the original image. I selected the part of the sign that was partially covered. You can use whatever tool you find easier to use.
I promoted that selection to its own layer, deselected and moved it on top of all the layers. I now unhid the various layers I created.
This is pretty good except for the fact that some of the guy's shirt covered the edge of the sign and also created some kind of faint shadow on it where the white is darker. Let's take care of that.
I locked the transparency in the Layers palette; this will allow me to paint on the edge without going over. With the Dropper tool, I picked a white that is NOT in the shadow of the subject. Then, using the Brush tool, I simply painted that shaded area so it became more uniform.
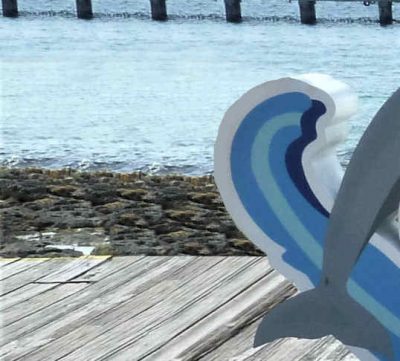
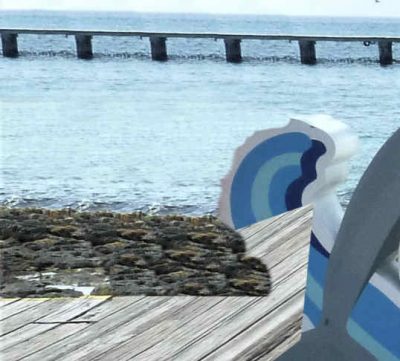
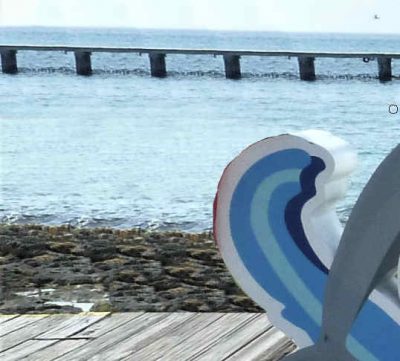
Finally, we have our original photo without the photobomber and we didn't even have to crop the photo!

If you want more information about more tools you can use to get rid of some elements in a photo, we have a full-length class called Get Rid of It.


