
Since several versions, PaintShop Pro started offering the Photo Blending option. This option can serve various purposes but mainly could be used to add or subtract elements from a particular scene. It can help you be quite creative!
What you need
As you might expect from the name, photo blending will require at least two photos to accomplish what it is meant to do. Ideally, you need to use two or more photos that were taken with a tripod or a very stable base. The reason is that those pictures will be blended so any shift in the background will end up as a blur or a ghost image.
Get started
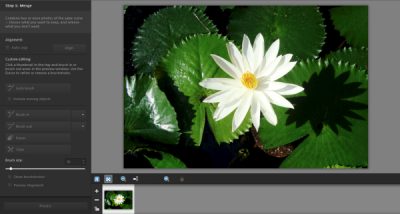
The command is easily accessible through File > Photo Blend... (did you ever notice it?). That will bring up a completely new window for you to work (the flower photo is one image that appears by default).
Since you likely don't need that flower photo, click on the - sign to the left of it, to remove it. Then, click on the + sign to add your own photos. They will appear in that section of the window.
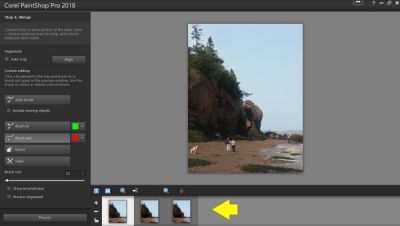
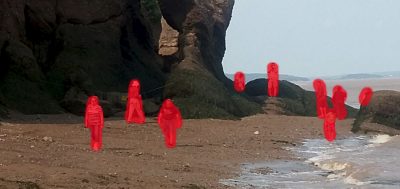
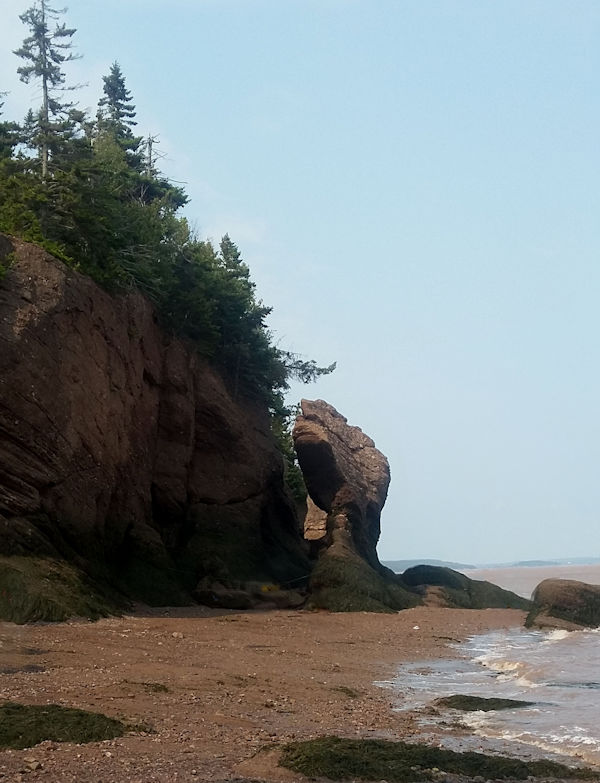
Now, the fun part will start. You have access to two brushes: one red that will indicate what to remove, and one green that will indicate what you want to keep. You can choose either one of the brushes or both, on each photo you have. In this example, I want to remove the tourists that showed up in my photos of Hopewell Rocks. I will use the brushes to select all the individual people in that first image.

You can adjust the size of the brush tip depending on what element you want to remove. You can also zoom into your picture to get a better view of that detailed work you do.
Now, onto the second photo.
And the third one.
Once you have selected all the sections you want to be removed, you can click on the Preview Alignment on the bottom left. It will show your image as it would end up while having removed (or added) every section. This will also show if there is any specific area that is removed from every photo, meaning you would have nothing left. It will appear as a black spot. You can then, either adjust the sections to be removed, or leave them that way and use the Magic Fill function afterward.
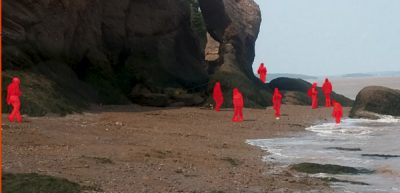
And here is my image, once everyone was removed.
Isn't that a nice end result? Everyone is gone! It is as if I was there completely alone! A fun cheat!
This tool can also allow you to add people. For example, using the same photos, I could choose to add all the tourists at once so instead of highlighting in red like in the images above, I would paint them in green to add them to the composite and I could end up with something like this:
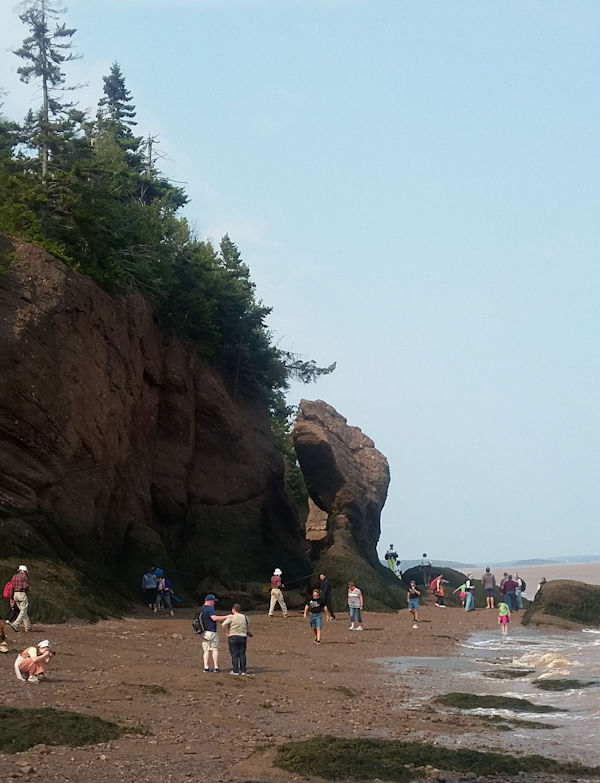
It looks like a busy place, doesn't it?
And you can be creative by adding images of your dog, the feathery visitors in your garden or your grandchild. It is a great time to let them clown around and create a fun composite.

What will you do with this command?


3 thoughts on “Photo Blending with PaintShop Pro”
Love how clean everything looks after using this technique. My problem is that I cannot take pictures and relies upon family members. It is not often that I would have three photos of the same image or place. I will just have to relearn how to remove a background. This is truly interesting. 🙂
Wow, I’m going to go play with this and see what I can do.
That is awesome. I can think of quite a few things to do with this technique using different photos also.