Ribbons (or tapes) are common elements in digital scrapbooking kits and layouts. If you have straight ribbons, you might want to use them in a different way, and fold them to create various elements. Folding a ribbon is more than just layering two pieces to make them "look" folded. An incorrect fold will often give an odd look, even if the viewer is not certain what is wrong. Let's see how you can fold a straight ribbon the right way.
Using a straight ribbon
You can use ANY straight ribbon for this technique (although some ribbons might need extra steps). I'll be using a ribbon from Melissa Bennett. It is a long ribbon so I'll have many options in using it.
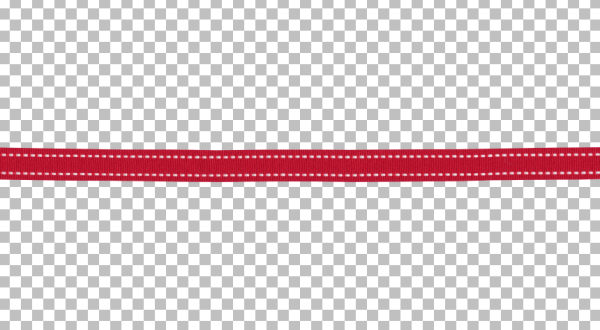
Cut what you need
If you want a folded ribbon, you will need to decide how long a section you want. You are unlikely to want to use the full length. Select one section using the Selection tool.
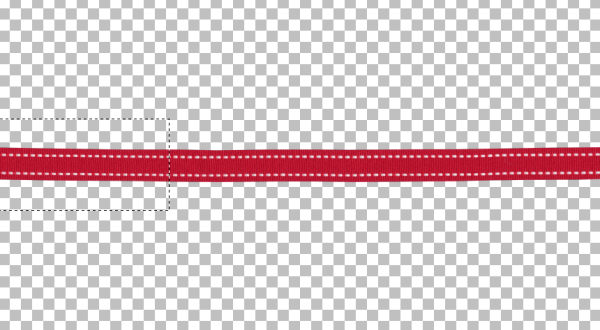
In the Layer palette, right-click on the layer and choose Promote selection to a layer. Then, reactivate the initial layer (with the full-length ribbon) and hit the Delete key to remove that section from the original.
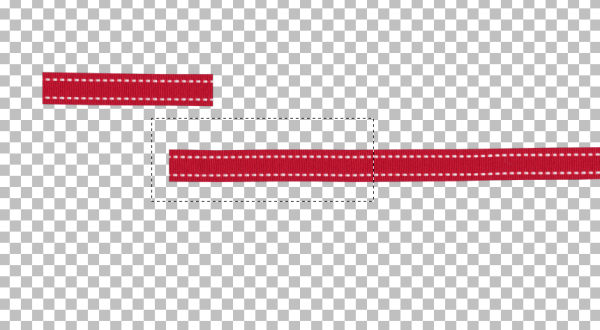
Repeat for a second section to complete your first folded piece. If you have extra that will not be used, just hide that layer so it won't distract you.
Angle the pieces
Now that you have the two pieces cut to the length you need, rotate them how you want them.
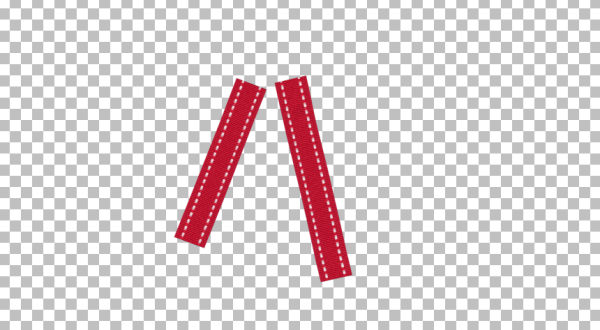
Obviously, you will now need to overlap them at the top tip.
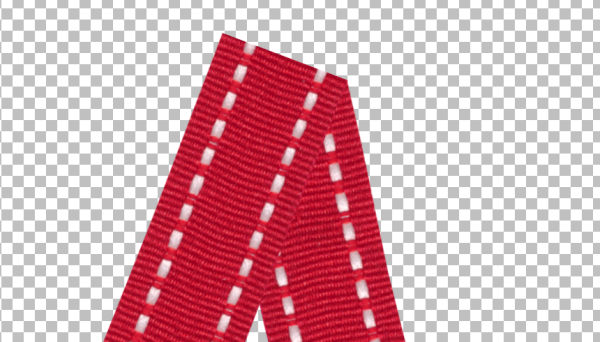
Typically, you will see tutorials suggesting that you align the visible "corners", like this one:
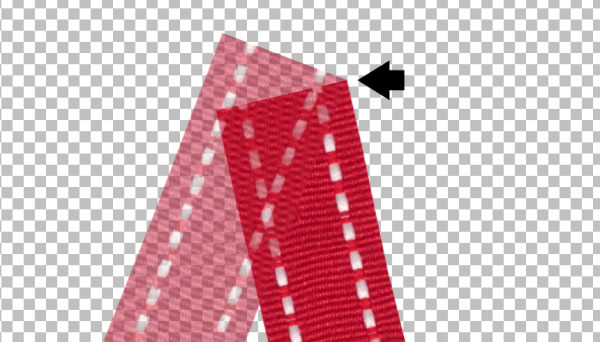
But although the corner is aligned, you can see that the other side will not align.
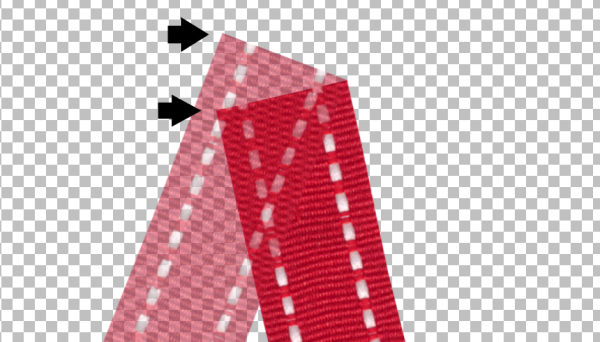
Align the right way
You might think that if the ribbon is opaque, it won't matter, but it will, as the angle will be incorrect based on the fold of the ribbon, and it won't look realistic. You need to "align" both ends AND find the perfect angle, which will depend on how you rotated your ribbons. You don't want to do the math, do you? There is a simple way. Overlap the ends of the ribbon so you actually see FOUR corners extending beyond the other ribbons, like this.
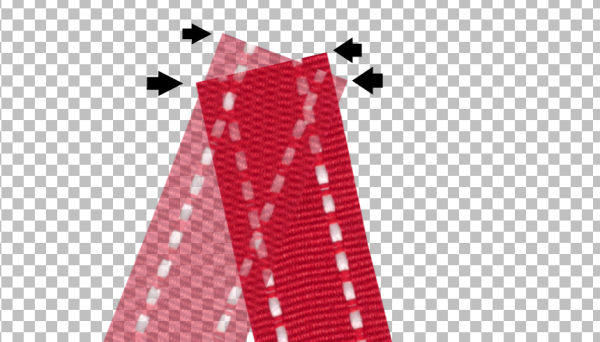
Notice the junction points just below the bottom two "corners" where the ribbons start overlapping.
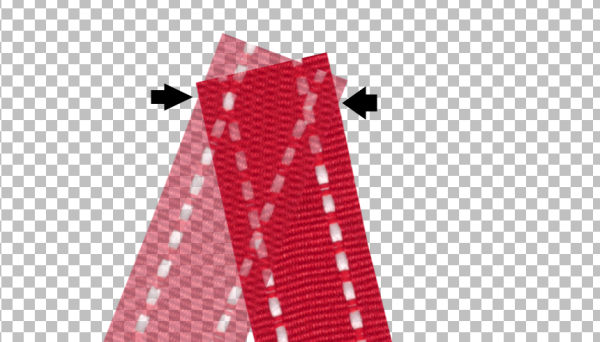
Using the Selection tool set to point to point, draw a selection from one of those angles, to the other, and then include the rest of the ribbons on top.
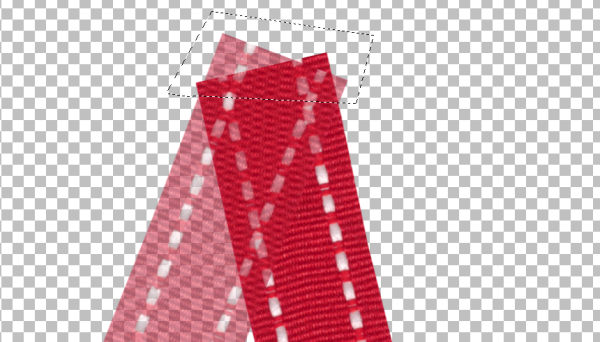
Hit the Delete key on your keyboard for each of the two layers.
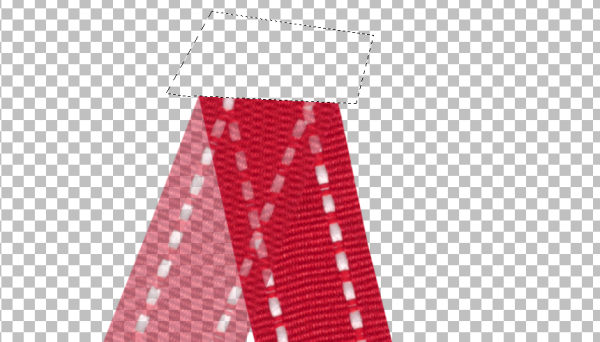
Do you see, with the transparency (for visibility purpose) that the white stitching looks continuous from one piece to the other? That is what you get with a correct way to cut/fold the ribbon. Deselect and rest the transparency back to 100%.
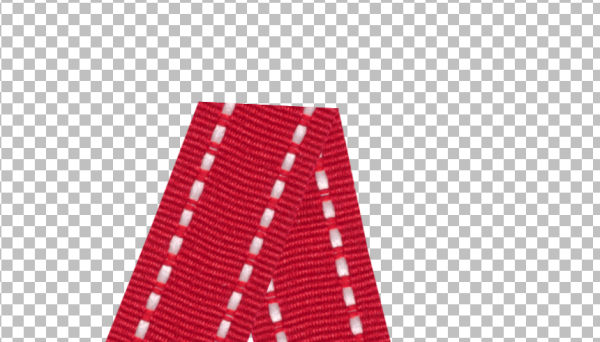
And once you add the proper drop shadow, you will see how this ribbon is now folded in a very realistic way.
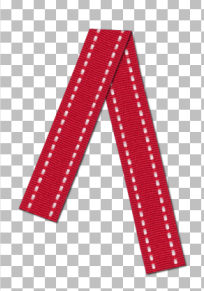
Remember to add the shadow on a separate layer so you will have even more options to tweak that shadow to give more movement to your ribbons. Add a fastener (a staple or a button) on top and your ribbon will be ready to add to your project.
Of course, you will have to add more steps and other techniques if you have a directional ribbon or any ribbon that is not symmetrical or is translucent. Do you want to learn even more tricks on using ribbons for your digital projects? You can purchase full-length master classes here:
Or join our DIAMOND membership and get immediate access to those three classes and hundreds more classes and tutorials.





3 thoughts on “Folding a Ribbon the Right Way”
grazie anche per questa spiegazione
sei grande!!
OMG, how much fun was that?
Thank you for this tutorial. So easy to understand for a great effect. Appreciate it!!