

Privacy is important, and sometimes, we might want to show someone in a photo but another person happens to also be there. Cropping might be an option in certain photos, but not all the time. Maybe you want to showcase a scrapbook page in a gallery but you don't want your child's face to be visible. Whatever the reason is, there are ways to hide some faces in a photo, using PaintShop Pro.
Get ready
Whether you need to hide one face or many, remember to always work on a copy of your original. Maybe now, you need to obscure a face, but maybe, later, you will need a version without any masking, so never work on your original. Open your image, and duplicate it. A great habit to take.
Cover it
I remember, many years ago, there was a game show on TV where contestants had to guess the name of a public figure from a photo and a headline, but the photo always had a piece of black tape over the eyes. I was amazed how the absence of the eyes made it so hard to identify the person. This approach is very easy to replicate using PaintShop Pro. You can do that in two simple ways: either you draw a rectangle on a new raster layer and fill it with grey (or another color of your choice), or you create a rectangular vector shape. Either way, you can block off the eyes and end up with something like this.
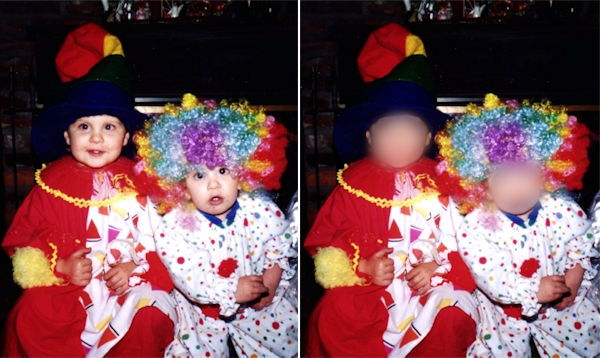
Blur it
Another method would hide a larger area of the face, which is to blur it. It might stand out less in a photo, but still, protect the person's privacy. For this type of masking, select around the face you want to hide, using the Freehand Selection tool, add a little feathering (could range between 5 and 20, depending on the size of your starting image), and add a Gaussian blur. Again, the exact settings will depend on your starting image.
Smudge it
Another simple method would be to "smudge" over the face. For this, you find the Smudge tool (often accessible by clicking the little arrow beside the Lighten/Darken tool. With a size close to about half of the size of the face you want to hide, and an Opacity and Hardness around 50, simply smudge over the face. You can use a circular motion until the whole area becomes a single blurred color.

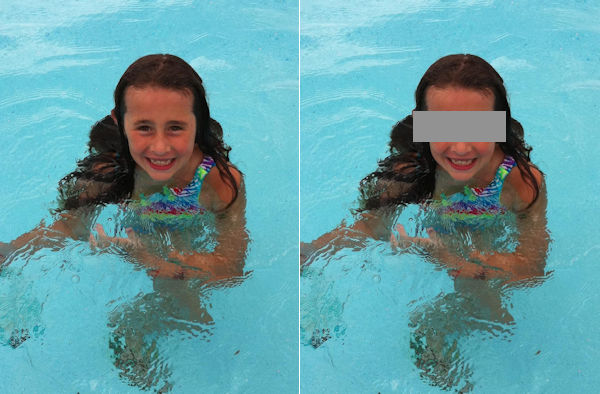
Pixelate it
Another way is to pixelate the area. We have often seen this type of masking in various videos clips when some private parts would otherwise be seen. For this technique, you simply select the area you want to mask, add some feathering (so the transition will look smoother) and then go to Effects > Distortion Effects > Pixelate. From there, you can adjust the number of rows/columns to fit the size of your image and the size of the area to cover.

There are various reasons you might want to obliterate a part of your photo, whether it is to hide a child's face, a license plate, a phone number or other private information. Don't hold back on taking photos of meaningful places, people, and events since you can always protect anyone's privacy with a few tools in PaintShop Pro.


2 thoughts on “4 Ways to hide a face with PaintShop Pro”
Pixelate. Instructions say to select what I want to cover. But it does not say how to select the area. I tried the pick and other tools, then went to Effects >distortion>pixelate and nothing happens. There is not button or other indication I can find that says something like “apply” as we find when cropping.
You can select with the selection tool, whether it is using a Selection in the shape of a rectangle, a square or a circle, around the face (or other section) you want to hide. Then, you go to Effects > Distortion > Pixelate. Does that help?