
You might have seen the check box for Anti-Alias when you are activating a selection tool in Paintshop Pro, but what is it really? Why would you need to check that box? How will it affect your selection? Let's have a look at this function.
Pixels are square
All the images that you open in Paintshop Pro, or in any program, is made up of pixels of different colors.
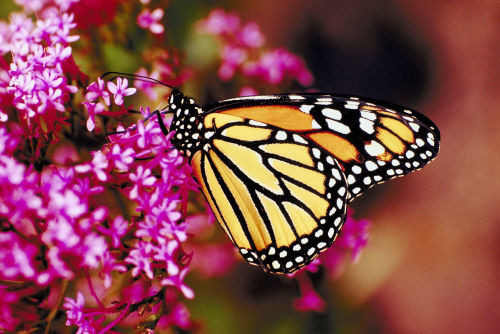
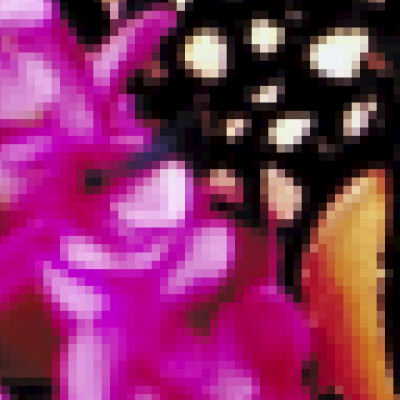
If you are to zoom in very closely on an image, you would see that individual pixels are square blocks of different colors. Their combination makes the image your eye sees.
Playing with blocks
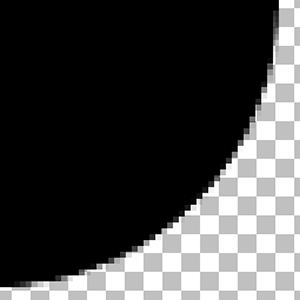
Imagine now, that you have a million of square blocks and you want to draw a circle with them how smooth can you make the edge of that circle? If you were to draw a huge circle, the overall appearance of the edge would likely seem smoother than if you were to draw a smaller shape, yet, it would still have some "sharp" corners of the blocks. Here is an example of the edge of a small circle, where you can see the individual square pixels.
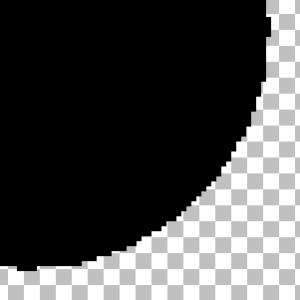
That is the only way you can create a curve with square blocks, but that is not very eye-pleasing, right? In drawing that circle, I had the anti-alias box UNchecked. So my shape didn't have anti-alias on. But what does that mean?
Fading pixels
If you look at this same circle, drawn with the Anti-alias box checked, you will immediately see an obvious difference: there are some faded pixels instead of the basic black ones as in previous images.
Although those pixels will look as they are grey, they are still black but have fading transparency. Look at this very zoomed in segment where you can identify the various pixels that are faded.
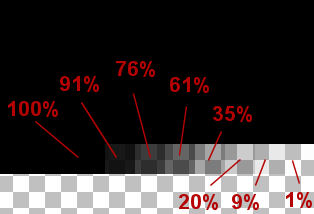
These fading pixels will give a much smoother edge, even if the pixels are still square; you just don't see that obvious jaggied edge anymore.
Adding anti-alias afterward
If you have an element that was possible drawn or even extracted and has obvious jaggies, can you fix the issue and smooth that edge? Good news, yes you can. Have a look at this edge of an extracted element:
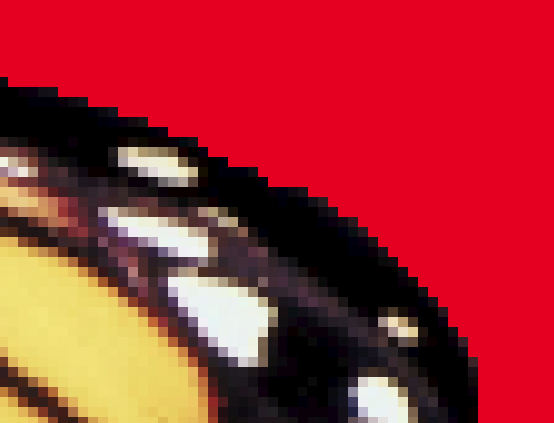
You can see that the edges are jaggied with obvious square pixels that are fully opaque (the red is only a background layer for better visibility). If you select outside the shape with the Magic wand tool, and go with Selection > Modify > Base shape Anti-Alias, you will see that the selection will slightly expand into the element. Some pixels will then be "selected" but with gradual transparency. You can hit the Delete key and see that the edge is now "anti-aliased" like this:
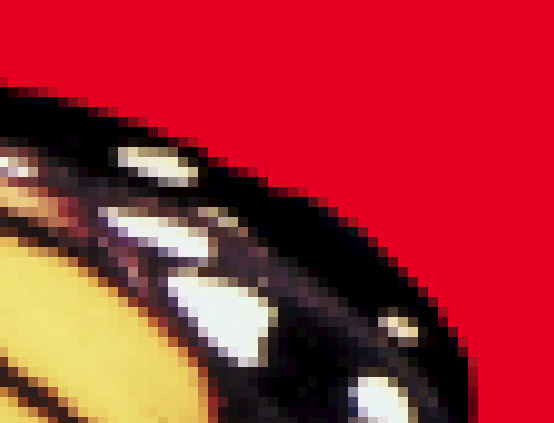
And you see that this edge is now softer, as if you had selected the shape with the anti-alias checked in the first place.
So now, make sure you keep that anti-alias box checked, whenever you want to draw a selection to prevent jaggies as much as possible, and if you forget, you can always "recover" it later.


6 thoughts on “What is anti-alias?”
grazie molte era tanto tempo che cercavo queste istruzioni
sei molto brava e gentile
I agree Dianne, I didn’t know about Base shape Anti-Alias either, it will something I will use in the future.
Thank you so much for this explanation of what the anti-alias is. Does it hurt to leave it checked all the time regardless of what you are doing?
I think it is actually a good idea to keep it checked all the time. My guess is that it is more likely that you will need it, than not need it. But keep in mind that sometimes, it can get unchecked accidentally, or when running a script, or performing other commands, so just keep an eye on it and keep it checked as much as possible.
Me too Dianne. I have ‘tubed’ images for a very long time and never knew about this function, choosing to go the long way round to put some graduation back on edges that were too sharp. Got to try this now. Thanks Cassel, your knowledge is awesome.
Yet again you taught me about something I didn’t know. Had no clue about “Selection > Modify > Base shape Anti-Alias”. Excellent explanation. Thank you!