

Sometimes, you might download or purchase a quick page and you would like to add shadows where there isn't any. This can be a challenge or it can be easy. It all depend on the element you want to shadow. Single color elements or those with very defined edges will work better.
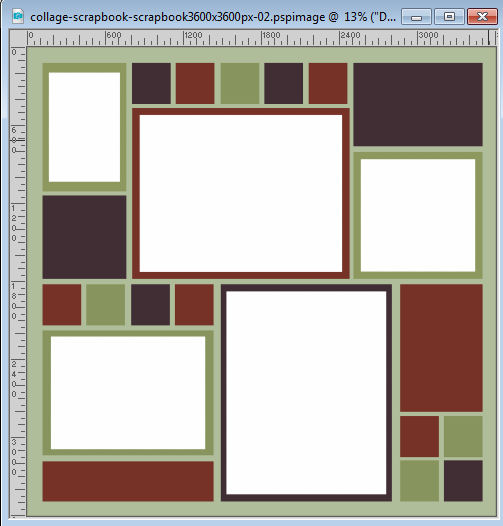
Choose your page
In Paintshop Pro X9, some new templates have been added. Although they are called "templates", those who are familiar with digital scrapbooking, will immediately recognize those as quick pages. They are mostly meant for beginner scrapbookers, which is why they are simple. Once you have a good grasp of the program, you can surely create your own. But let's get back to this example.
I picked this layout. The reason I chose this one is because it has simple lines and shapes and has no shadow at all.
Select the element
You might want to add shadows to all the frames, which would be logical, and leave the smaller squares as printed elements, with no shadow. Or, you might want to add shadow to the frames AND the squares, as if they were pieces of paper, glued to the background. Or, you might want to add different types of shadows to the frames and the squares, as if they were of different thickness.
Activate the top layer in the Layer Palette; the one with all the designs.

Using the Magic Wand, adjust the settings to these values:
![]()
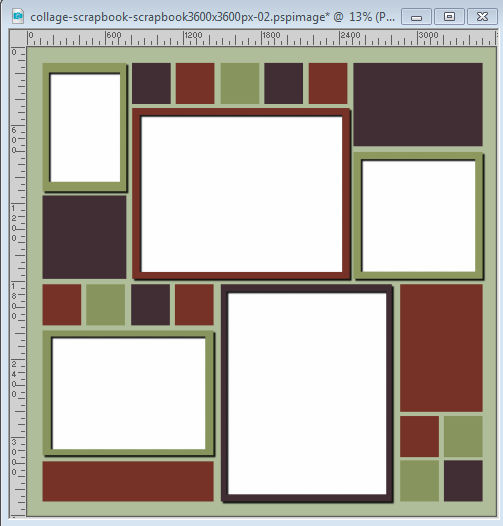
Select the element you want to shadow. If you want to select more than one at the time, hold the Shift key to select each one. Here, i'll select all the frames.

Promote or not
Here you have two options: you can promote that selection to get a separate layer with those frames, or leave it as is. Promoting the selection to a layer will give you more control if you want to tweak the result later, but if you just want to add a simple shadow, you can leave at it.
If you want to create a separate layer, right-click on the layer in the Layer Palette, and select Promote Selection to a Layer. Then, you can deselect with Ctrl-D or Selections > Select None. You will then see a new layer in the Layer Palette.

Add the shadow
Now it is time to add the shadow you want using Effects > 3D effects > Drop shadow.
Since the image is fairly large, you want a shadow that will be visible, but not too blurred. Remember that if the frames are ON the page, the shadow will be smaller than for a floating object, and also not too blurred.
I am adding the shadows with these settings:

And this is what I will get as a result, on my page.
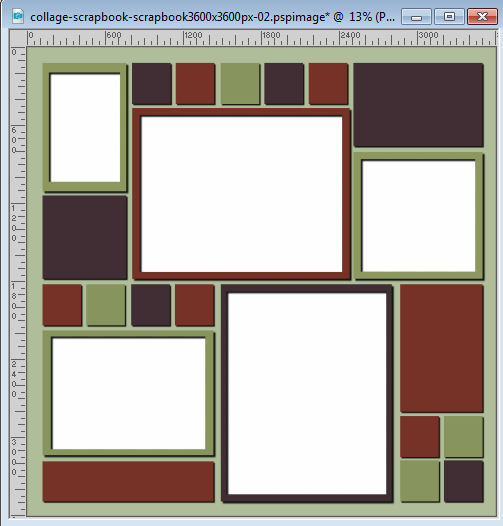
Let's repeat now with the smaller squares and rectangles. On the template layer, select all the squares and rectangles you want to shadow.
Add your photos
Since those templates have empty photo spots, you obviously want to fill them with your favorite photos. Simply open the photos, one by one, and copy and paste them under each mask. That will allow you to move the images, rotate them, resize them as you wish, while keeping them in the spots made for them.
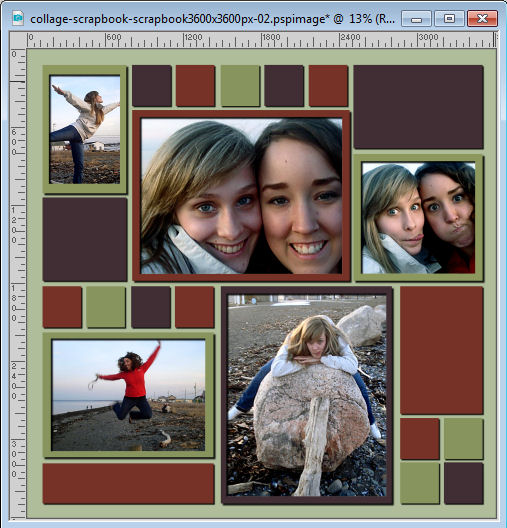
As you can see, adding shadows is possible in some cases and will add a touch of realism and dimension to an otherwise flat looking design.
This particular template comes free in your X9. It was released as part of the Digital Scrapbook Day promotion. There are 3 versions of this template: square 12x12 inches, rectangular 8.5x11 and 11x8.5 inches, so you can pick the one that suits your project.


