

It is a common mistake, using Paintshop Pro, to want to enlarge a photo to fit into a frame, or just make it more obvious. It is normally discouraged to enlarge a photo since most of the time, the results will be a blurred mess, especially if the ratio of enlargement is important. Increasing the size by 10% might not be an issue, but if you want your image to be 10 times larger, that would definitely be problematic. However, with PhotoZoom, you can enlarge your photos with better results than you would get with Paintshop Pro alone.
Let's start
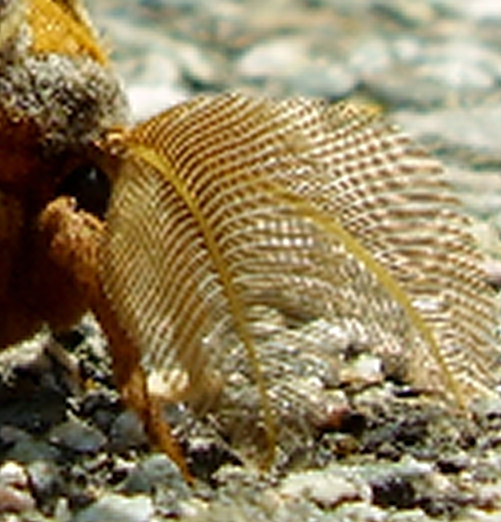
For this demonstration, I will be using this photos.

Using Paintshop Pro
If I were to enlarge this photo by 400% using Paintshop Pro, I would end up with details like this:
As you can see, the details are a big jaggied, and you can clearly see the square pixels. That is why it is not recommended to enlarge a photo significantly with Paintshop Pro (and most other graphic programs for that matter).
Using PhotoZoom Classic 6
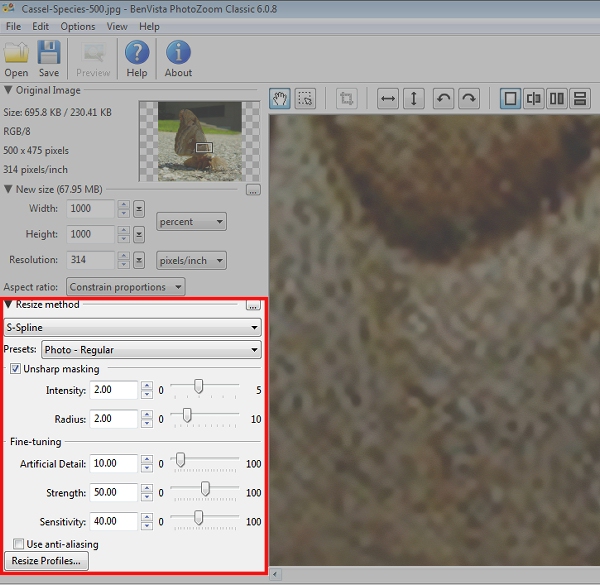
However, using PhotoZoom Classic 6, enlarging 400% using the default S-Spline resize method, I would get this:

Obviously, no program can take square pixels or details that are too small for a pixel and make them appear but with PhotoZoom, you can get a better result, less blur, and retain more details than using Paintshop Pro for example.
Bigger enlargements
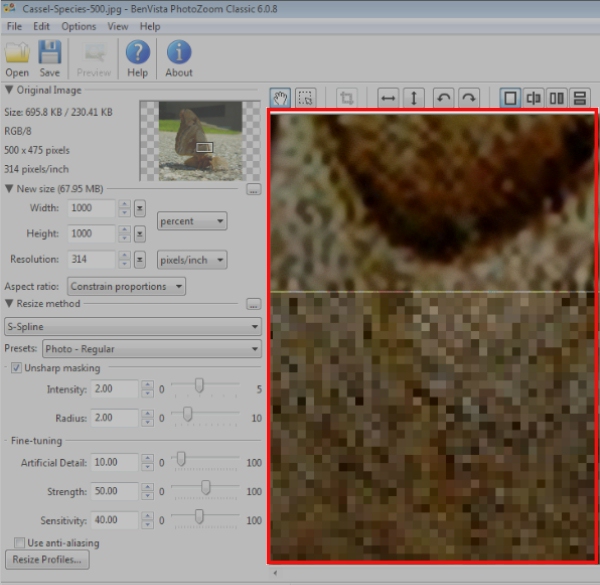
In this example, I did enlarge the initial image by 1000% (that means 10 times the original size). See the results:
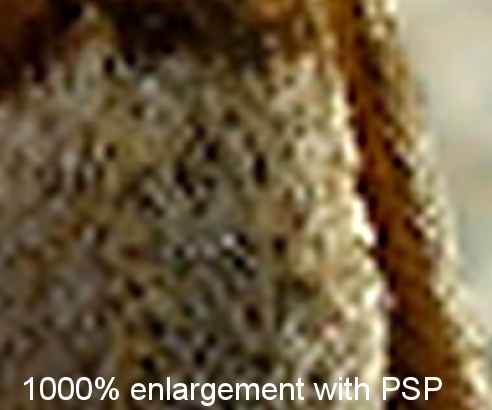

As you might see, in Paintshop Pro, the details get blurred on the edges, while they stay defined when using PhotoZoom.
How to use PhotoZoom?
Photozoom is very simple and intuitive to use. The steps are extremely straightforward.
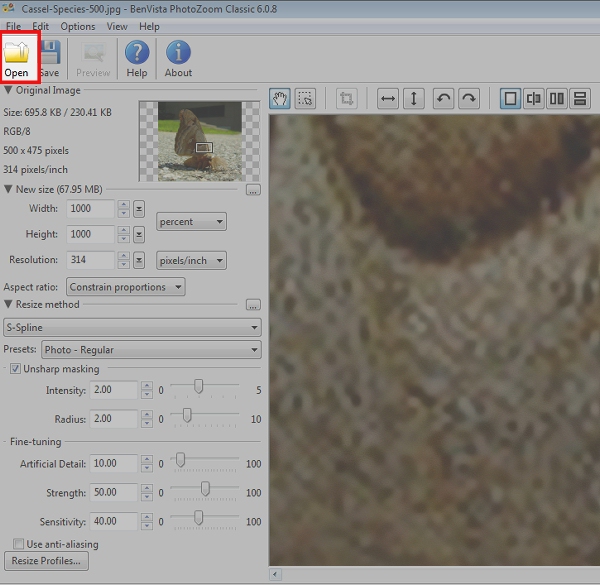
1- open the image you want to enlarge
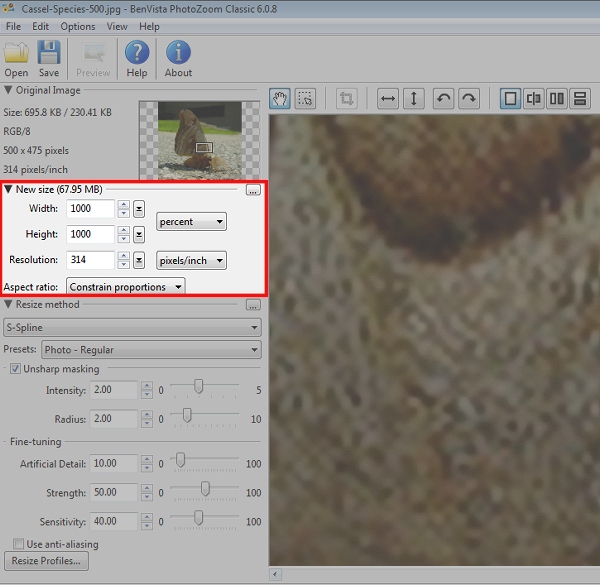
2- you will get the actual data from the original image

3- you choose the enlargement settings you want, whether it is in percentage, or based on a pixel size. You can also adjust the resolution if needed.
4- Choose the resizing method. Although you get several methods, the S-Spline is probably going to be the most commonly used, but you are welcome to play with the other ones, and the various settings.
5- watch the preview being rendered in seconds every time you change a setting or when you move the image to look at another detaul
6- finally, when you are happy with the result, you simply save your new image.

It really does not get any simpler than that. No fuss. No multiple settings to play with (although you CAN always tweak the default ones, but you might not need to, 99% of the time).
You can get PhotoZoom as a trial version to see what you can do with it. Although you can look at all the features, saving the newly generated image will add a watermark to the photo. That is, until you unlock the program with the key.
Since PhotoZoom classic is a standalone program, you can use it no matter what graphic program you are familiar with. PhotoZoom Pro, however, can work as a plugin inside your graphic program, like Paintshop Pro, Photo-Paint, Photoshop CC or Photoshop Elements.


5 thoughts on “Enlarging photos with PhotoZoom”
I also won a copy of PhotoZoom Classic and spent a few hours comparing quality of various resizing methods. Depending on the original photo quality and resizing percentage, the PhotoZoom S-Spline and/or S-Spline XL (which Cassel didn’t mention) produced better results than the Bicubic method.
I was one of the lucky winners of this program and I love it! Thank you so much
I did not know that I could use it inside my program. Will have to figure out how to do that
You can only use PhotoZoom PRO inside PSP.
Thanks for the clarification Scott. I didn’t know it could even be used inside PSP since I don’t have the Pro version either.