

Page Curl Pro is a fairly old plugin that has been used for years. It works as a plugin for PaintShop Pro, just like for Photoshop or a few other programs. It allows you to create folds and curls on a source image to achieve some very interesting results. Of course, you could do all that manually with your PaintShop Pro, but sometimes, it could be nice to have a faster and more precise way to get the same result.
Getting Page Curl Pro
This plugin is not free, however, you have the possibility of downloading a demo to play with the settings and see if you would want to acquire the full version. The demo version will place a watermark all over your project so you will immediately know that it is not using the full version.
You can get the demo on this page, or make the purchase HERE (if you have an old version of the plugin, you might be eligible for an upgrade instead of a full purchase price).
Installing Page Curl Pro
Once you have that .exe file, simply run that file by double-clicking on it. It will bring you this window.
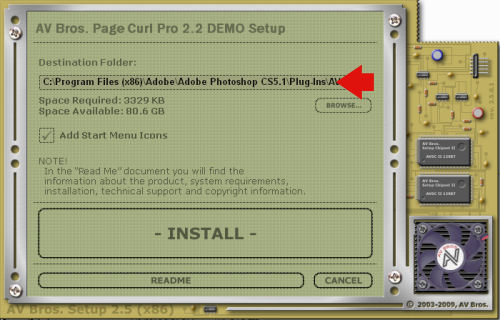
If you only have PaintShop Pro, it is possible that it will find that program to install it in, but make sure it is going to be installed in a location that you will remember (I made that mistake once). As for most PaintShop Pro supplies, I recommend that you have it installed in a separate folder from the original PSP installation ones. Once it is installed in whatever folder you choose, you will be able to go to File > Preferences > File location and point your PaintShop Pro to the folder where it is installed.
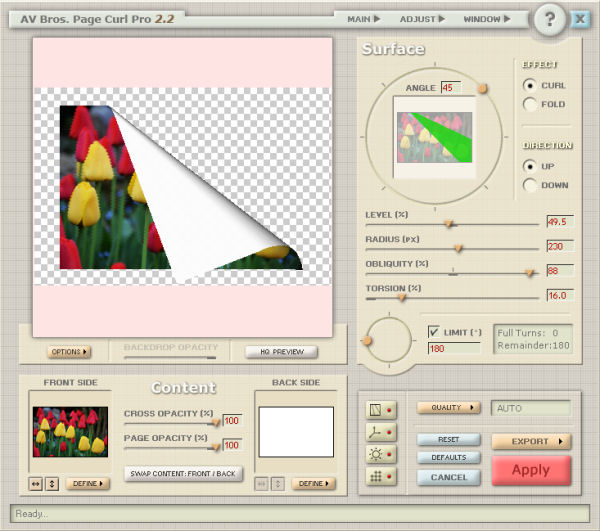
The basics interface of Page Curl Pro
Although this plugin works in a fairly simple and intuitive manner, there is also much more than you see from the start. But let's have a look at the basics.
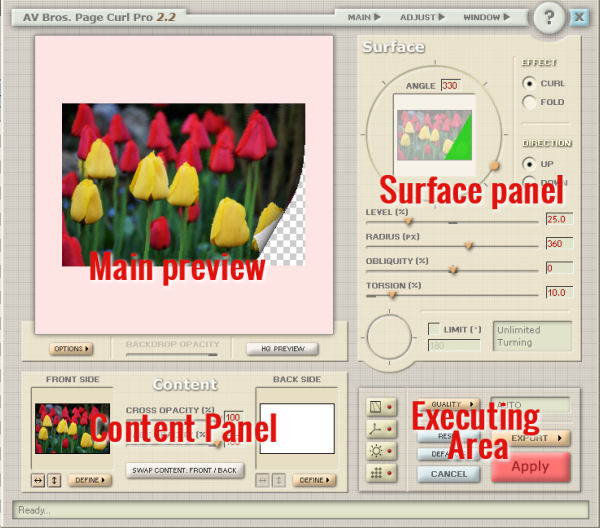
The Main Preview will display what the image will look like when the curls or folds are applied.
The Surface Panel will allow you to create the curls or folds with various settings.
The Content Panel will let you choose which images will show on the front or backside of your "material".
The Executing Area will let you complete the project, with the basic application and export, but also some more advanced options.
Creating a basic curl
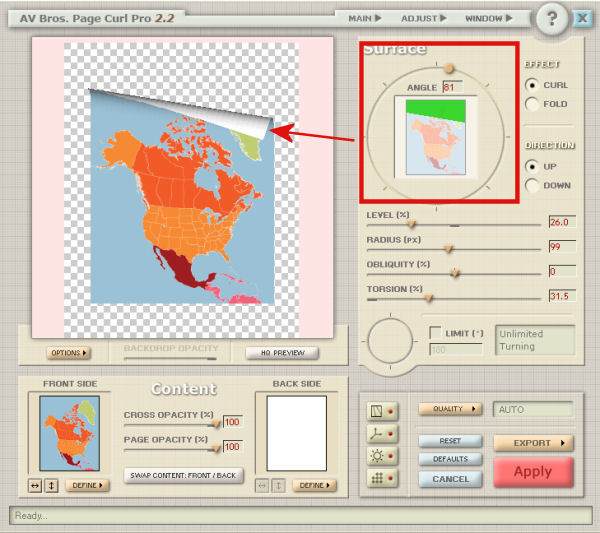
Since you likely are using this plugin in order to apply curls (or folds) to an image, you will mostly be using the Surface Panel.
By moving the yellow dot on the dial, you will see a green triangle appear on the tiny thumbnail, which will indicate the area that will be curled, and you see the result in the Main Preview pane.
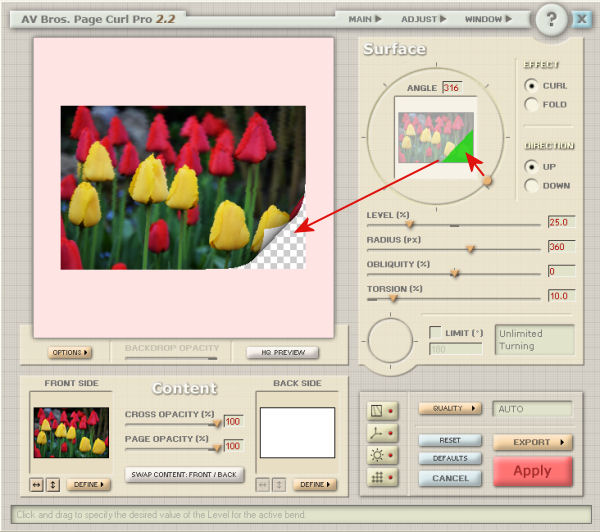
Then, by changing the Level % value, you will get a curl that will use more (or less) of the image.
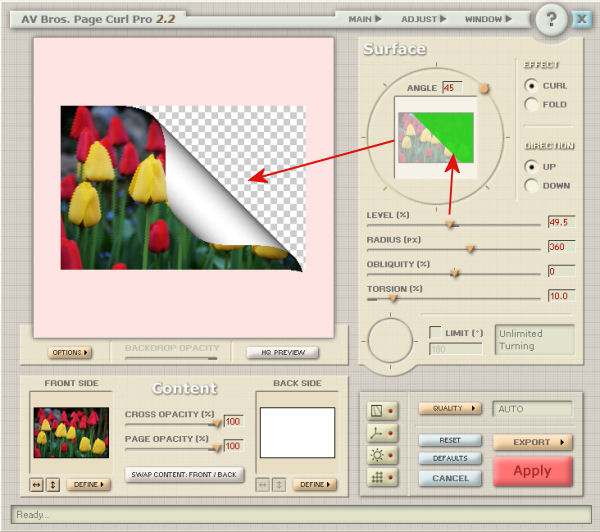
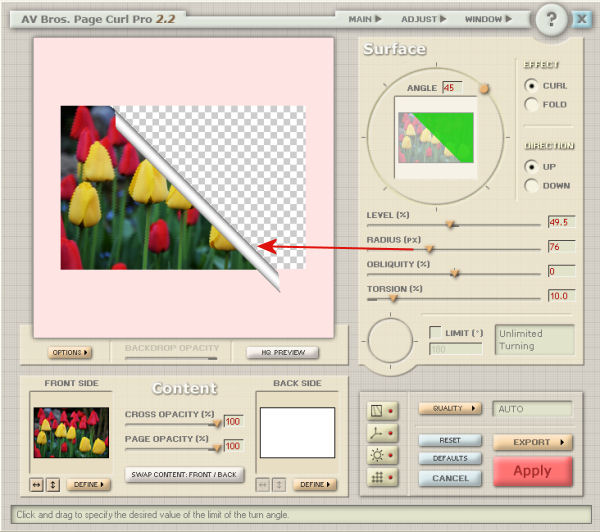
As you change the Radius value, you will see the curl being tighter.
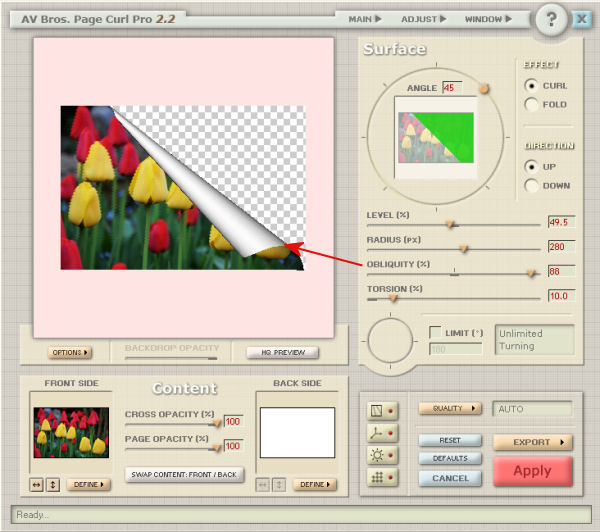
The Obliquity setting will create an uneven curl, which would yield a cone shape curl.
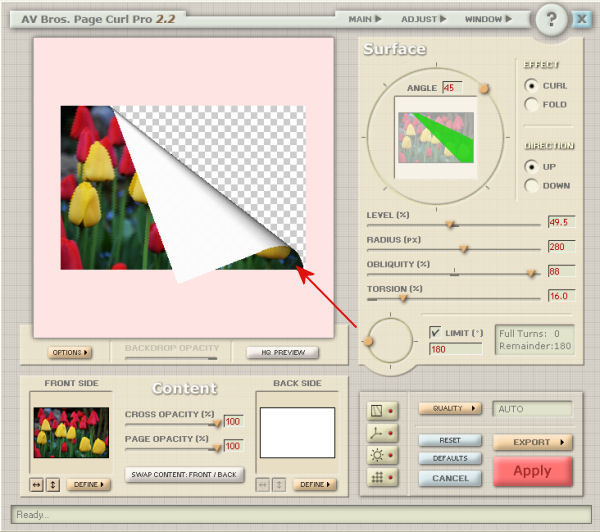
The Torsion effect does not seem to display a very obvious effect in the image above, but should determine how much of the image is curled inside the "roll".
The Limit value will decide if the roll is a full circle (like a complete roll) or if it will only be showing like a curved fold.
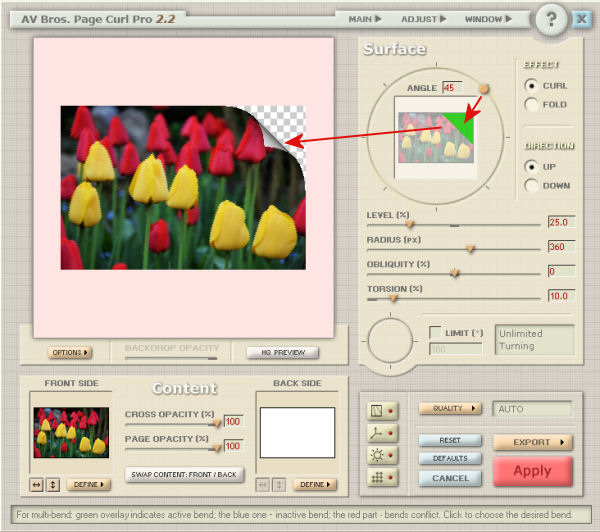
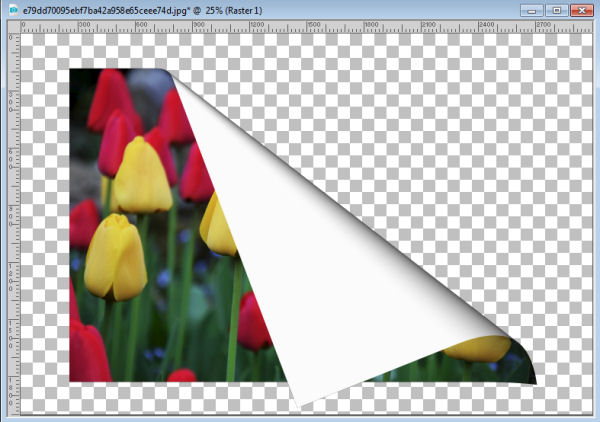
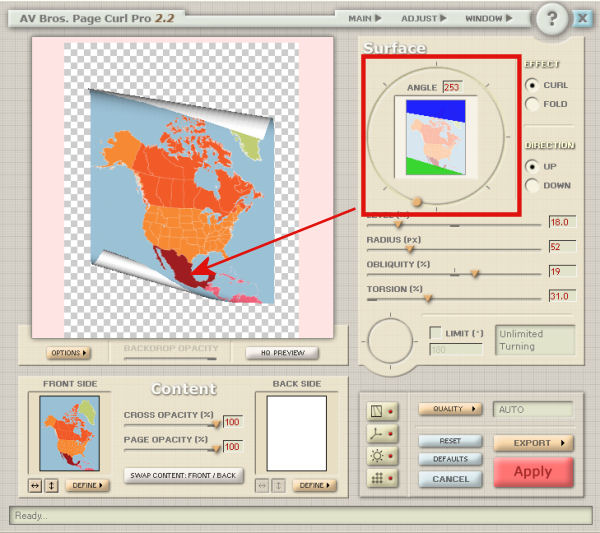
If you are happy with this is what you want, as far as a curl, you can immediately click the red Apply button. However, you might find that part of your image will be cut off, as you can see a tiny piece of the corner overlaps the pink area, which surrounds the image canvas. If you wanted to have that overlapped section, you would need to use an image that has some empty space around it, on the canvas in PaintShop Pro, and then, you would get something like this:
And here is the end result you would get on your own project.
Advanced functions of Page Curl Pro
Although you might want to apply a single fold or curl to your photo and adjusting the settings in the Surface Panel is enough, you might want to explore some more advanced functions of the plugin. We won't go into details, but we can have an overview, and you can play with them later.
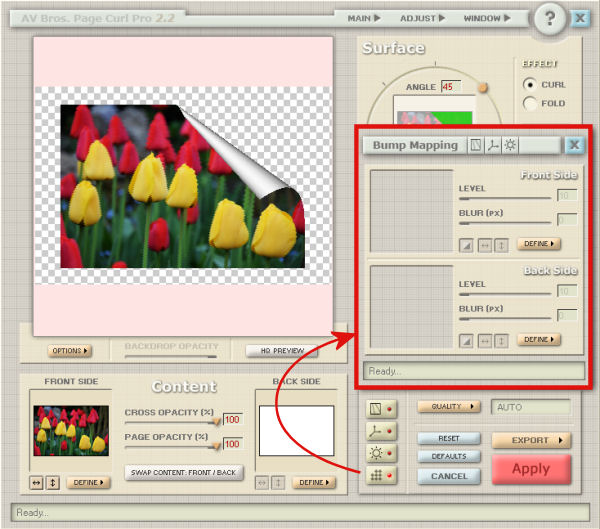
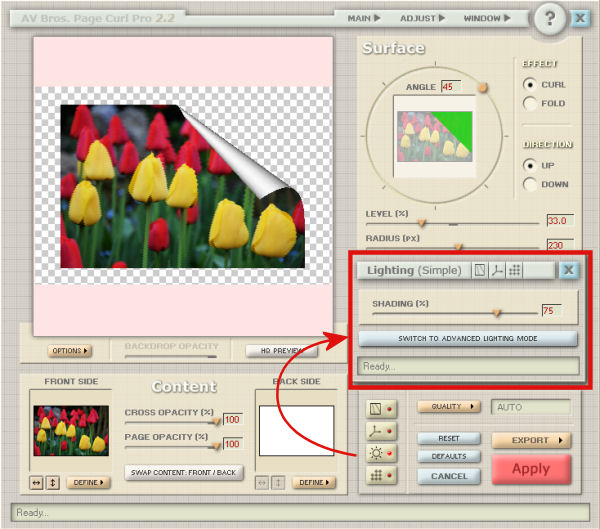
In the Executing Area, you will find 4 buttons that will each trigger the popup of new panels with new settings to play with. The Bump Mapping will be used to add texture to your image.
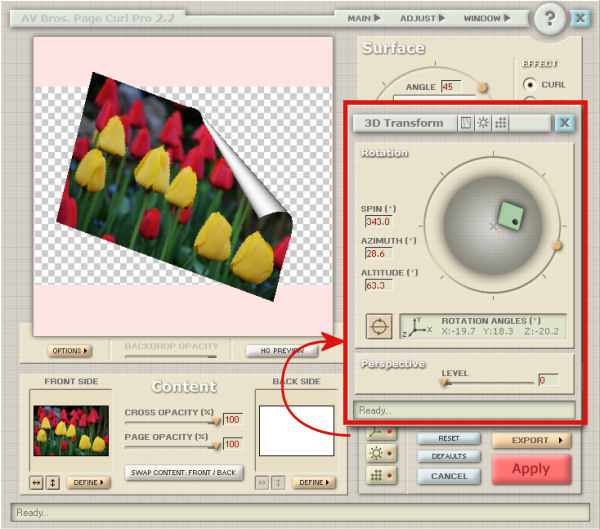
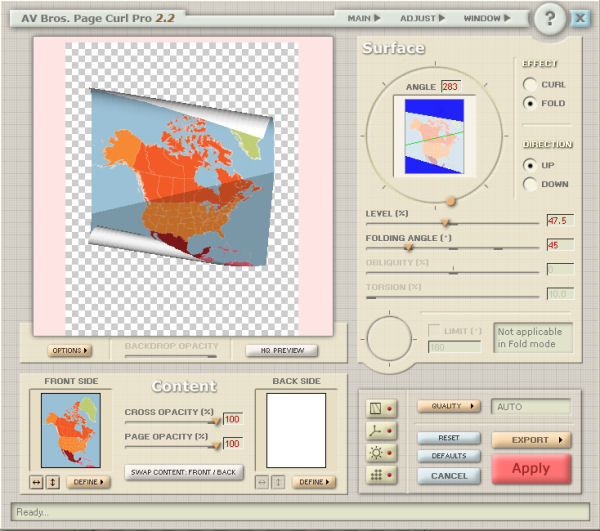
The 3D Transform panel will let you adjust your image in three dimensions, so you can have the whole project displayed in a different angle.
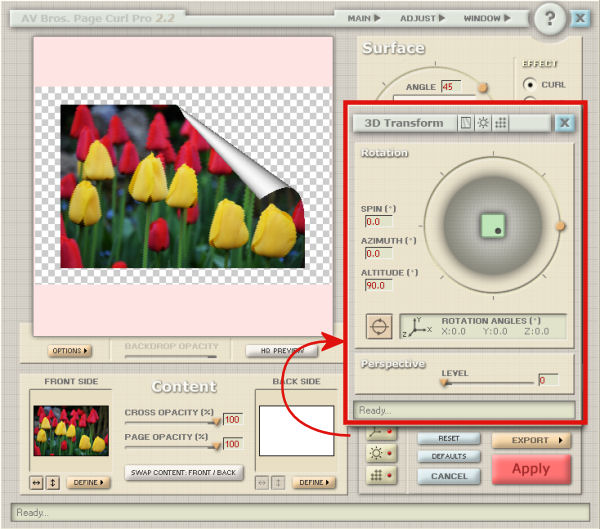
Here is an example of such a variation of the 3D transformation on the project.
The Lighting button will give you either a basic lighting panel,
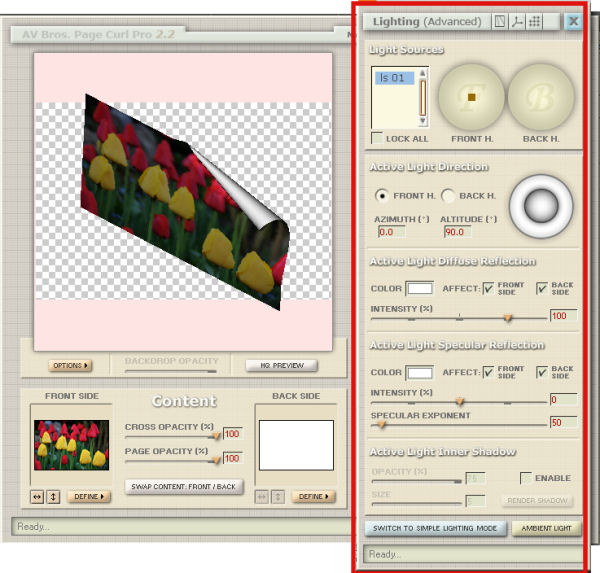
but you can also get a much more advanced and complex panel with lighting adjustments.
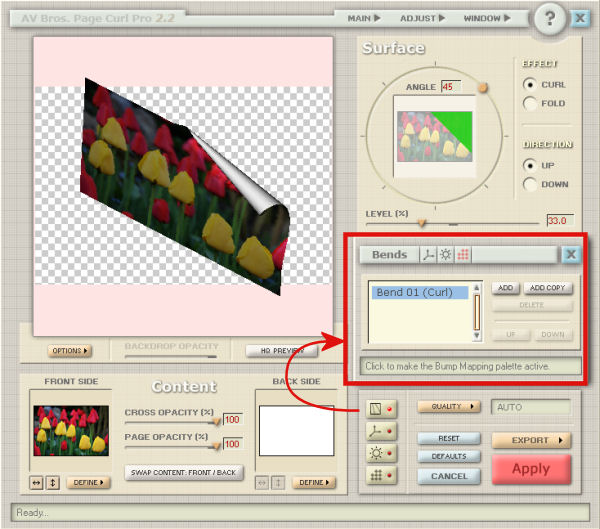
Finally, the Bends panel, will list all the bends (curls or folds) used on the project. In our example, there is only one, but that is where you would add more to your image.
Combining bends
Although you might want to apply a single bend (curl or fold) to your image, sometimes, you might want to add more. Let's see how you can quickly do that.
The first step is to create the first bend you want to get on your image.
Then, you go to the Execution Area, and click on the Bends button and click Add, to add a new bend.
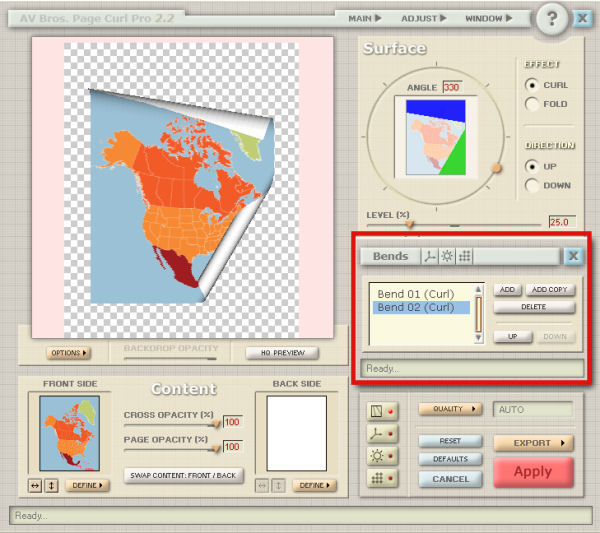
Although it will automatically create a "default" bend, you will be able to tweak all the settings necessary to create the second bend of your choice.
And if you want to add more bends, you can continue. In this example, I added a fold in the center.
Save and reusing those settings
Once you have created an interesting set of curls and folds for a project, maybe you would want to replicate it with another photo. You would have a hard time remembering all the settings to reuse so you will be happy to hear that you can save all those settings into a preset. Go to the Main > Save Settings and it will save all your work in a .avcps format. Once you start your next project, you can go to Main > Load Settings to reload them. You will also have two options: the Absolute or Relative. In the case of the Absolute, it will use the exact same value, no matter what the size and proportions are for the project, while the Relative will adjust the settings to match the new project size and format.
Do you want to play around with this plugin? Even if you only have the DEMO version, you can still have fun and explore all those settings and features. How about creating something and showing us in the comments below (even if it has the demo watermark)?


5 thoughts on “Featured Resource – Page Curl Pro”
AV BROTHERS HAVE BEEN OUT OF BUSINESS SINCE MAY 31, 2022. I’VE LETTERS TO THEM LAST YEAR TRYING TO GET A KEY CODE. NO RESPONSE AT ALL. THIS PROGRAM IS DEAD TO ME. I’D PAY GOOD MONEY TO GET MY PROGRAM WORKING!
Can you ladies tell me if the LATEST version of Curl Pro is compatible with newer versions of PaintShop Pro? I actually had contacted them before to ask and they could not verify what was compatible and what was not (PaintShop Pro versions).
Currently, I am using PaintShop Pro 2018 Ultimate. I do also have have x9. I have x4 on a different computer. I would definitely benefit from having it and learning how to use it, but they said they could not guarantee it would be compatible. There site might have updated this information since I was on there but I thought maybe current owners would know for sure.
Thanks in advance. Have a beautiful tomorrow.
This blog post and all the screenshots were taken with the latest version of Page Curl Pro and PaintShop Pro 2019 so I can tell you it works!
I too have used Page Curl Pro for many years, probably not as often as I should. I also use Av Bros Puzzle Pro. I have some Page Curl Pro presets from Charlieonline Graphics (not sure if the site is still available) and used them to follow a tutorial I got from the same site in 2012. I have posted the resulting bow & ribbon on the “what are you doing in January” forum.
I have used Page Curl Pro for years. Most of the bows and curled ribbon elements in my scrap kits were made using this app. I can certainly recommend it. ?