Build-A-Kit – Patterned Papers
Once you have a base created with solid papers, it is time to go a little wilder with patterned papers.
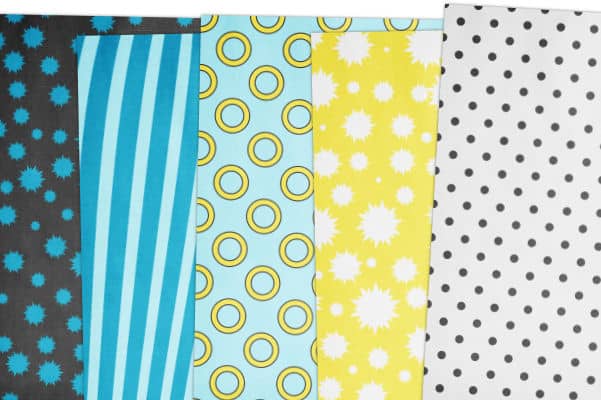
Pattened papers can include a wide variety of designs from simple Polkadots to Watercolor to Chevrons, etc.
You can stick with generic designs, which would often be suitable for many projects, but you might want to look into more unusual designs, like the Linoleum, Starburst, or Text paper.
There are dozens of tutorials in the Creative Scrap section.
CHOOSE A STYLE
You want to make sure you don’t go too wild. Try to be consistent. If you choose stripes and polkadots, you might want to stay with “regular” designs. If you prefer a random type of design, choose similar types of designs.
CHOOSE THE SIZE
Depending on your preferences, you might want to have small-ish designs and patterns. If so, stay within that range. If you want to be bold, be consistent with that too.
USE YOUR PALETTE
You selected a color palette to start with. Make sure you use it. Of course, you don’t have to use only those colors for 100% of the papers, but make sure that your colors are predominant.
THEMED PATTERNS
Although polkadots, stripes, plaids, and chevrons are generic and can fit well into any kit, you might also look into some themed designs. If you are working on a back-to-school kit, you may want to incorporate images of crayons, letters, and scissors into the design. You can create a small seamless image with those shapes, and use it to fill a full-size paper. Here is a tutorial to create diagonal patterns with other shapes. If you really prefer to have random designs, without repeats, you can use the Scatter Brush script.
UNEVEN PATTERNS
To create something unique, remember that you don’t have to have a pattern or design all over your paper. You can add some brush imprints on one edge of the paper, or in a corner only.
UNEVEN EDGES
If your theme is suitable, you might want to have some papers with grungy, torn, folded, or ripped edges. This will cause some transparency. If you want to go that route, remember that those papers will need to be saved in PNG format to preserve transparency.
PAPER TEMPLATES
You may find some patterned paper templates that will suit your theme. If you have some or have access to them, don’t hesitate. They can add some interesting designs that you might not be able (or don’t have time) to make from scratch. It is ok. DigitalScrapbook.com has some that you could find interesting. Check HERE. And if you are not sure how to use them, you can have a peek at the Master class Using Element Templates.
ADD TEXTURE
Although these papers are not plain solid, remember to add some texture to them and some variation in shading. It can be very subtle, but it will add some realism to your design.
And remember to continue saving your papers with a filename that will make sense.
At this point, the possibilities are endless so be careful: it can become addictive and you might end up with a lot of papers! Maybe challenge yourself to stop at 10 (if you can!)