Forum Replies Created
-
AuthorPosts
-
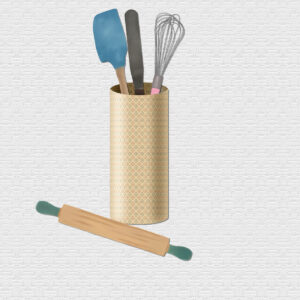
I hadn’t checked out the cylinder shape in the blog, until I read that Libera had an issue. I thought I’d create a container. I used a paper template, and found some kitchen utensils on the net. Looking at it now I should have used a larger feather for the shadowing. Time for bed now.
Liberia, I’m guessing at what your problem may be. Using the selection tool, select the base layer, which is the rectangle you created,(with lowered opacity) with contiguous checked. Hit delete on the plaid paper. Select none. Hide or delete the rectangle you created. You should now be left with your cylinder shape. (With contiguous checked you should see that the rectangle shape is inverted, which means the cylinder shape you created should be in tact) the rectangle you created should be on its own layer. I hope this helps.
June 18, 2022 at 10:38 pm in reply to: Need ideas for captions for a storyboard array of photos #78170When submitting, I think you may have clicked on submit, but didn’t give it enough time to process.that is what I have learnt. I allow a few seconds to submit before I either leave the campus or go back to the forum.
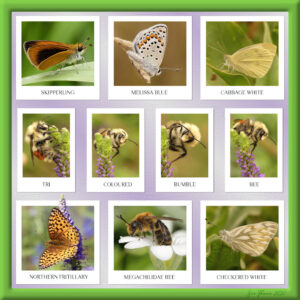
June 18, 2022 at 10:33 pm in reply to: Need ideas for captions for a storyboard array of photos #78169I prefer the pastel blue, may I suggest you try a soft primrose colour. Not a vibrant yellow like Daffs. I would also be inclined to either make the tags smaller, or create a white Polaroid frame around the photos, to add text. Like I did in the bees and butterflies page. I either calculate to place the guides, for the placements of the photos, or use objects, distribute, space evenly horiz or vertical. But for you using the script, you don’t need to do that. Perhaps the script doesn’t allow you to create a Polaroid frame. After all you are the creator, and as long as you are happy with the layouts, that is what matters.
June 17, 2022 at 11:34 am in reply to: Need ideas for captions for a storyboard array of photos #78129Suzy, Carole does have a gradient creator, here is the link.
June 17, 2022 at 12:35 am in reply to: Need ideas for captions for a storyboard array of photos #78119If I’m not mistaken, Carole has a gradient maker script.
June 17, 2022 at 12:33 am in reply to: Need ideas for captions for a storyboard array of photos #78118The template scripts will save you a lot of time. I use guides, and then the selection tool, using snap to guide. I have created several guide templates. Which saves on time.
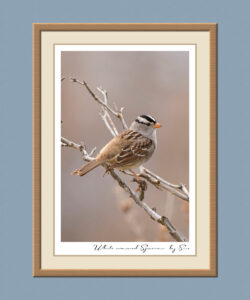
June 17, 2022 at 12:19 am in reply to: Need ideas for captions for a storyboard array of photos #78117I think I would be inclined to choose a colour from the photo, preferably a yellow using the pointer tool, and tone it right down. Also use a matching colour to create an outer flat thin border, like in the sparrow page. I don’t do anything that will distract the eye away from my photos. The outer flat border, will help focus the eye on the photo.
June 17, 2022 at 12:08 am in reply to: Need ideas for captions for a storyboard array of photos #78115I create a lot of my own gradients, you will find a blog post on creating gradients. Quite often if I want to soften the colour a tad, I will flood fill a layer with white and place it below the gradient and lower the opacity on the gradient. Or use a much lighter colour of the gradient, and then lower the opacity on the gradient. I like to add a subtle texture. There are quite a few that come with PSP.
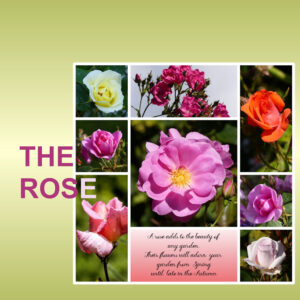
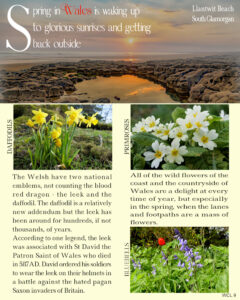
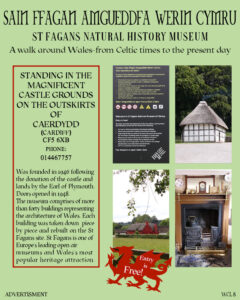
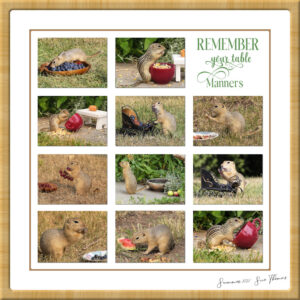
June 16, 2022 at 11:22 pm in reply to: Need ideas for captions for a storyboard array of photos #78111Here are a few more pages I’ve done, that may give you ideas.
June 16, 2022 at 11:09 pm in reply to: Need ideas for captions for a storyboard array of photos #78107For individual photos, you could use what I did for the Sparrow, without the wood frame, use another plain paper underneath, to use a paper clip or staple, using neutral colours, they won’t distract from the photos, but give a bit of a lift. Having a wider border on one side will allow for text.
The other two, you could create masks to slot in photos. Once you have created the template, it will be straight forward. Again, you won’t have a need for the frames I created for my pages. It would be easy enough to create a rectangle page for the multi photos. These may give you some ideas.
Martingale. Running martingale or standing martingale. An artificial aid to lower a horse’s head.
Suzy, Susan, here is the link to the fancy fonts.
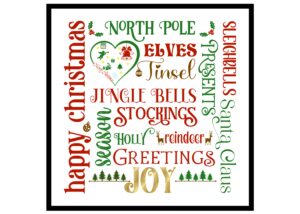
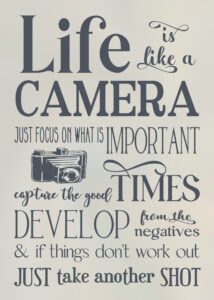
Suzy, here is an example of some of my subway art. All fonts. I retain everything as a font, which makes it very easy to edit. Stretch, widen, shrink, you can do whatever you want with a font, and it will not become distorted, within reason anyway.
Suzy, thank you. I have several fonts in my font arsenal that I use over and over in my word art projects. Once I have a layout in mind, they don’t take me long to create. The name of the font is Hitachi. You will also find in the blog, a tutorial called “using fancy fonts”. Type the title in the search bar, and it will pop up. It’s free to download the pdf.
Which will help you through the basics of using glyphs and swashes. I used the same font in my latest project, posted in the forum. June word challenge. I pride myself on creating as much as I can using all the techniques I have learnt. Each page I create gives me a sense of achievement. As does schooling and training horses.I must admit, I didn’t know that this script existed. I thoroughly enjoy creating my own word/subway art. Just think of the amount of time I would have saved myself, had I have used this script.
I am deeply saddened to read that Annie, a much treasured member has passed. She was such a kind lady, always full of energy, kindness, fun, inspiration and so much more. Annie has been, and always will be greatly missed, and never forgotten.
Wonderful Marie-Claire. I would say “the penny has dropped” or ” the penny has finally dropped. In other words understood! 🙂 Depending on how long it takes me to work something out.
Marie-Claire, you may already know, but I’m going to mention it anyway, just in case. Use a guide when creating your lace or ribbon with either a tube, or a brush. That way you are guaranteed to get it perfectly horizontal.
Possibly someone who was brand new to psp. 🙂 I regard myself as an average person. I read instructions, until I understand them. You have to take the time to learn. Having common sense is an asset, something which is lacking in society today, especially in the younger generation. For those that say they don’t know how to use scripts, point them in the direction of the two or it is three masterclasses you have done over the years. You are the rocket scientist, who creates them, for us to use with ease.
I will say, that I can create a circular element better than using the circular element script. I use the ‘creating lace’ tutorial in the creative scrap instead. I don’t get any small gaps for some reason.
I only discovered that video, when I purchased your lace brushes. The Mitred corner script, was included in my very first order from the store. I discovered the hard way, if you can call it that. That the element has to be completely horizontal, that is why I mentioned it. As for EVERY product, having a video. Well, I don’t think everything needs a video. The majority of the products, especially the scripts have more than adequate written instructions. When read carefully, to be understood.
No problem! I have my uses, sometimes! 🙂 Perhaps you can add that video to the mitred corner script in the store. It’s there then for anyone who purchases the mitred corner script.
https://creationcassel.com/store/index.php?main_page=product_info&cPath=15&products_id=542
This is the link to a video on how to use the mitred corner script. It is in the store, under lace brushes. I knew I had seen a video somewhere, it took me a while, but then I remembered. It’s in an unlikely place. The most important thing to remember is to make sure that your ribbon, lace, or what ever you are using is completely horizontal, otherwise, you will encounter problems.
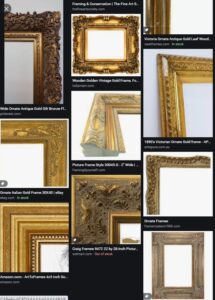
As you know I enjoy creating my own frames. I keep them relatively simple, in order to not overpower the photos within them. I’m not a fan of ornate frames, like many of the ones in PSP frames. Here is a screen shot of how I would interpret ‘dynamic frames’ and one of my own simple frames. I suppose my frames could be classed as dynamic, compared to the very plain framing usually used in scrapbooking.
Beautiful page Mary. Summer seams like a distant memory now, as the landscape is covered in a blanket of snow, and the temps have plummeted. That’s a Canadian Prairie winter for you. Yes, swashes are what they are called whether they are fonts or png’s. The starburst brush comes with PSP.
Playing around with swashes. I’ve done 3 of them using different shaped swashes, here is one. The stars is a brush, called starburst. Brush variance tool. Stars and Xmas trees.
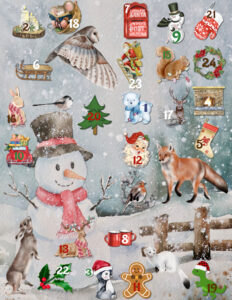
Well, I have to say, that was another terrific masterclass. Thank you ever so much Carole! It was to late for this year’s advent calendar, the Creative Fabrica Black Friday sale. As I had already posted this year’s advents/cards etc in mid November. I purchased several background paper bundles, for the sole purpose of making young children’s advent calendars, along with some suitable clipart. Of course, just like a child, I couldn’t wait. I had to try out the bargains. Some might say it’s a tad early to start, or think about next year’s advent calendars and card. I finished it off this evening. I have plenty of time to tweak it. It’s going to be one of 3 advents, suitable for 4 and 5yr olds. I will use my own photos for the adult ones I’m going to create. The background paper was basically the snowman, and fence. I added the owl, stoat, red fox, bird to the snowman’s hat and rabbit. As the children are farm kids, and see these animals on a regular basis.
Corrie, by all means! That is why we post our pages, to inspire. I have got the bug again, I’m going to create a few more different envelopes. There is a tutorial in the creative scrap. Once you got the general idea, you’ll be able create different styles of envelope. I will post an envelope in the file section of the FB page, to be downloaded, and used in projects. I have done all my Christmas shopping online, for those at home. Between the shortage of postmen, and lorry drivers, protestors outside Amazon facilities, and of course not to mention this covid virus. All the gifts ordered online have been delivered. The cards and calendars which I have made, were posted on the 15th November. Normally they would arrive within a week, last year, they took 6 weeks, missing Xmas and the new year. This year they all arrived on Tuesday 30th November.
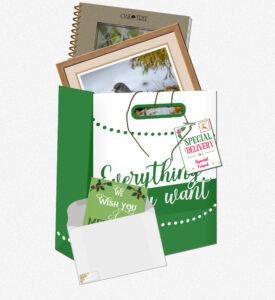
Lovely work Corrie, I love the tag you made. For this challenge I used three projects that I had previously made. Who wouldn’t want one of my bird books!!!! 🙂 and a framed print. I went through a phase of creating envelopes, here is one of them. I did create the tag for this page though. I also added a card I made, slipping it into the envelope.
-
AuthorPosts


