Thanks for the quick reply.Yes the the mode was set to perspective.Have uploaded some screen shots.
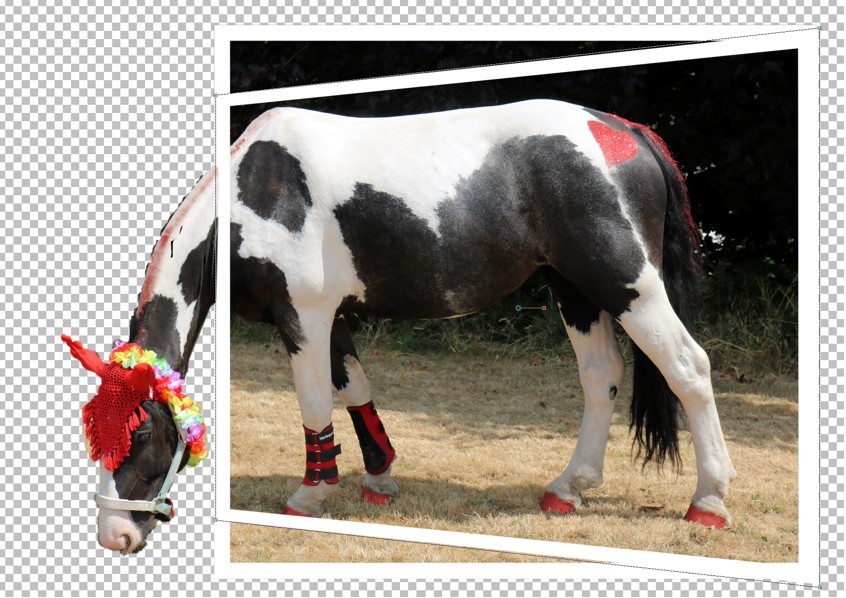
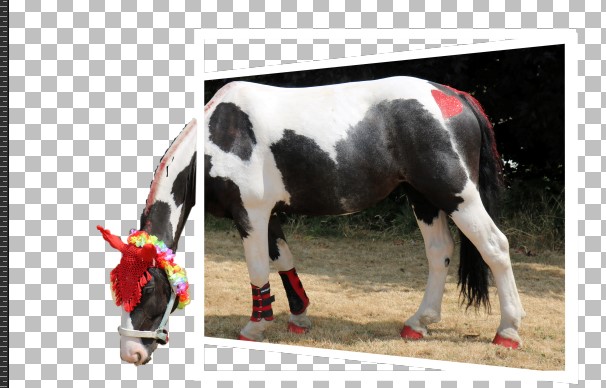
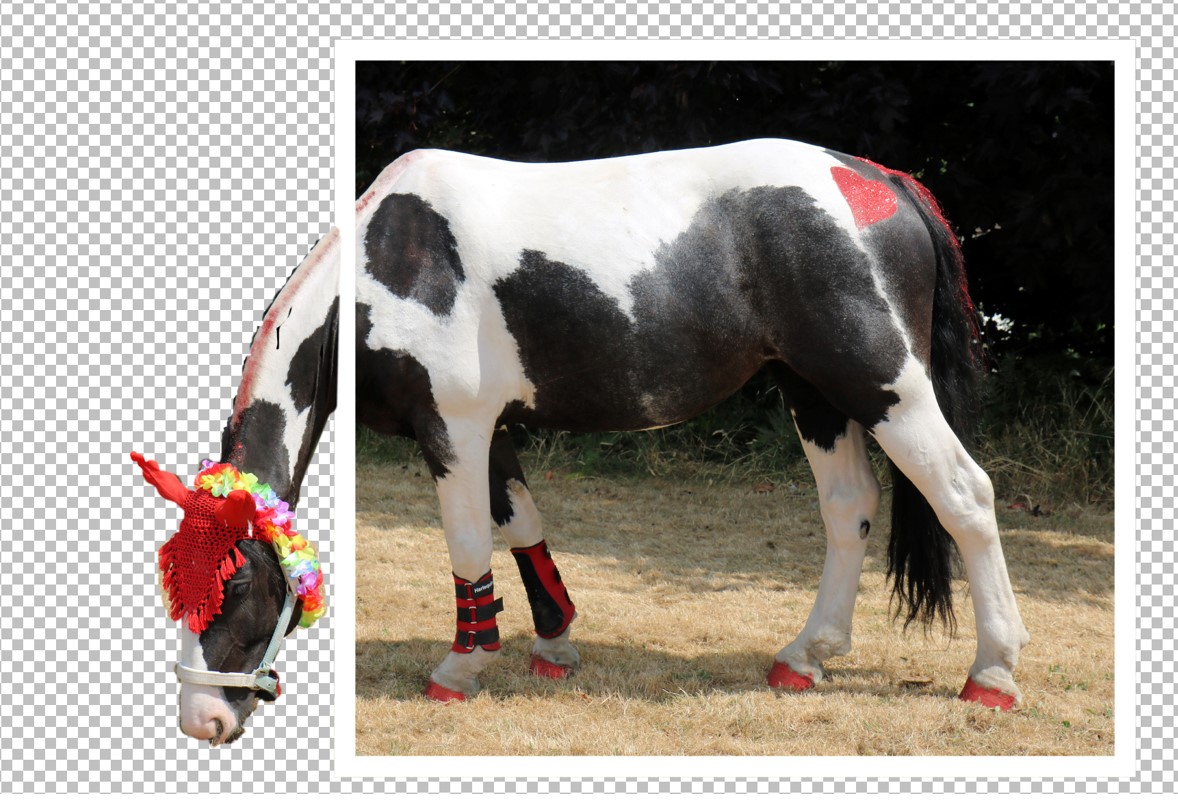
image A after Select Selection Borders . image B after add new raster layer .image C after narrow height
image D after
Now that we have the final shape we want for the photo, we need to trim the excess that is currently out of the frame. Using the Magic Wand set to Opacity mode and Contiguous checked, click on the outside of that frame. Just to make sure that every faint pixels of that photo outside of the frame is going to be trimmed, go to Selections > Modify > Expand and expand by a few pixels, like 5.
Sorry if the images are in the wrong order but it is well passed my bedtime here in the UK