Forum Replies Created
-
AuthorPosts
-
Lesson05 Challenges — Commenting out the Layer Arrange command allowed the script to run and I continued with the try/except parameters. I had it try a renamed Gimp Trim which didn’t work and changed the trim in the except part so it would be easy to tell that it ran. When you change the Picture Tube name you also need to change the stored settings for the cells across, cells down and total cells from the settings as well as the size and step. Also I recorded the script using the Cass Hair Braid Picture Tube to follow the path and saved the materials but when I run it it picks up the last used Picture Tube. So on this run I got Christmas Lights following the path. I really don’t know what we were suppose to do in Challenge 3 except that it failed the try (just like Challenge 1) but then skipped the except.
-
This reply was modified 3 years, 3 months ago by
Cyndi Roether. Reason: adding a title deleted my upload
-
This reply was modified 3 years, 3 months ago by
Cassel.
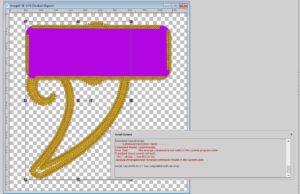
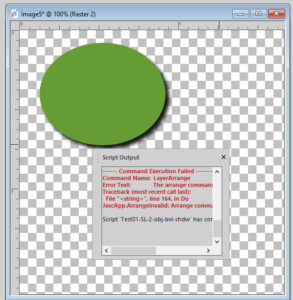
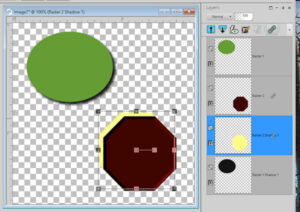
Sorry this is kind of a long explanation: For a Challenge on Lesson05 I tried to record a script that used a couple of picture tubes on a couple of different shapes (one being a path) so that I could add the try/except commands. I thought I would be able to move one of the picture tubes out of the folder so that the try would fail. However my recorded script failed to run because of the arrange command. I wanted to switch between layers so that I could ‘see’ Python select the correct image. So I created one shape and ran the vector tube to put a design around it then added a vector layer and created another shape. I put a design around it also and added a drop shadow. Then switched back to the original shape to give it a shadow. That all seems to have been fine but then I moved the first layer so it was in front of the second layer and when I tried to run the script it complained that the arrange command was not valid. I guess I can just comment out that part and the rest of the script will work for testing a try/except command and I can wait to find out how to do an arrange command. I will try that in the morning.
In our ongoing journey to learn how to write scripts in PSP I have had another reminder of how specific you need to be
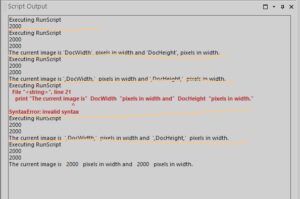
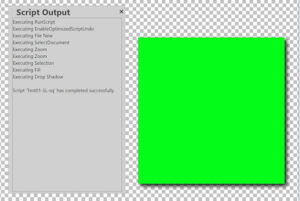
Working on Lesson05-02 I thought I had the command correct but as you can see in the SOP I needed to make changes and run the script 6 times before PSP agreed with me
I had used double quotes at the beginning of the print command and single quotes inside the command to set off the variables but PSP wants me to use all double quotes. I am trying to get a grip on this. I guess what I am doing is starting the print command stopping the print command inserting the variable in commas then starting the print command stopping the print command inserting the variable in commas then starting and stopping the print command again.
I was looking at it as 1 print command with variable inserted in quotes and commas
It makes a difference how you see it
I am going back over all of the lessons both in print by Suz and the videos from Carole
Lesson 04 Print Commands the practice and the challenges went well
Then I thought if I can use the \t tab escape to indent a line after the \n new line command can I use it for the beginning of my whole print command? The first time I tried I forgot and had the \t before the quotes but I tried it again inside the quotes and it works.
print
print “\t The script did the following:\n\t 1. Created a new image.\n\t 2. Added a selection.\n\t 3. Filled the selection with the Foreground Material.\n\t Thank you for trying this script!”
printIt just indents the first line a little away from the edge of the SOP
reply to Nadine (#64297) on my ribbon not closing in the Circle Element – Thank You I may have forgotten that step. I will try it again.
reply to Ann Seeber (#64279) Copy Merged sounds like a good tool to try. Thanks
Here is my Photo Cutout
Thank You Carole this was really fun. I just wish I had felt better and good have made better use of the tutorials. At least I learned some new things and gained more confidence to try new features of PSP.
Tied String Tutorial
This took a few tries to get the rope placement right. At first I linked the layers as shown in the tutorial but then when I moved the top of the loop behind the strings the bottom of the loop moved behind the tag, so I unlinked them, moved the top of the loop, and then relinked them.
When I tried to copy the whole thing and paste to a new image before saving so there wouldn’t be a lot of empty space, I had to merge all of the layers together first.
This reminded me of creating a paper clip.
Circular Element Based On Straight Element
My first couple of attempts came out fine but then this one didn’t make a complete circle.
Did I use a wrong resize?
Still following and interested in module 2 just a little behind due to being ill
These study groups are a great addition to the Scripting Lessons. It is almost like looking at the same thing from a different angle. I am able to see things I didn’t before.
Cyndi
Homework from Lesson 2 – I had been working with a script for just one image until I saw Cristina’s post. I decided to try changing a one image to a 2 image. In thinking about it I wondered if I had 2 images on one layer and added a shadow what would happen? So I tried adding another Raster Layer. I had the wrong layer active and the new Raster didn’t add in where I wanted so I got the error shown below and needed to edit the script to just let the Layers be where they were happy. Yes, you are all correct this script writing takes a lot of thought as well as trial and error. Thank You, Cassel, for this study group, I am seeing things differently than when I did it on my own. I wasn’t seeing all of the details.
Lesson 1
Sorry this is late. Series of problems some same as already posted. Here is my screenshot.
I will move on to Lesson 2 today and hopefully not have any PrtScn problems
Boot Camp Project 5
I used mostly the ps_commons_kayl-turesson-162264-nature-escape kit from Pixel Scrapper and marisalerin-loveme-papers also from Pixel Scrappers
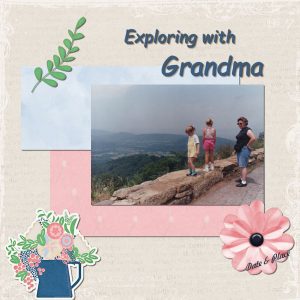
Here are my pages for Projects 3 & 4
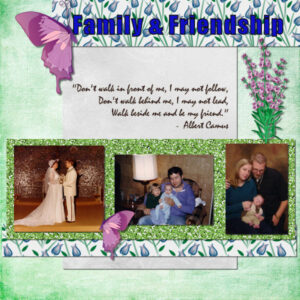
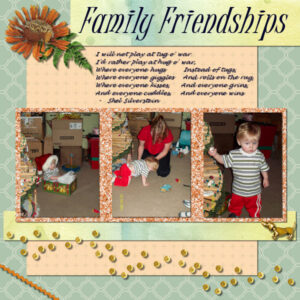
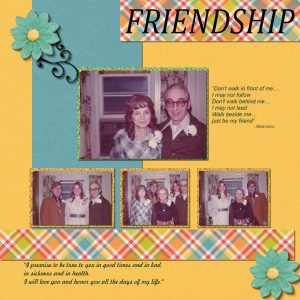
For Project 3 I could not view the video so I just went by the page shown and created Family and Friendship. The best way I could figure to handle the glitter was to duplicate and align, then merge the two and duplicate and align two more times to create a solid strip. Today I was able to view the video and created Family Friendships. None of these pages have journal notes so I will need to add those and also post the kits I used.
Cassel – I will try reinstalling PSP but I need to back up my folders first.
Day 5 Project 2 I used the ps_marisa-lerin_264052_the-good-life-january-2021-elements-kit_pu
Day 3 First Project for Boot Camp
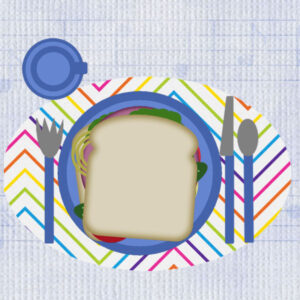
This is my 2nd time doing the Boot Camp. It is much less stressful this time although I am having internet problems, the video keeps having to pause and load more. I added a tablecloth and placemat all thou the placemat is flat on one side because I am having trouble remembering how to cut part of a selection and paste it as a new layer.
Cassel – Why does my curser return to the top of the page after every action?
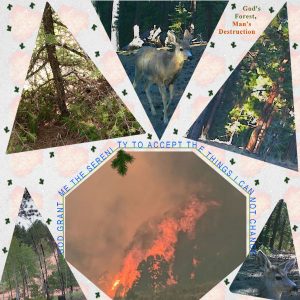
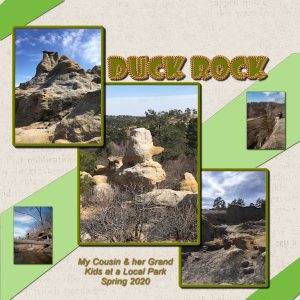
Teller County Colorado West of Colorado Springs
No Rain Here (Colorado) Wish There Was We Have Fire Warnings! Challenge Generator gave me 6 Photos, Text in a Shape, Featured Shape Triangle and Embellishment 2 Paint.
Challenge Accomplished! I learned many things and practiced some things I was taught before but obviously didn’t really learn. I did not use the photo I cut the text from in the project and cannot upload it, but it is a photo of a quilt made of the US with each state a different pattern. I did outlined only letters and filled letters.
Other people have such good projects I am really inspired to do more with PSP and do it better.
I had to redo many parts of this several times. The outlined text I did at least 4 times to get the size right. Each time I tried to resize or move the text I could not go back to change it to a path.
Here is my page for Wise Words Challenge. I tried several things this time. The Overlapping Text and the Text on a Path. I used Select Selection Borders to do the photo frames. The title text ended up being sort of translucent with the flowers showing through from behind and I used a Picture Tube for the leaves. The photos are not mine so I left their credits showing.
Everyone is doing so many nice projects I am constantly challenged to improve AND getting ideas from everyone.Yes, it is feeling much more comfortable now. I know I can always back up and undo whatever is not what I want and I am not going to ‘break’ the program. I need to continue taking classes on vectors so I can learn better control of them and how to accomplish the same effect over and over – such as putting bunny or puppy ears on an alpha. Your classes really help. Thank You.
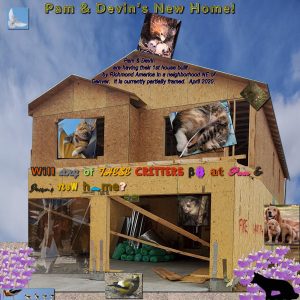
I kind of combined the first three days into one page. I used a couple photos with decreased transparency, used some text with different fonts and colors a journal entry fit to a shape and a title with different edge and fill effects. My daughter is building a new house and I sort of had fun with it. I thought about putting another dove over top of the entire page at low opacity but I was having some problems with the gravel – when I added it as I new layer I could select the layer in the palette and then press ‘m’ and move it but I could not press ‘k’ and then select it within the project to scale it or anything – so I was wondering if there was a layer limit and decided not to try adding another layer.
Hi Everyone
I registered late and am looking forward to catching up
Here is my Day 1 Title, I have not yet used it on a project or page
I filled the Big with bows and the Trees with Trees
Playing with Crop Shapes & Paper Clips. It is not easy yet, but I think I got the concept.
You guys are all sooo goood! I lost track of whose projects to comment on. There are so many of them that look like professional art work! WOW! I have months and months of learning and practice to go, but at least now I have a goal to aim for. Thank you, everyone for the inspiration.
I noticed when going through it again today an instruction line I missed before. First cutting and promoting the paper clip, THEN cut and promote the shadow. I missed that instruction before. Thank you.
Thank You, The problem was getting ahold of the shadow with a vertical arrow in order to make the shadow grow. Holding the shift key should help next time. Also watching the video instead of trying to just follow the cheat sheet helped.
Hi Cassel and everyone –
Here is my last project. It took a while to get my internet to download the video so I could work on this. It was interesting to make text fit an area and also to substitute an element for a letter. I look forward to trying other 3D effects such as buttonize and find out what it and others do. I still need to go back and take notes from the different days of the Boot Camp so I can remember the processes. Cassel – I did get the inside frames to fill with solid colors on a fresh layout but have not gotten them to work going back to Project 4. I changed the mode from color RBG or RBK (whatever) to None and it works on new projects but not yet on Project 4. I may need to somehow delete the frames and create them again. Thank you for all of your help. I am not as afraid to ‘play’ now.
Hi Cassel –
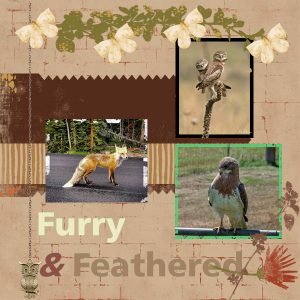
I had some fun and some problems with Project 4; It was fun to play with several different things such as the Owl and chain; to get it to span the full length of the page without making it huge I copied just the chain 2x and pasted them then copied the owl with a little chain and pasted it; then I needed to resize all of them to about 90%, align them and group their layers. Hopefully I did this correctly so that it looks like all one chain.
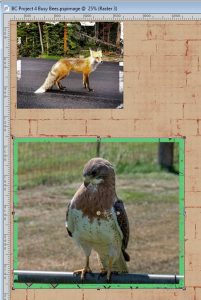
I have a problem with the photo frames – they will not fill as solids! Each of the frames has holes in it and I needed to click on the fill several times in different places to get them as solid as they are. I imagine there is a setting that is off somewhere but I tried to look to be sure I didn’t have any texture or pattern set. Please help.
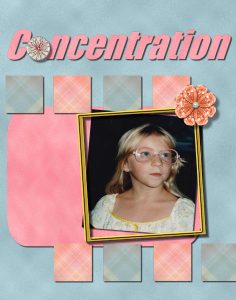
Project 3 – Differing Shadows – Creating a Frame
This was fun! I love learning new ways to do things and being able to create something in addition to cut and paste was new. Here is my page.
-
This reply was modified 3 years, 3 months ago by
-
AuthorPosts


