Home of the Scrapbook Campus › Forums › Showroom › Scrap Bootcamp – January 2019
Tagged: Scrap Bootcamp – January 2019
- This topic has 351 replies, 45 voices, and was last updated 5 years, 10 months ago by
Helen.
-
AuthorPosts
-
January 17, 2019 at 11:28 pm #24720
Hi there, Im Deb from Queensland, Australia. I have started a bit late due to moving house, but hopefully catching up with you all. I am tasked with scrap booking our family history to bring to life old family photos for future generations, instead of having them packed away in my spare room.
I have just done lesson one in the scrapbook boot camp and wanted to share my homework with you. I like the dark gray background and like the palettes to be docked, mainly using the material palette at this stage.
Have a great day, this is my page.
Deb
January 18, 2019 at 12:37 am #24723I am still running a little behind but here is my result for Day 4.
I used a free to use kit from RushRanch.
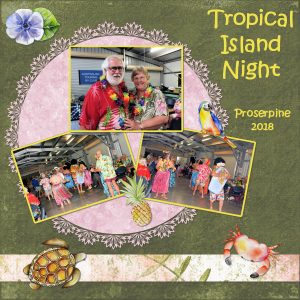
January 18, 2019 at 12:38 am #24725This is my Day 5. I decided to not put my photos in a row, I liked the idea of having a lace-edged mat under them instead. The background and the strip are from a set called “Tropical Blooms” from digitalscrapbooking place. The mat was made using another paper from the same set although I recolored it to match my shirt, and I then drew a vector circle the same size and used the cass-LaceEdge 6 font, letter b, to make the lace edge. The elements are all from a set called Tropicana, a freebie on the web,
I belong to a caravan club and the photos were taken during their National Rally last September. There were lots of great outfits, grass skirts and flower/coconut bras – and that was some of the men! – as well as lots of shirts and colourful leis. We had an absolute ball!
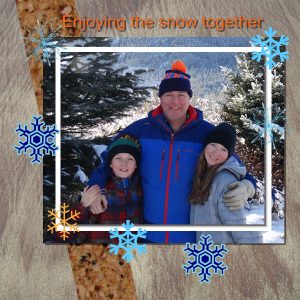
January 18, 2019 at 12:38 am #24726I’m still a day behind but this is great because being new to scrapbooking, I am finding many wonderful examples here. I’m learning from them.
I also did some exploring on the Internet as I don’t have any decorations in my files. I found that there are many free sources of accessories with transparent backgrounds like the snowflakes in my submission.
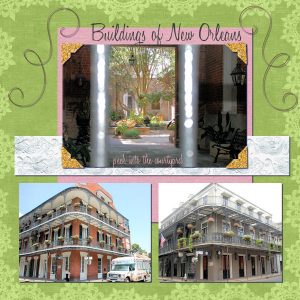
January 18, 2019 at 12:46 am #24728Here is my page from Day 5. I used papers from a free-to-use kit by Nellie Belle called Friendship From Georgia, then I used some elements from Pixel Scrapper. I used the glitter swatches from today’s lesson to turn my photo corners sparkly. You really need to enlarge the page to get the full impact of the courtyard photograph. I need to lear more about photo editing to make that picture better.
January 18, 2019 at 1:42 am #24730Homework for lesson 3, lots of fun!
January 18, 2019 at 2:07 am #24732Anonymous
- 18

- Rookie
Here is my day 5 homework.
January 18, 2019 at 3:05 am #24734Homework-Day 5
Made my own papers, added elements from various downloads from Sweet Shoppe Designs.
January 18, 2019 at 9:23 am #24738Day 6. I liked the layout from yesterday’s tutorial, but went with vertical instead of horizontal. No kit used. I used Cassel’s ribbon and flair button tutorials.
January 18, 2019 at 9:47 am #24740Here is my Day 4 – Layout #2
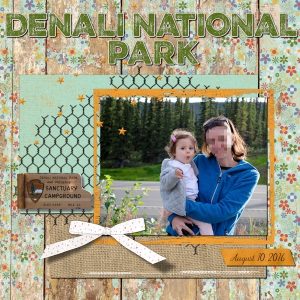
For this layout, I used the “Great Outdoors” Kit from KAagard.
The bow I made using Cassel’s Bow6 script… also added a lifted end shadow following Cassel’s Realistic Shadows Masterclass… this is something I am still learning how to do. The Adhesive Tape was also made with Cassel’s script.
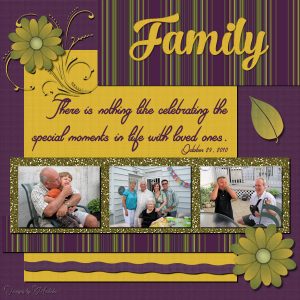
January 18, 2019 at 10:52 am #24743Day 5 ~ This was a very special day in my family. It was my Aunt’s 90th birthday.
I used the Family Traditions kit from AMB Designz. It pays to follow blog trains! The fonts I used are No. Seven Regular and Riviera Signature.
~ Michele
January 18, 2019 at 11:59 am #24745I have a question about changing this label using PSP.
I would like to change the black part to a gold gradient. Then make that gold gradient part have a beveled shape so it looks like it frames the pink area. Thanks for all your help!
Dee
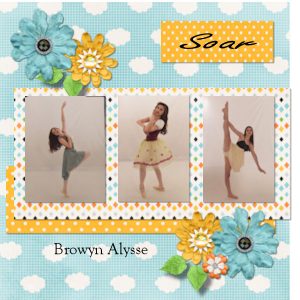
January 18, 2019 at 12:12 pm #24747Here is my homework for day 5. Couldn’t figure out how to use the glitter tubes you supplied so opened a glitter page from my many, many supplies and recolored it to gold to make the background behind the 3 pictures. I liked using the 3 pictures in a row, – something I haven’t done before. Also had trouble getting the pictures to snap to the guides so just used the guides to resize the photos. Actually, my program was sort of acting up in the it didn’t want me to use the arrow to move things and so I had to resort to the move tool (which I haven’t ever really used). I closed the program and reopened it and still had the same issue. So I closed it again. After this submission is posted I will go back and reopen it again to see if it straightened out. Learning good things in the workshop. Thanks, Cassel.
January 18, 2019 at 12:47 pm #24749Here is day 4. I spent some time getting some papers and embellishments from free sites. I tried to leave them a Thank You note!
January 18, 2019 at 12:55 pm #24751Week 5 Seems I get an idea and then it takes longer to find the right things to put together. But this is what I came up with.
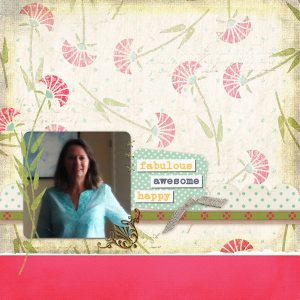
January 18, 2019 at 3:18 pm #24753January 18, 2019 at 3:23 pm #24755January 18, 2019 at 3:31 pm #24757Bootcamp day 3 image. This is technically my very first real digital scrapbook page. I’ve done other PSP pages and graphics, but this is my first scrapbook page. I would have liked to be able to use a light fill for the background of the text box to make it more readable so maybe in a future project… I am the one in the middle.
January 18, 2019 at 3:51 pm #24759Here is my day 4. Slowly doing them but I am in no rush. TFL No outside supplies used apart from the Text English III Presto BT. Image and graphics are my own creations.
Sheila.
January 18, 2019 at 4:18 pm #24762Day 5. I finally learned how to put a mat behind my picture! Time to go make changes to Day 3 project now.
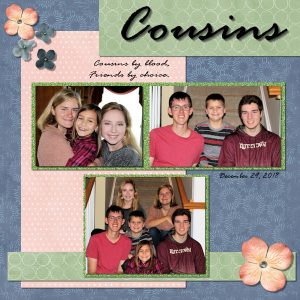
I also just realized that I am using the same family group for all my pages. I guess we are camera happy when we are together.
January 18, 2019 at 4:21 pm #24763Question – What companies do people recommend to have these printed in 12×12? I want to insert them alongside my paper scrapbooking. My printer here at home doesn’t take paper that large. So I will have to upload them somewhere. (Are we even allowed to recommend printing places on this forum?) Thanks for any advice. – Casey
January 18, 2019 at 4:26 pm #24765@Casey. For printing, there are different companies available depending on where you live in the world. There is a list of possible companies in the Resources page. Prices vary, features vary, shipping vary, so check them out and pick whichever will end up the most suitable for you.
January 18, 2019 at 4:30 pm #24766Thank you!
January 18, 2019 at 4:32 pm #24767@Ann, to the first question, those glitters were NOT tubes, but tiles. You could just open them on your workspace, and then, using the Materials Properties dialogue window, you should see that tile in the list of Patterns, typically among the first ones listed.
As for snapping to the guides, I found out that it won’t snap if you are using the Pick tool (I wish it did) but only with the Move tool. I might have misled you as I also thought it would snap.
Finally, for the arrow keys, were you trying to use the arrows on the numeral pad? Sometimes, that won’t work depending on how the pad is set meaning did you have the Num lock on or off.
January 18, 2019 at 4:33 pm #24768@Dee, in the example you give, you would need to use the Magic Wand, set to RGB, select the black edge and while it is selected, flood fill with the glitter tile. Then while keeping that selection, add the bevel you want.
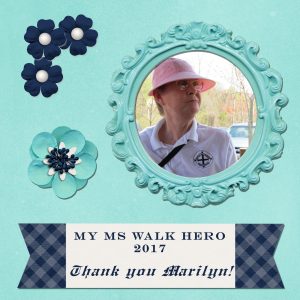
January 18, 2019 at 4:34 pm #24770Day 4. Wish I had the adventure background that Carole used but I like this one too. The picture is from our MS walk a couple of years ago. We have walked (I actually ride my power chair named Argo-any Xena fans here?) for 20 years or more. I wanted to keep this simple. I may actually print it out and give it to her.
I used the black shadow on everything but the three dark flowers. I switched to a gray on those since they were already dark.
So, my second digital scrapbook page is attached.
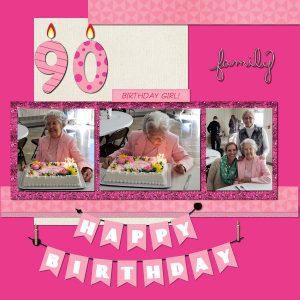
January 18, 2019 at 5:08 pm #24773Day 5 done…finally…celebrating a friend’s 90th birthday…
January 18, 2019 at 5:44 pm #24777Day 5 Project 3
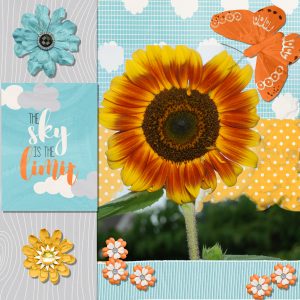
A few years ago, my spouse had sunflowers that grew to over 8 feet tall. They were still growing until the squirrels started breaking them off while the seed was still green. I managed to get a few pictures before they managed to destroy all of them.
The saying in this kit reminded me of those sunflowers.
January 18, 2019 at 5:50 pm #24779Fun, Fun, Fun
January 18, 2019 at 6:11 pm #24781Here is my 3rd project. Learning something new each day.
-
AuthorPosts
- The forum ‘Showroom’ is closed to new topics and replies.

