Home of the Scrapbook Campus › Forums › Showroom › BOOTCAMP January 2021
Tagged: Bootcamp Memories
- This topic has 191 replies, 19 voices, and was last updated 3 years, 9 months ago by
Jacques.
-
AuthorPosts
-
January 17, 2021 at 3:14 pm #51673
Day 7 – Project – 3
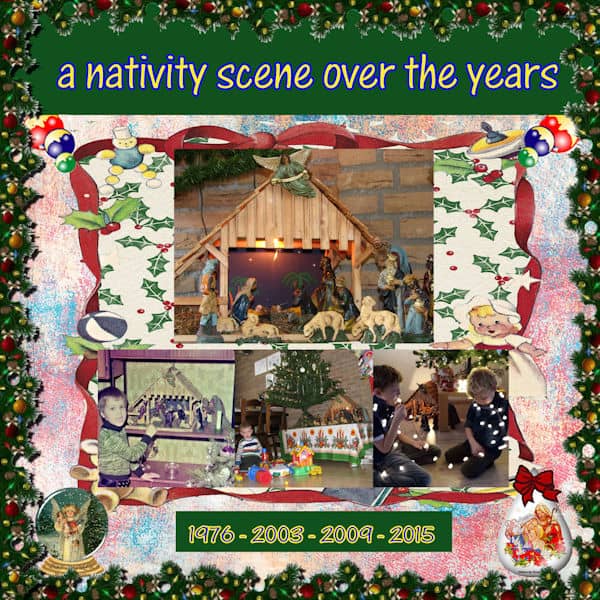
In one photo, Ruben and Guid are sitting in front of the nativity scene with a manger.
This scene is over 50 years old and is now with them.Jacques
January 17, 2021 at 3:40 pm #51677I don’t know how to answer your questions Cassel on the page where you wrote it so here goes. No, my images are NOT tabbed and I can see all images using Cascade. I think what is happening is I hit the rectangle on my image and it made it go larger and showed my background around the image so it is all bigger on the page. I want it to go back to how it looked when I first opened the image with the blue border and the rulers touch in the corners at 0.
My problem with the dropper while in Text Toolbar was that I would get the dropper when I pointed to the Font Color icon on the toolbar and I could drag the dropper to my Materials Palette but NOT onto my photo. I am so new at this! I spent hours and hours working on Project 2 as I had to research things that didn’t work for me. So in the PDF Manual for my 2021 Version I found on page 287 that there should be a dropper on the Text Toolbar to activate it — but none there. So I found that on the Materials Palette near the bottom there is the eye dropper! When I select it then I can get a color from my photo to use as a Font Color! Yeah! So I did a color from a leaf for my Title color on Project 2. I wish my version was exactly like yours to make it easier for me. I watch your videos 4-5 times. I stop them and take notes and still I struggle. But I am learning a lot!
Is there a way to merge just 3-4 layers so I can move them together?? When I finished my Project 2, I looked and would have liked to have the 3 paper layers and the photo moved lower on my page without having to piece by piece. So as I group I would have liked to move them together.
I guess since I joined the Pixel Scrappers that first time it won’t allow me to download any of the sets on your Lesson Pages. I used all my paper and embellishments 5 downloads a day. So I have to figure out what I am doing to know what to download. Still frustrating! I think you gave other suggestions of where to get those items but I can’t find them.
At this point I don’t think I will keep up scrapbooking. I am a beginner photographer so the tools with help some with it. I haven’t found a 2021 book to help. I have trouble with the scrapbooking taking the focus away from the photo.
January 17, 2021 at 3:50 pm #51678Why does my PSPro Ultimate 2021 open now directly to the Edit page? Not the Home screen?
Also it opened with a note that it needed updated so I said OK. I even did a screenprint of the items that were to be new and the resolved issues. It never completed the update. I got error messages and then I checked for updates while the program was open to edit — it said no updates available. Anyone else get these messages? Do I need to contact Corel?
I can’t get my screen print to paste here but in my folder for PSP 2021 the Folders are empty. Things like Brushes, Environment Maps, Gradients, Masks, Mixer pages, Palettes. Shouldn’t items have comein these folders with my program?
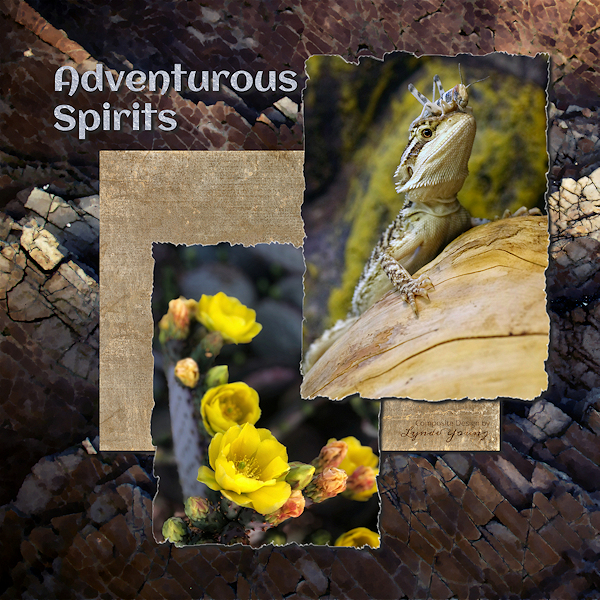
January 17, 2021 at 4:28 pm #51680Grasshopper and Lizard Image by Philip Veater (Unsplash)
Cactus Blooming Image by Nancy Karels (Unsplash)
Rocks by Tim Mossholder (Unsplash)
Saint Sebastian Paper (Coffee Shop)
Rock Wall Image by Tim Mossholder (Unsplash)January 17, 2021 at 4:37 pm #51681Mary, I will answer your great questions. Thank you for asking them as I am sure others might wonder the same thing.
I think what is happening is I hit the rectangle on my image and it made it go larger and showed my background around the image so it is all bigger on the page.
It happens to be too. Sometimes, if you click on the top of an image twice, by accident, it will maximize it. Look on the top right of your screen and you should see the icons to restore its size. Can you try that?
So in the PDF Manual for my 2021 Version I found on page 287 that there should be a dropper on the Text Toolbar to activate it — but none there.
There are different ways to grab a color. You can use the dropper tool that is showing in the Materials palette, you can choose the one in the Toolbar, or you can click on one of the swatches, either in the Materials palette, or the Text Toolbar and when you are on the COLOR tab, moving your cursor outside of the dialog window will turn it into a dropper tool that you can use to pick a color. I might just consider making a blog article on this. Thanks for the question.
Is there a way to merge just 3-4 layers so I can move them together??
Yes, you can. However, I would suggest that you LINK the layers instead. For that, click on one layer, hold the SHIFT key, click on the other layers you want linked, and then, click on the chain-link icon on top of the Layers palette. That will keep the layers separate.
I guess since I joined the Pixel Scrappers that first time it won’t allow me to download any of the sets on your Lesson Pages.
Unfortunately, I found out afterward that non-paying members can’t always download complete kits. I thought you could, but I was wrong, which is too bad.
I have trouble with the scrapbooking taking the focus away from the photo.
In this Bootcamp, there is obviously a focus on playing with papers and elements, mostly to get to explore various tools and effects, however, scrapbooking does not have to be like that. You can go very minimalistic while still using the same techniques. Sue is one of our nature photographers, and she makes wonderful montages to showcase the photos. She rarely uses a ton of embellishments, because she really focuses on the photos (which are wonderful!)
Why does my PSPro Ultimate 2021 open now directly to the Edit page
It might just be the default setting. I personally set it to open in the Edit page because that is what I use 99% of the time, so it saves me one click. However, if you want to go to the Home page every time you open your PSP, you can change that. Go to File > Preferences > General Program Preferences click Tabs, on the left and you will get the option, on the right, to click on Set Welcome as default.
it said no updates available.
When you go to Help > About, what is the exact version number you have? If it is 23.1.0.27, it is the last version and no update is needed. If it starts with 23.0, then there is the first update you need to install. Somehow, the auto-update does not always work well, so you can go to the Corel page HERE, and download Update 1. Then, double-click on the exe file to run it. Beware that you will possibly lose your workspace customization, so it might be a good idea to save it, in File > Workspace > Save and give it a name so you can just reload it after any time you “lose” it.
in my folder for PSP 2021 the Folders are empty. Things like Brushes, Environment Maps, Gradients, Masks, Mixer pages, Palettes. Shouldn’t items have comein these folders with my program?
Yes and no. The folders in the Documents folder are meant for supplies YOU create. So if you create a custom brush, or a pattern or a picture tube, that is where they will be saved. When you install PSP the supplies that come with it are in a different section of your computer completely; they are in the Program Data folder.
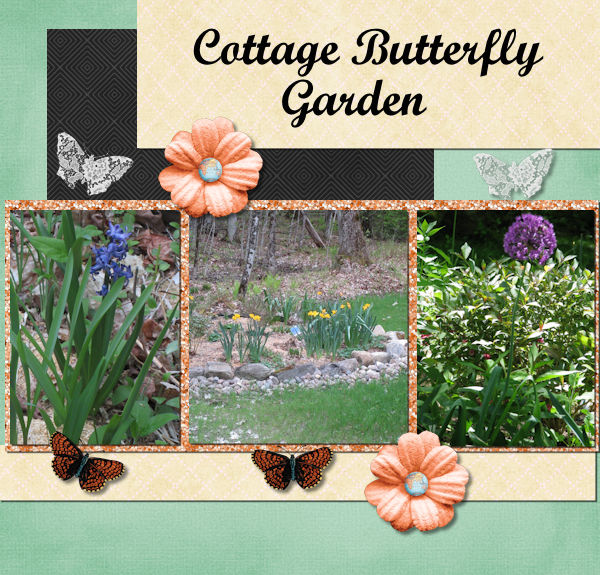
January 17, 2021 at 5:17 pm #51683Here is my third project – My husband’s Butterfly garden at the lake. While I’m busy with my woodturning at the cottage he is busy creating beautiful flower gardens. The three pictures below are of one of his gardens (centre) and two of the flowers from last summer (left – Iris), right (allium). The papers and elements all came from Pixel Scrapper (over the past year). I didn’t have a poem to add so I’ve not yet used the import text feature, but did use the History Palette to remove some of the drop shadows and replace them with thicker, blurrier (not sure if that is a word) versions on the flowers and the coloured butterflies. I didn’t add drop shadow to the lace butterfly on the dark background because it darkened it too much, but used a blurier version on the lace-on-green butterfly. I like the different effects that the changes made and the opportunity to selectively remove some effects with the History palette. Looking forward to Project 4.
January 17, 2021 at 6:14 pm #51686Connie, lovely results with both. Keep it up and you will be a Superfan before you know it! <3
January 17, 2021 at 6:15 pm #51687Cassel you are so great to answer me so quickly! I am retired Mathematics Instructor who also taught Power Point, Excel, Word and Access. So I get frustrated when I don’t catch on to this program. I used to do rubber stamping but never scrapbooking. You are a very good teacher – very patient. Thanks!
I checked and my version is correct. However, I paid for a 64 bit program and somehow I am using a 32 bit. I had version 2019 at the mid 2018 and didn’t use it. Then the class I had paid to attend on it was cancelled due to Covid19 in 2020. So I got the upgrade for Christmas 2020 and am now trying to learn 2021 version. Both versions are on my computer and both were paid to be 64 Bit. I guess I need to contact Corel. I also am surprised that the 2021 version did not over write the 2019 version.
January 17, 2021 at 6:35 pm #51689Mary, when you buy PSP, you get BOTH versions (32-bits and 64-bits). It is just a matter of the installation process. However, it can also depend on your system. If you have an older computer that is 32-bits, then the 64-bits will never install. If, on the other hand, your computer is a 64-bits, you would have to uninstall the current version you have and re-install it, while carefully selecting the option to install BOTH versions.
Each version of PSP is independent of each other, EVEN if you purchase the UPGRADE. I have versions 9 – 2021 installed on my computer and they play along very nicely 🙂 Now that you have one PSP, NEVER buy a full version again; always choose the UPGRADE, from now on!
Try not to get frustrated. Those programs, now, are so complex that it is easy to miss a small detail that will make a tool not work or work in an odd way. When in doubt, ask. There is always the “Need help?” tab on the right, if you encounter a problem. That tab is a direct line to my inbox!
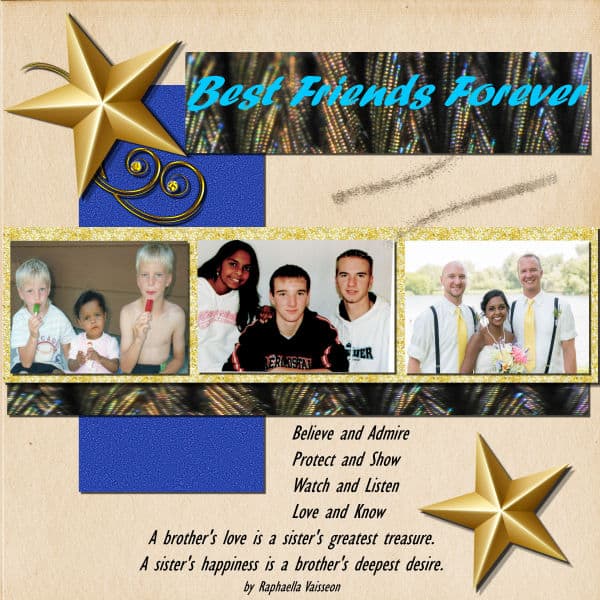
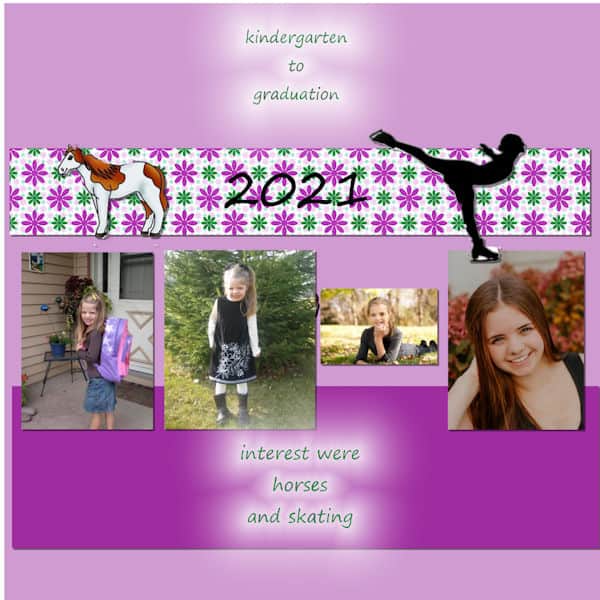
January 17, 2021 at 7:14 pm #51696I am doing the Happy Dance!!!! I finished.
I find the hardest thing doing these projects is NOT having the fun little extras in a tidy little folder for easy grabbing– (sad face.) It is a huge time eater just looking for all the things needed.
For instance: Instead of using stripped paper as Carole did, I hunted thru lots of pics on my computer and finally found a macro shot of a peacock feather. I found the star and glitter splatter and the gold thingy searching the internet and copy and pasting. Then I had to dig deep in my photo files to find 3 different pics of my kids with several years between. They have always been a happy bunch and such good buds. How do I print this project as it turned out pretty special.
January 17, 2021 at 7:48 pm #51701OMGosh Lynn! I love this page, simple and so effective and what a tie up between the title and the photo of the lizard and grasshopper. Now that grasshopper is indeed very adventurous, lol! Well done. 🙂
January 17, 2021 at 7:54 pm #51702A beautiful job Clarine, well done and congratulations, you deserve and A+ for the effort and it paid off!
January 17, 2021 at 11:32 pm #51703Connie, your smudgy date looks quite realistic. It is an interesting idea.
Jacques, if you ever get more photos of that manger scene, you can even make a whole page just on its story!
Mary, hopefully, all those practices will give you more fluency with the various tools and techniques available and you can then use only the ones that suit your vision of projects. As mentioned before, some scrapbook projects are minimal and focus on the photos.
Lynn, I posted the same comment on the FB group: how long will that lizard tolerate a grasshopper on his head?? and the answer is probably… until lunchtime!
Leslie, you didn’t put the drop shadows on separate layers? That is one way to give you the flexibility to remove a shadow and replace it as needed. I am glad that you found a way to remove it using the History Palette. I have a curiosity question: is a butterfly garden, a garden that specifically attracts butterflies? If so, what is included in such a garden?
Clarine, you look like you are already getting more comfortable with these projects and it is only the third one! For supplies, you can definitely grab some, either on the PixelScrappers site (although only 5 per day) or on other sites listed in the Resources page. But beware: once you start collecting supplies, they are like rabbits and seem to multiply! As soon as you start collecting supplies, make yourself a system to sort them.
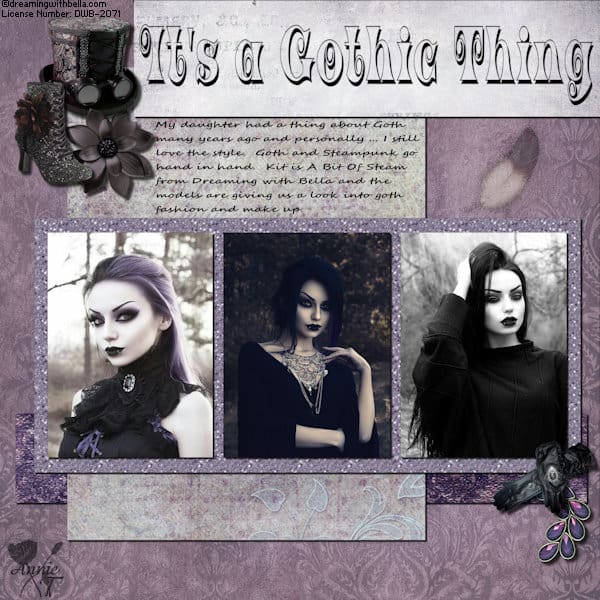
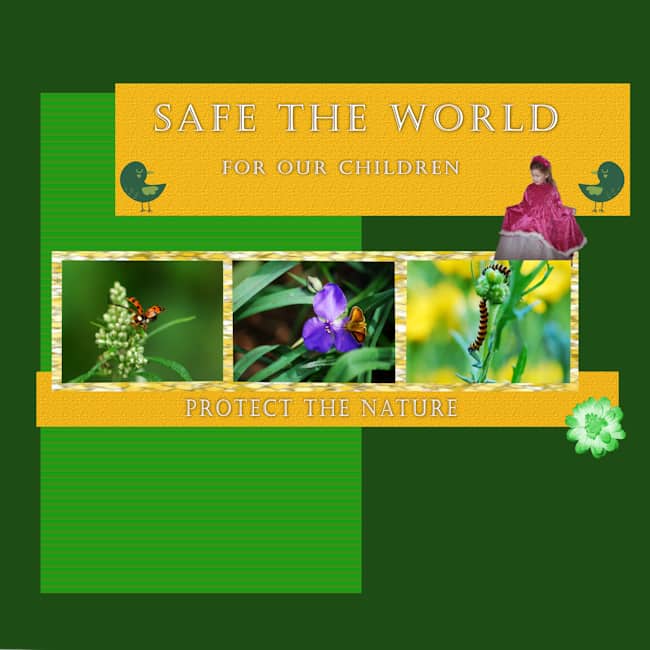
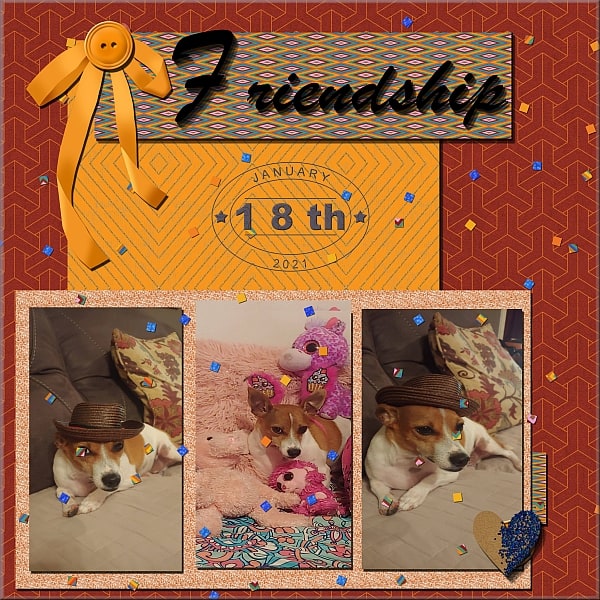
January 18, 2021 at 2:29 am #51707Hello Bootcampers. This is my page for the Friendship project but I turned it into a Gothic theme instead. Thanks for takin a peek! ;D
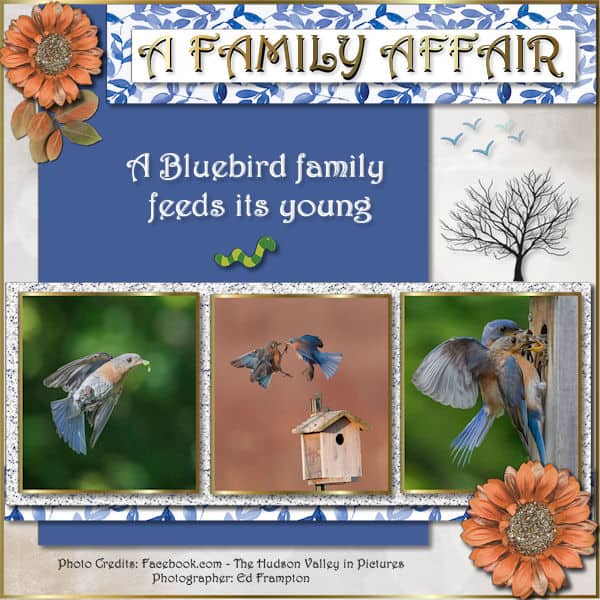
January 18, 2021 at 11:16 am #51717Hi Everyone! Here’s my take on Carole’s Friendship page. I turned it into A Family Affair for some Bluebird photos I got from a friend. I admire his photo skills. So, this layout includes:
- Three bluebird photos from the Facebook group: The Hudson Valley in Pictures, photos by Ed Frampton of Poughkeepsie
- The font for all text is Harrington
- The flower is from the kit: All That’s Fall
- The swirl is from the kit: Somewhere in Time
- The pale background paper is from the kit: ALA-Hygge
- I made the blue paper by choosing a color from one of the bluebirds
- I have a folder with many glitter files; this one was the palest and then I used the color changer to replace any dark gray flecks with the blue of the paper.
- The flying birds are from a kit: It’s Beachy
- The tree is from Corel’s Winter Clip-art collection
- The blue and white paper was in my folder with no label. When I went to use it, it turned out to be on a transparent background, like an overlay, so I added a layer underneath and flood-filled it with white.
Thanks for any feedback!
(Ed said he tagged the center photo: “Bluebirds discussing the housing shortage”) 🙂
Edit: I discovered that scaling down to 600 px from 3600 tends to make the small vector text break up so I went back and duplicated the vector layer and chose “convert to raster” on that layer in my .pspimage file. I made a new 600 px version for here. You can now read the text at the bottom.
Edit2: I found I disliked the golden swirl under the top left flower so I found the matching leaves from the same kit and now feel much better about it.
-
This reply was modified 3 years, 10 months ago by
Ann Seeber.
-
This reply was modified 3 years, 10 months ago by
-
This reply was modified 3 years, 10 months ago by
January 18, 2021 at 12:22 pm #51721January 18, 2021 at 1:14 pm #51725Sorry for the late submission, computer and internet issues. This has been a great refresher on scrapbooking, thank you. The kit I used is from Pixel Scrapper, by Jessica Dunn called Delightful Days, and the glitter was from Marisa Lerin.
-
This reply was modified 3 years, 10 months ago by
Jennifer Leighton.
January 18, 2021 at 6:41 pm #51742I really learned a lot on this Project 3.
Question: When you were getting ready to add your poem, did you add a New Raster Layer or pick one that was already there? I picked the one that had a swirl on it and typed on it as I couldn’t tell if we were to create a new layer.
I did my 3rd photo differently as I really didn’t want to shrink it! I tried to line up the guides at the top of all the photos and at the middle of the longer photo. I did the smaller drop shadows and larger ones. I did a mirror image of the arrow to point where I wanted it.
January 18, 2021 at 8:42 pm #51746Jan 18, 2021
Hello everyone:
Cassel here is my project # 3, with 3 photos. The background paper colors I did them with PSP. The embellishment are from Pixel Scrapper, photos are mine. I did enjoy more doing this one, let me know your thoughts!
Thanks!January 18, 2021 at 9:19 pm #51748Hallo cassel
Diepe zucht,gisteren meer dan 4 uur bezig geweest en in eens alles weg.
Vanavond weer opnieuw de bootcamp 3 zitten maken.
Maar ik ben tevreden.January 18, 2021 at 10:40 pm #51750a nativity scene over the years
I liked your suggestion so much that it took me several hours again. It took some puzzling and looking up old photos, but I am very satisfied. I made the border from a small piece, often duplicate and rotate, both 90′ and 180 ‘
When I got married in 1969 we bought this nativity scene.
In 2011, when I moved into an apartment, the scene went to my daughter.January 18, 2021 at 11:48 pm #51751Annie T, that is quite a different style from your typical projects. Experimenting?
Ann S, I like that quote from Ed! You know, it is strange that vectors would get distorted when sized down as vectors are NOT supposed to change. I guess you found an example where it is not always exact.
Elaine, I am glad to see that you matched the size of the three photos without distorting them. That little girl is so cute; you would not have wanted to have any image distorted!
Jennifer, glad that you are learning a few things. If I could offer a suggestion is to tweak the placement of the paint spatter; it is on top of two surfaces and if you want to keep it that way, you would have to add a little technique that you can find HERE. Otherwise, try to leave it on a single surface.
Mary, to answer your question, whenever you add some text with the Text tool, it will automatically add a vector layer, so that is why I didn’t have to add one manually. You have used that third photo very creatively. Since it is all lined up on the top and evenly placed from the edge, it looks very balanced. Changing the direction of the arrow is a great idea to lead the viewer’s eye to the important part of your page (instead of the next page).
Julia, it is interesting that you placed the photos vertically instead of horizontally, but hey, if you used and practiced the same technique of resizing with the guides, that is what I wanted! Great job.
Annie, you are working very hard! If I could give you two suggestions, it would be to have your text darker, since it is on a light color paper already. The other suggestion is to check on your shadows. Maybe you missed them when you had to redo your page. You sized the photos very well for this project!
Jacques, I am glad my comment led you to generate that project. I love it when pages tell stories like that. If we don’t document them, who will?
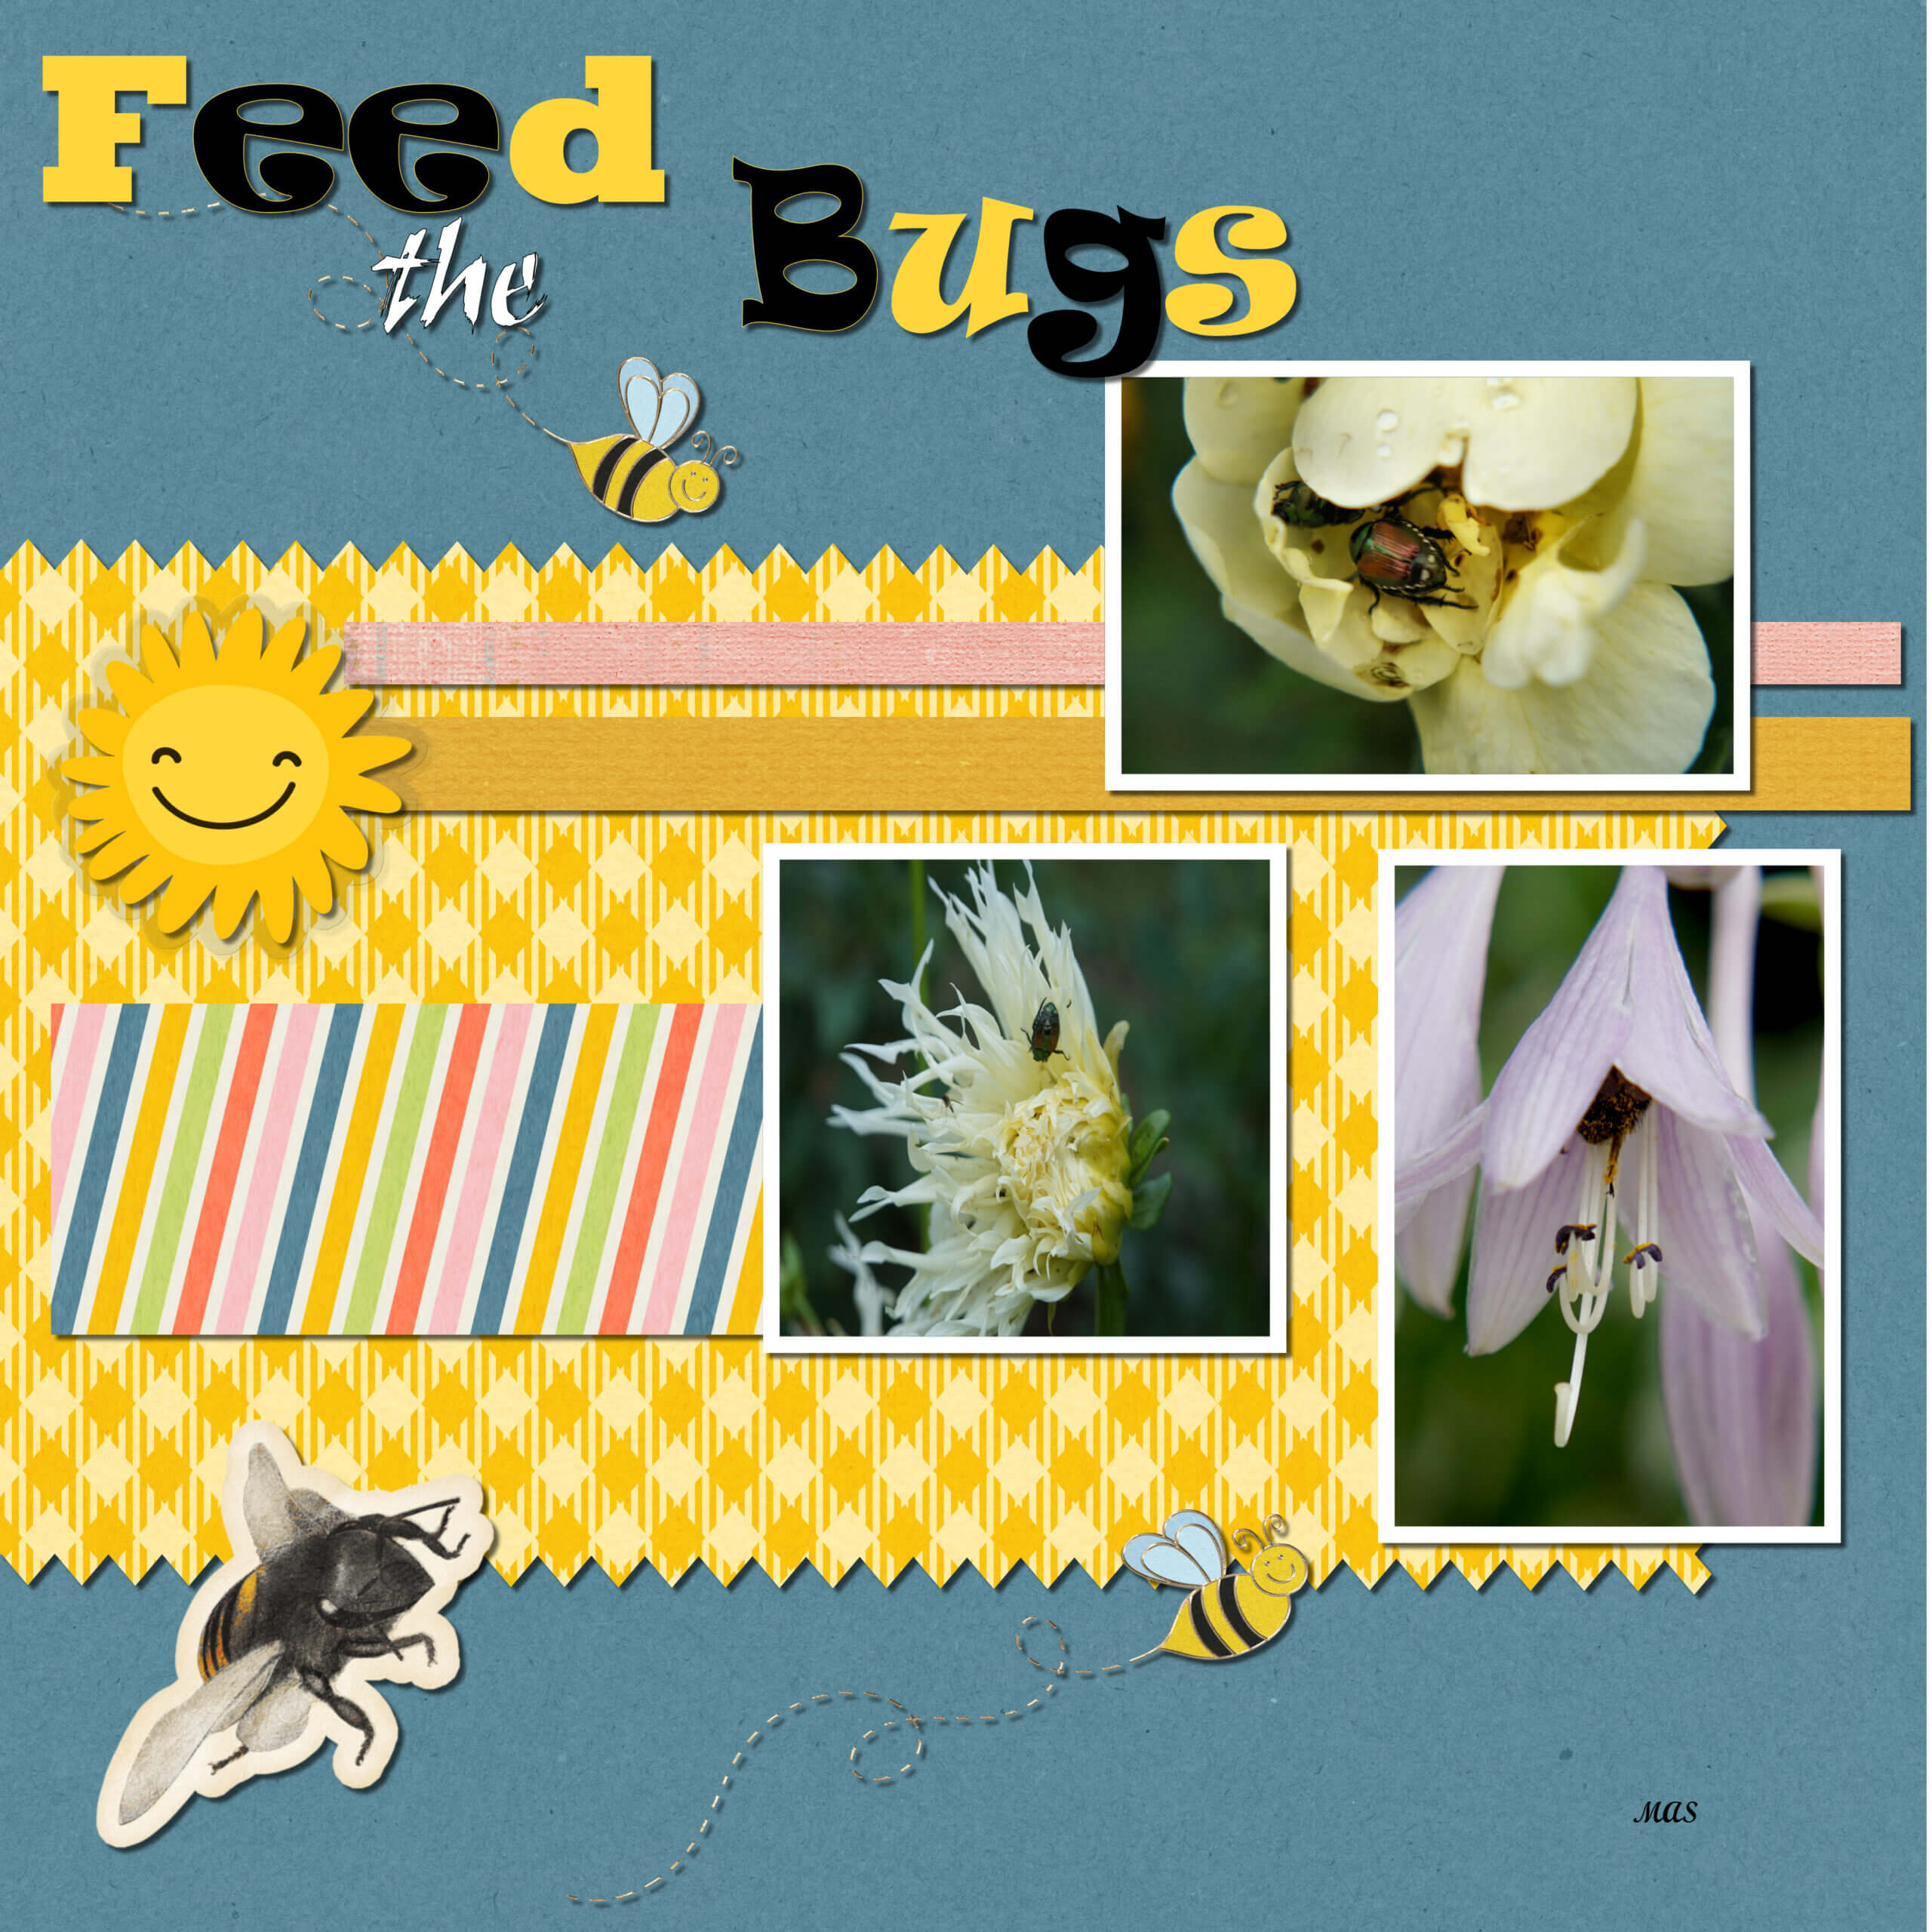
January 19, 2021 at 1:55 am #51753Hi Teacher Hi All,
I used the quick kit from pixelscrapper. Then I used some Scripts from CreationCassel
our Teachers store. She makes the best Scripts shot cuts to doing Scrapbooking its Great and Fun.
I used Cassels confittie maker and the bow and made some buttons with the Button Script.
January 19, 2021 at 5:32 am #51758Ann, Elaine, Jennifer, Mary, Julia, Annie, and Jacques … terrific pages my friends … you are all forging ahead, CONGRATULATIONS! 🙂
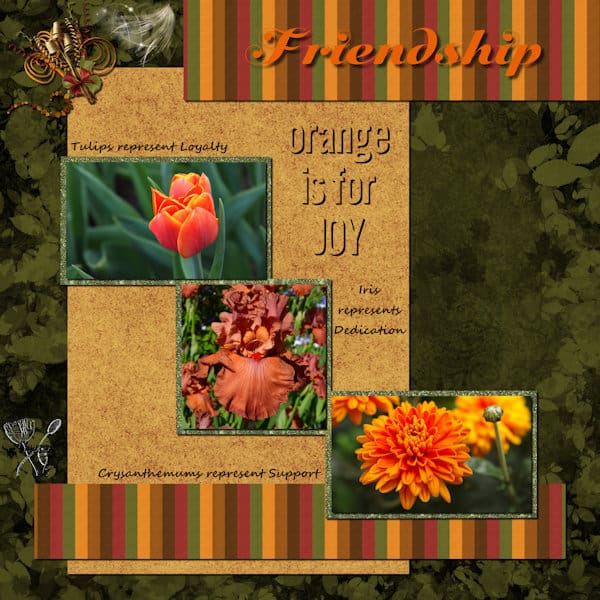
January 19, 2021 at 5:40 am #51763Hello Bootcampers. This is another for the Friendship project. These photos of single beautiful blooms each mean something in a friendship. The scrapkit was an Autumn collab from CDO. The font used for the title is Sildetas Black. Thanks for takin a peek. 😉
January 19, 2021 at 2:11 pm #51787I need help. I am trying to resize to the 600×600, but when I do a photo in my layout goes really small. So I clicked on a different photo in my layout and hit save and then that photo goes small. What can I do to stop that? Yes Carole, checking that box did the trick. Thank you.
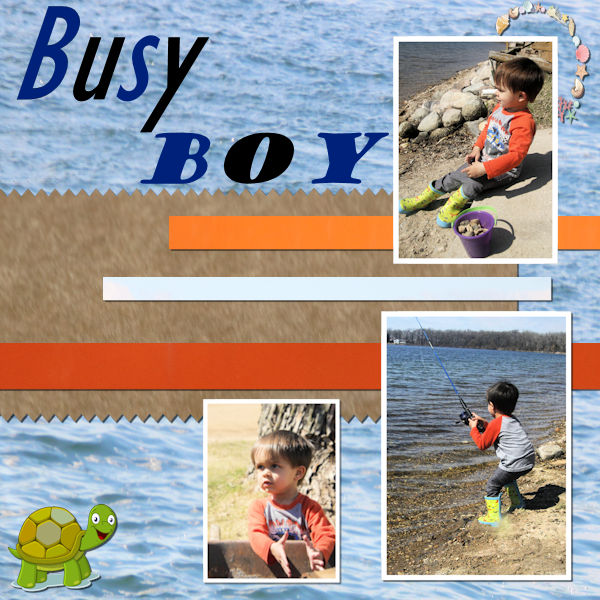
This project is all about our 2.5 year old grandson enjoying a busy day at the lake. He and Grandpa took a break after hauling wood. Then a little casting practice and finally and most fun of all….throwing stones into the lake.
I keeping trying to download the fun kits but I still can’t get it to work. So, again, I use what I have on my computer. I found the little turtle and shells on the internet.
I love the fun idea on how to frame each photo and the fancy cut paper edges. So cool!!!
-
This reply was modified 3 years, 10 months ago by
Clarine.
January 19, 2021 at 3:03 pm #51791Clarine, make sure the checkbox for “resize all layers” is checked. Would that solve the problem?
January 19, 2021 at 6:17 pm #51795I found my PSPro Ultimate 64 bit program and opened it! Created a short cut and deleted the other one. My work space seems so much bigger.
I still have a problem creating another Vector layer or raster layer when I finish the first word using Text Tool and want a second word. I staid on the same Vector layer as my first word (Feed) and just changed the Font and color etc. and started typing the 2nd word (the). It put it on a layer below the vector layer for “Feed”. Then I did a third word. But when I wanted to move them, it put all the words inside the rectangle to move them. Then when I went to do Drop Shadows they automatically all went into 1 Rastor Layer.
The only way I can see the Windows I have minimized is to use the Windows/Cascade command. Even if I shrink the size of the picture on the screen to very small, the title of it doesn’t show at the bottom – above the Organize. If I cascade them I see the name of each open window above the Organize Icon. Don’t know if this is a 2021 feature but it wastes my time.
Thanks for always replying to my questions.
January 19, 2021 at 11:44 pm #51801Cindy, I am glad to see that you are using those scripts. Remember when you didn’t know how to run them?
Annie T, those are such warm colors in that layout! (and I need that with all the snow we got).
Clarine, that is a fun way to retell that story. I am glad the resizing works now. Aren’t those little details fun when you can add them to a project?
Mary, here is a little trick that might help you. When the active layer is a Vector layer and you add another Vector shape or text, it will add another OBJECT on the same layer, so when you convert to a raster to add a shadow, all the objects in the Vector layer will become ONE. If you want to create different words on different layers, simply activate a Raster layer before clicking to add some text and the system will automatically create a NEW Vector layer. That way, separate words would end up on different Raster layers. As for the size of the images, did you try to check and then uncheck the Tabbed documents? Your project is very nicely done with proper shadows.
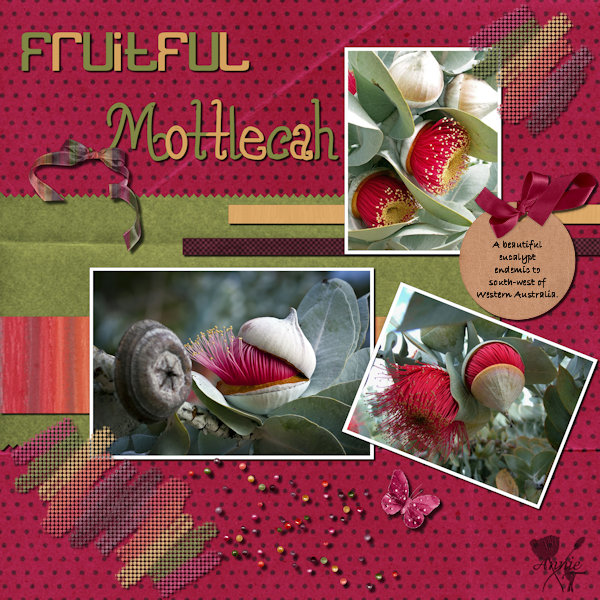
January 19, 2021 at 11:51 pm #51803This one is for project Busy Bees. These are the beautiful and unusual flowers of the Western Australia ‘Fruitful Mottlecah’. Thanks for takin a peek my friends. 🙂
-
AuthorPosts


- The topic ‘BOOTCAMP January 2021’ is closed to new replies.


