Home of the Scrapbook Campus › Forums › Basic Scrap Course › Basic Module 1
- This topic has 6 replies, 3 voices, and was last updated 4 years, 1 month ago by
Cassel.
-
AuthorPosts
-
June 4, 2020 at 7:50 am #43493
I used the individual letters from Heather’s kit but I wanted to scale them down in size by the same amount at the same time. I tried by linking the layers together which allowed me to move them in one go but not to scale. How do you group layers together to be able to scale at once please?
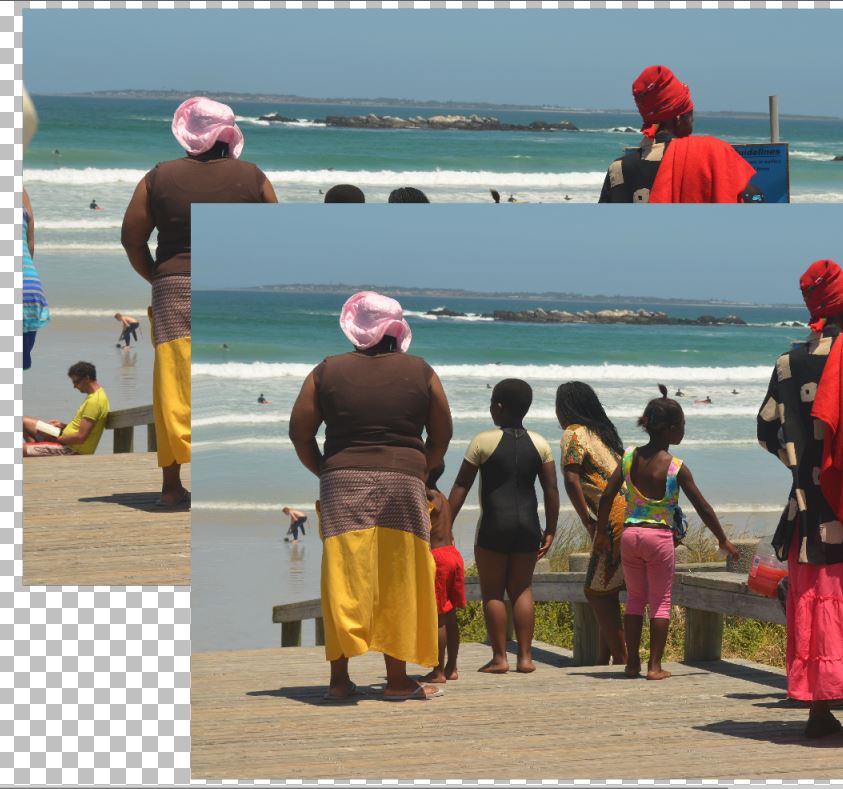
On my photo I removed a stray person but the area that replaced him was a dark coloured patch that took on the shape of the rectangular selection but didn’t tonally match the surroundings. Does this Magic Fill method only work in certain pictorial cases? In the end I used the clone tool to remove the guy!
June 4, 2020 at 10:57 pm #43504In order to resize several elements at once, you can GROUP them, which is not the same as LINKING them. You would have to select all the layers you want to group, then go to Layers > New Layers Group. You will see all the layers grouped together.
Once you are done putting all the layers inside the group, you can resize using the Pick tool or the regular Resize command.
P.S. that does not work with older versions of PSP where you would need to add layers to the group one at the time and only resize with the Resize command.
If you were to remove some sections of the photo using the Delete key on your keyboard and the layer was a Background, that is why it would fill back to another color. Right-click on the layer and Promote Background layer. After that, the layer will become a Raster and you will be able to delete without any color filling that area. Was that the case?
June 5, 2020 at 10:11 am #43509The magic fill uses surrounding pixels. If the surrounding pixels are dark, your fill will be dark. Which photo were you working on?
June 5, 2020 at 11:50 am #43515Thank you both for replying. I have retried with the Magic Fill by cropping very close to the woman with hat and blue stripey shirt and it worked better this time. See furthest snip. It doesn’t work to remove the guy with the yellow shirt though. Should I be using a different shape selection for him instead of the rectangle?
One further question Carole: Can the Grouped Layers be ungrouped as and when required? I am new to PSP so have 2020 version.
June 5, 2020 at 1:01 pm #43518Yes, you can ungroup layers as needed later.
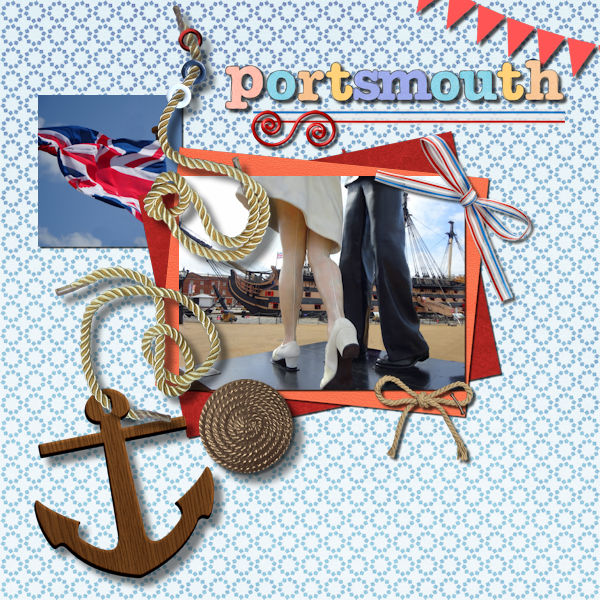
June 8, 2020 at 12:43 pm #43600On to Module 2 and have found the ‘Open and save, rename a new layer Script’ very useful. I have also used the Star icon next to the Open icon on my Menu bar. This project has taken me ages as I wanted to link the ropes through the grommets on my image. It is a bit crude but it worked eventually. I made a selection of the area of the object that was to appear under the 2nd object and created a promotional layer for that selection. At that point sometimes the selection dropped out as required by deleting the whole promotional layer or on another attempt by deleting it from the main layer. Something not consistent somewhere. Anyway I suppose that wasn’t part of the exercise.
Questions I now have are:
1. How could I change the colour of the lettering.
2.Can you remove an applied drop shadow if later you change your mind?
June 8, 2020 at 2:19 pm #43601Fiona, you managed the threading through the grommets very well. You can check the tutorial HERE, to see one technique I recommend for interlacing elements.
To answer your questions:
1- You can change the coloring of the letters but it will depend on what color is already there. You can use the locked transparency to change it, but it would only work if it is the whole letter (read HERE). You can use the Color replacer if it is a single solid color (and not affect an outline for example).
2- You can remove a dropped shadow if it is on a separate layer. If not, it is very difficult. That is why it is always recommended to apply shadows on a separate layer.
-
AuthorPosts


- You must be logged in to reply to this topic.


