Birthday cards can be ordinary or stand out. Using PaintShop Pro, you can create a fun birthday card that will suit anyone and you can customize it. This tutorial was inspired by a card Anne B. sent me this year. Let's see how easy it can be.
Start with a basic size
You will create this card based on the size you can print on your home printer. Typically, that will be 8.5 x 11 however, you also have to create a custom envelope for it, so you will need something smaller than the current width your printer can print.
Let's start with a 6 inch wide image (at 300 ppi that would make 1800 pixels) and the same height.
This card will include sets of 10 candles.
Create your candles
You want to draw 10 separate candles on this page, but you also want to add a little flap on one end so you can print multiple "10-candle" sections to match the number of years for the birthday person.
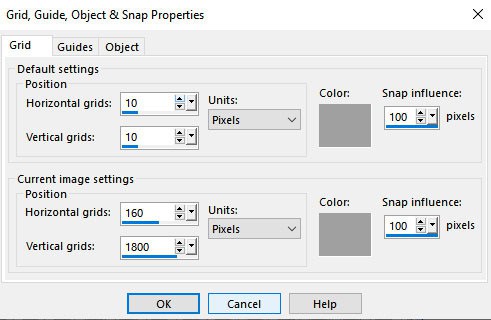
You can use the Grid and set them to be 160 pixels horizontally. That will create 11 sections (plus a little extra on one side). You can set the vertical grid to 1000 or 1800 if you want, since you won't really need that line. Make sure you have Snap to Grid checked.
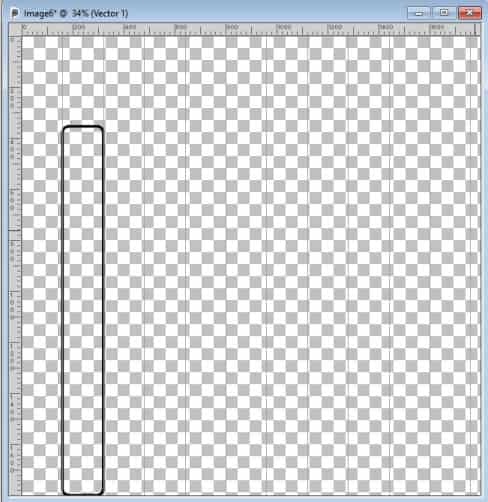
Now, activate your Rectangle tool. Set the Radius to about 25, and a Stroke of 10. Choose black for a stroke and no fill (for now). Draw a rectangle from about a quarter of the height, to the bottom.
Create the flame
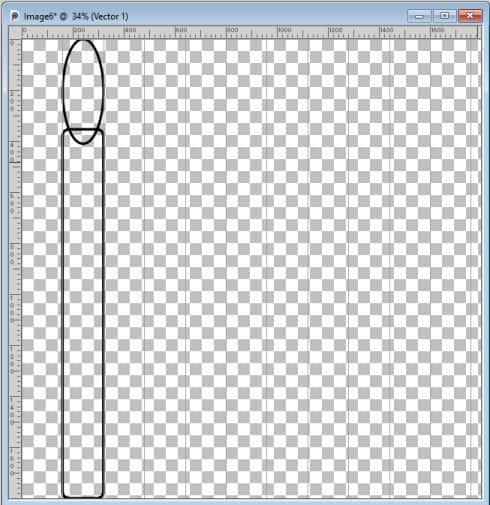
Activate the Ellipse tool with the same settings for the Stroke, and draw one on top of that rectangle. Since you want a flame, you want the top of that ellipse to be "pointy". Uncheck the Snap to Grid, so it will let you tweak that shape and move it down from the top (where it probably snapped).
Activate the Pen tool. Right-click on the ellipse and choose Convert to Path.
Now, you should be able to see four nodes: top, bottom, left and right. Right-click on the top node, choose Node Type > Cusp. This will allow you to move the control arms downward, which will create a pointy shape.
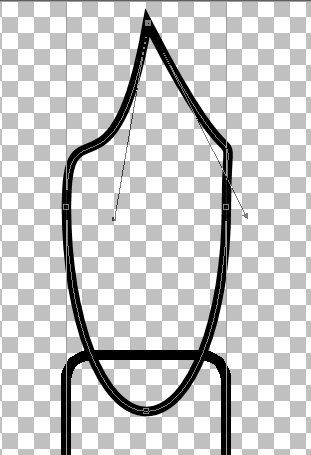
Move the left and right nodes a bit downward and adjust them to shape the bottom of the flame.
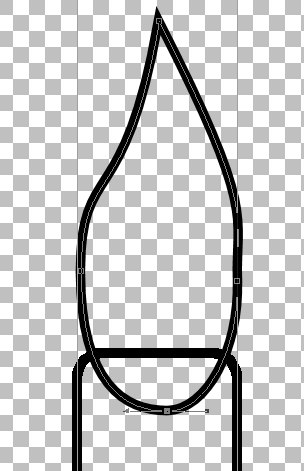
If you are to use a cutting machine to cut the card, make sure you overlap the flame on top of the candle. On the other hand, if you just plan on printing the card without cutting it, you can move the flame away from the candle and draw a wick. It is your choice.
Multiply your candle
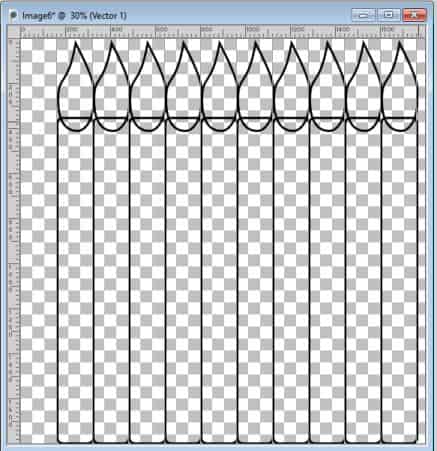
Now that one candle is made, go to the Layers palette, right-click on the Vector Layer and Duplicate it. Repeat this until you have a total of 10 candle layers.
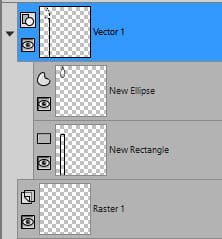
With the Move tool, move each candle, one by one, so they line up nicely. You can re-check the Snap to Grid to help.
Color the flame
A simple method to add some color to the flame is to fill it with a gradient. Use the Foreground-Background gradient and select yellow and orange as those colors. Make sure that gradient shows now, as a Fill (the bottom swatch).
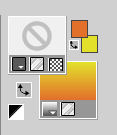
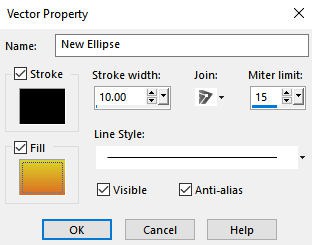
In the Layers palette, double-click on the flame object (called Ellipse unless you renamed it) which will open the Vector Properties dialog window. Check the Fill checkbox. By default, it will show that gradient you created. That will be added to your flame.
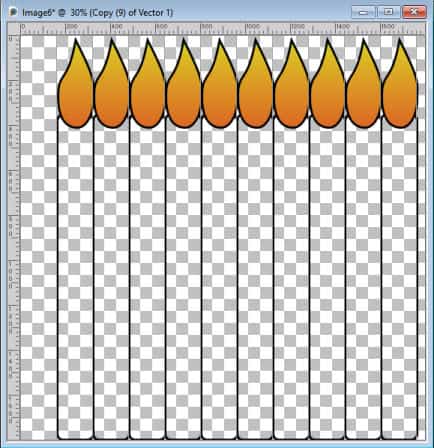
Repeat for all the flames.
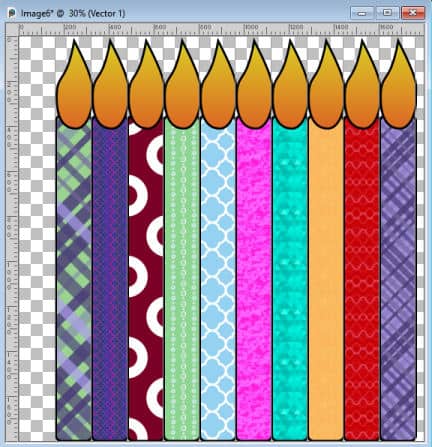
Color your candles
At this point, you will color all the candles in the same way, except that you will choose a pattern or a color. You can use 10 different colors/patterns, or 5 that are repeated, or any other combination of colors/patterns. Repeat for each candle.
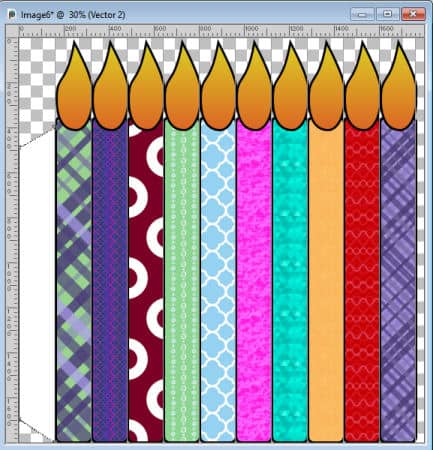
Add a flap
Before saving those 10 candles, you will need to add a little flap on the left side. Using the Pen tool, with a black outline and white fill, draw a shape that will be under the first candle. Make sure you fill it with white if you plan on using a cutting machine so it will treat that section as a solid one.
Save your image as a .pspimage. If you want more options, you can change the colors of the candles and possibly the shape of the flames and save additional copies in .pspimage format.
Print (and cut) your candles
At this point, it is up to you to determine how many candles you want to print. Say the recipient will be 35 years old. You will want to print (and cut) 3 sets of 10 candles, and on another one, you can simply hide the 5 candles on the right side and add a "filler" rectangle before printing them.
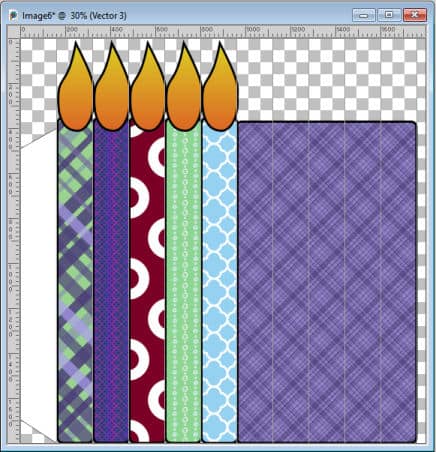
The "filler" rectangle will make sure that each sections will be the same width, no matter how many candles you need to print.
Add a cover
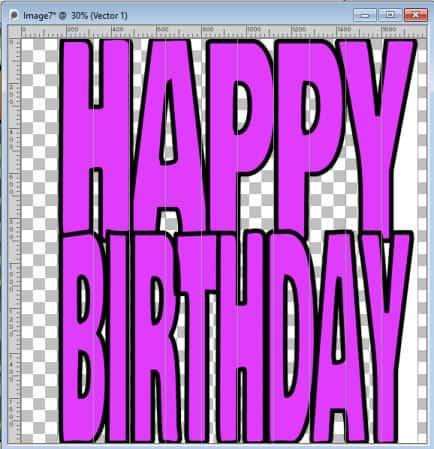
Here, you can use your creativity. You simply create a cover that will be just the width of 10 candles (1600 pixels).It could be a simple rectangle (1600x1800 pixels) or it could be something that can also be cut out with the machine. Just make sure you have a mostly straight edge on the right, so you can glue it to the flap of the first set of candles. If your text does not have such an edge, simply add a white rectangle below the text or the design you have.
Add an inside page
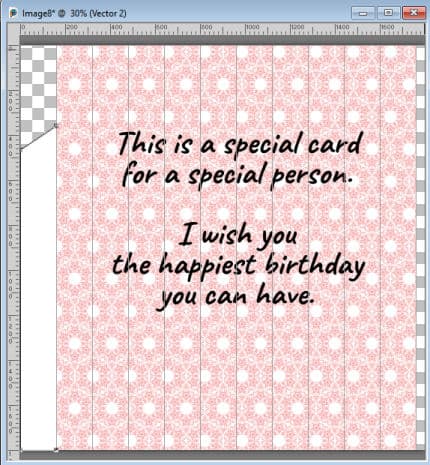
If you want to add a specific sentiment, or a message, you will need an inside page. This can also be either a simple rectangle (1600x1800 pixels) or something that can be cut out with fancy edges. Beware that you will need to add that flap on the left side so you can attach it to the series of candles.
Put it together
Now, it is time to glue each section to the next, starting with the cover, the "full set" of candles, the "partial set" of candles, and the inside page.
Once your card is done and put together, you just have to find an envelope to fit. If you don't have one, you could make a custom envelope with a script available in the store.
If you want to create a smaller card, you can always start with different dimensions. You could even create it just in black and white and let a child color it. That could be a fun way to share an activity with a child.


4 thoughts on “Create a fun birthday card with candles”
Awesome tutorial!!
Wow!
Dittos on what Ann said, I tried so hard to make my granddaughter a card but couldn’t do it. Thank you
Very cool.