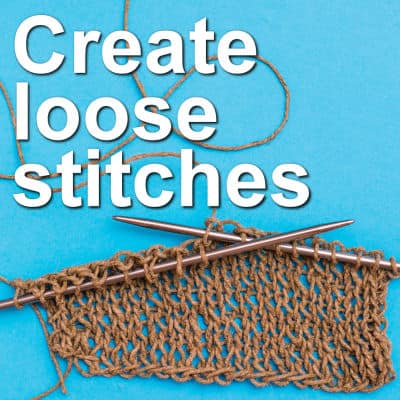

You can add flat stitching to a variety of projects, but if you create loose stitches, it will add dimension. Loose stitches are quite uneven: their shadow should also match. It is a manual process as no script or pre-made settings will do the trick for every stitch. Let's see how you can add those stitches to your page.
Create the stitches
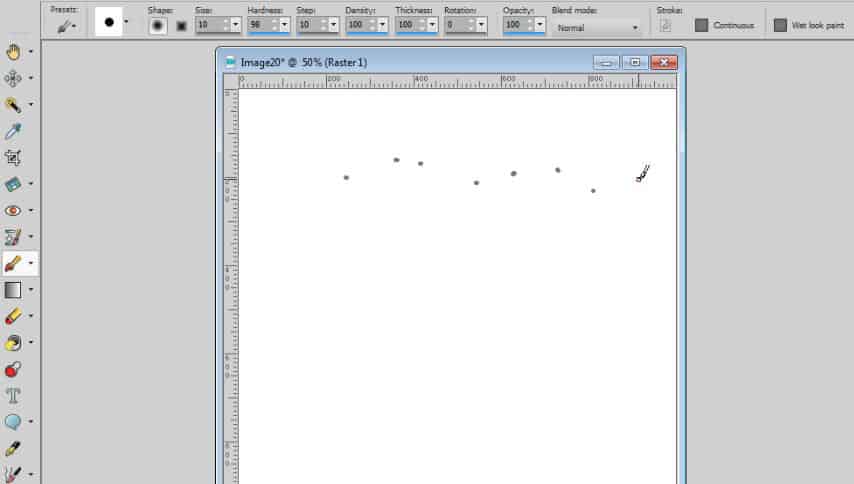
Starting with a blank image, create a new raster layer. With the Paint Brush Tool, set to the size of 10, create "holes" in gray. Since the stitches will be irregular, it is a good idea to make them very uneven
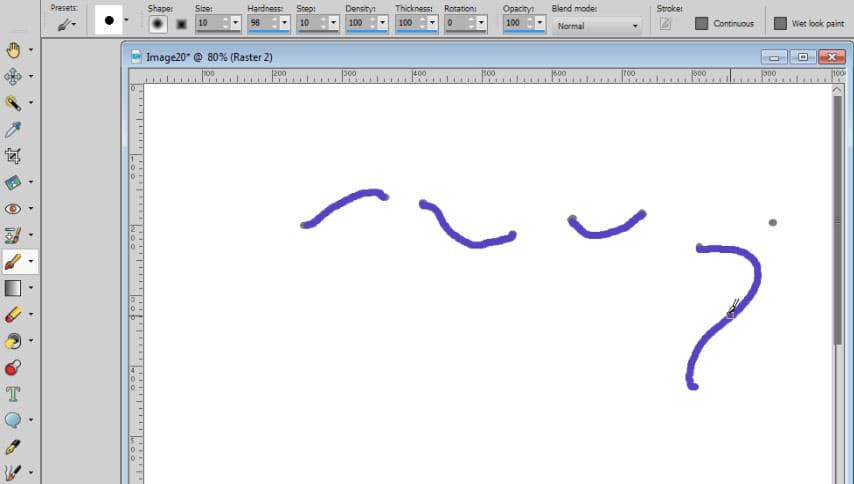
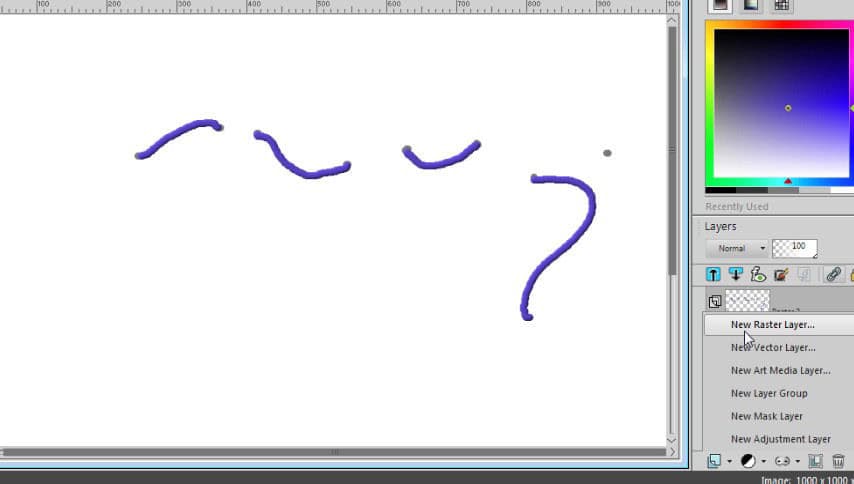
Next, you can pick another color for the actual thread. On a new raster layer, use the same Paint Brush Tool, to draw some loopy stiches. Go from one "hole" to the next. Of course, if you want more irregularity, you can also skip some holes since they are uneven.
Let's add a 3D Effect to that thread. Go to Effects > 3D Effects > Inner Bevel. You want to have a Width of about 4, Smoothness to about 9, and Depth of about 3.
Add the shadows
Now that the stitches are done, you need to create custom shadows. You cannot add the typical drop shadow to those stitches. You will need to add them manually. That is what will add realism. Add a new raster layer. Pick a black or dark gray color and draw shadows underneath each thread taking into account the light source. With the Brush tool, match the holes for each stitch, and loop toward the bottom right of the stitch you are shadowing. Notice that if one stitch does not go into a hole, that shadow can also be away from the end.
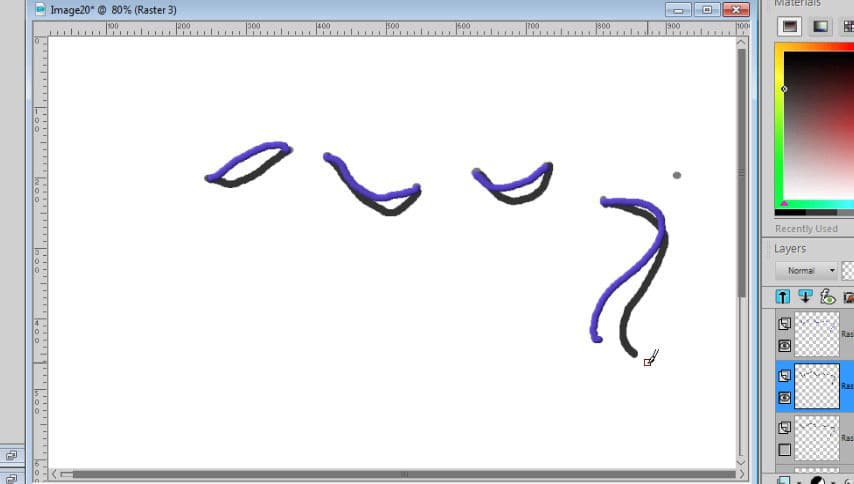
You will then add the shadows for all the stitches in the same way.
Adjust the shadows
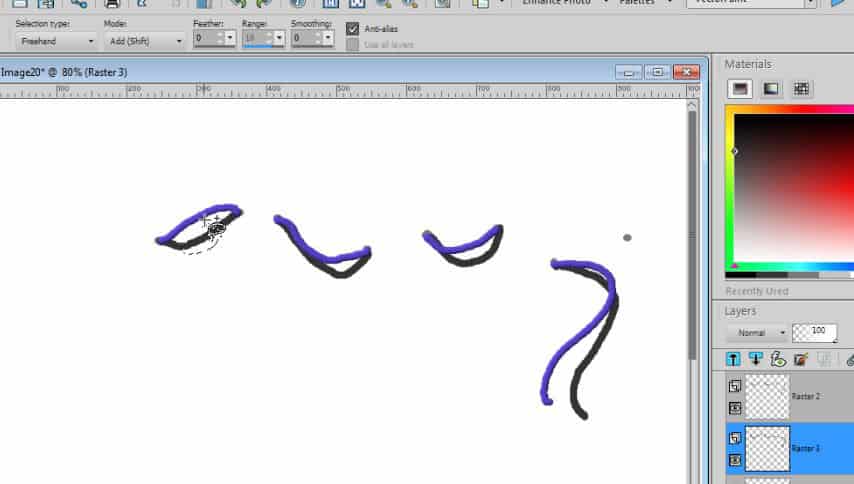
Let's look at the first one. Activate the Freehand Selection Tool and select the center part or middle half of the shadow.
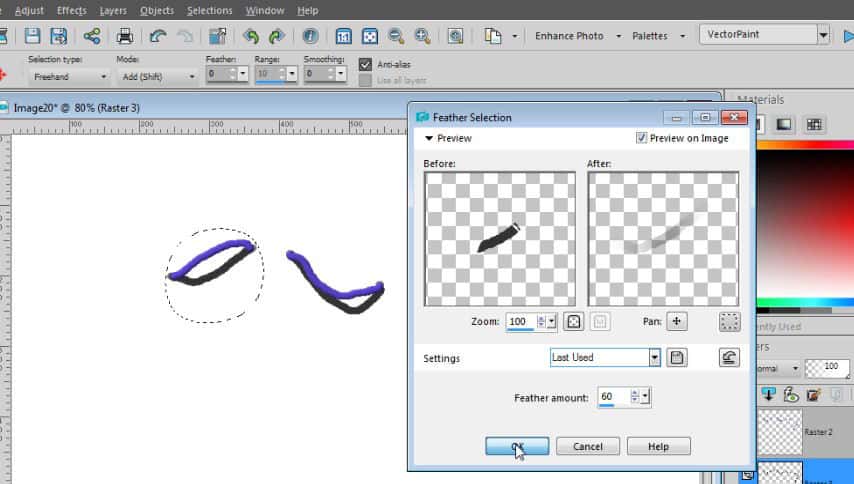
To avoid sharp "edges", go to Selections > Modify > Feather. Set the amount to around 60, or as long as it covers the entire stitch area.
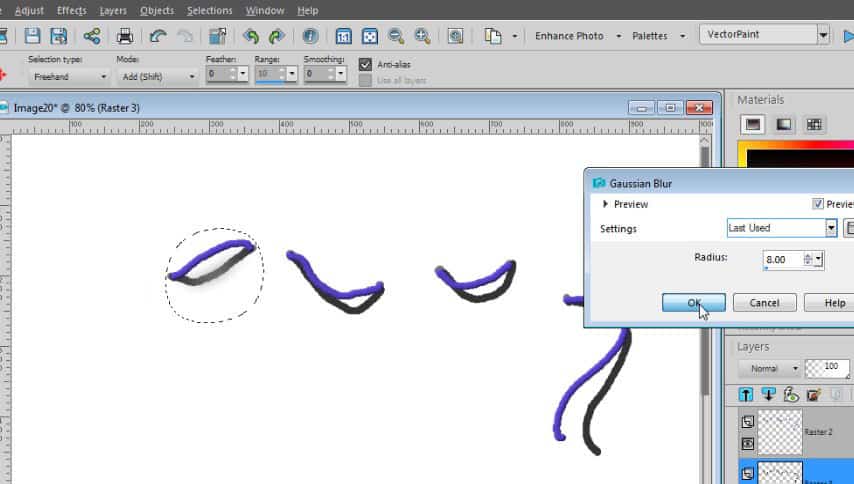
Then go to Adjust > Blur > Gaussian Blur. Set the radius amount to about 8. Then deselect with Ctrl-D.
Now repeat the same process on each of the shadows.
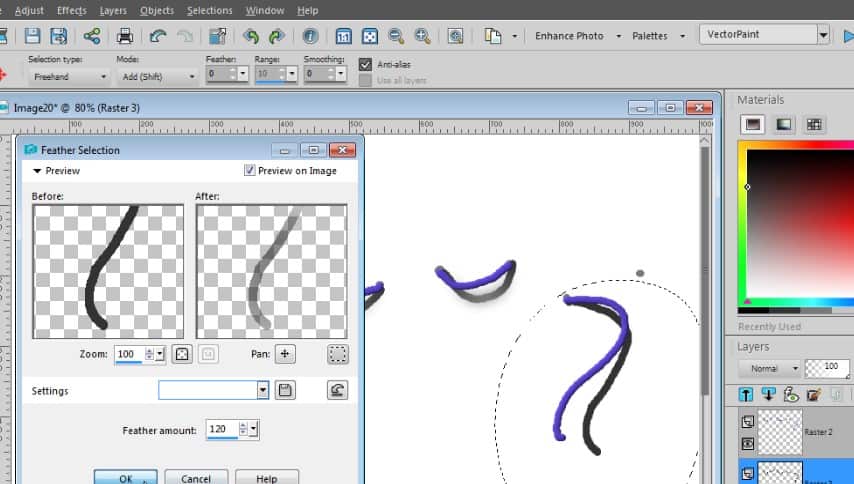
When you get to the last stitch, notice that one end is unattached. In that case, the stitch only touches one hole, and other end is further away from the paper, so that end of the shadow will be more blurred. Activate the Freehand Selection Tool and select the bottom half or almost two-thirds of the shadow.

Go to Selections > Modify > Feather. Set the amount to around 120, to cover the entire stitch area.
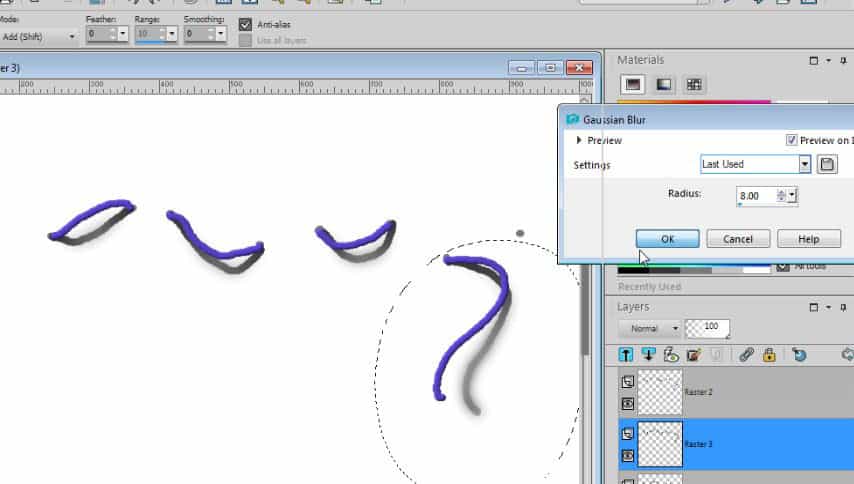
Then go to Adjust > Blur > Gaussian Blur. Set the radius amount to about 8. Then deselect with Ctrl-D.
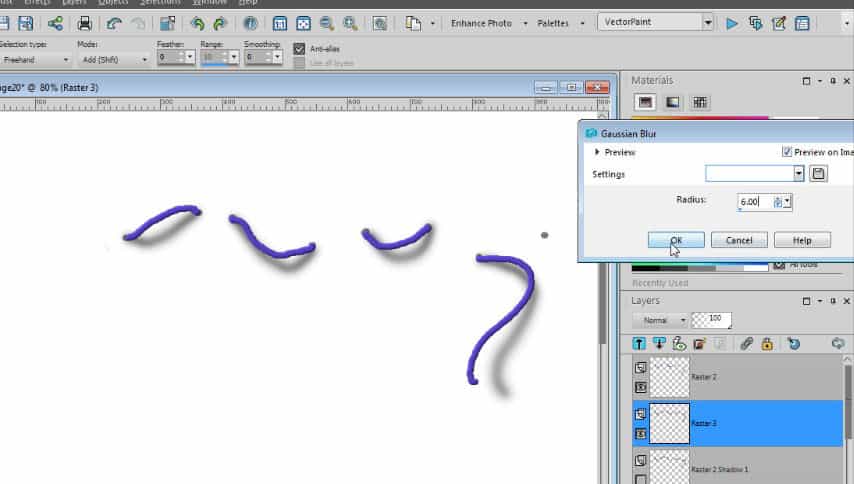
Now that you have all the shadows, you can add a blur all over the shadow layer. Go to Adjust > Blur > Gaussian Blur. Set the radius amount to about 6.
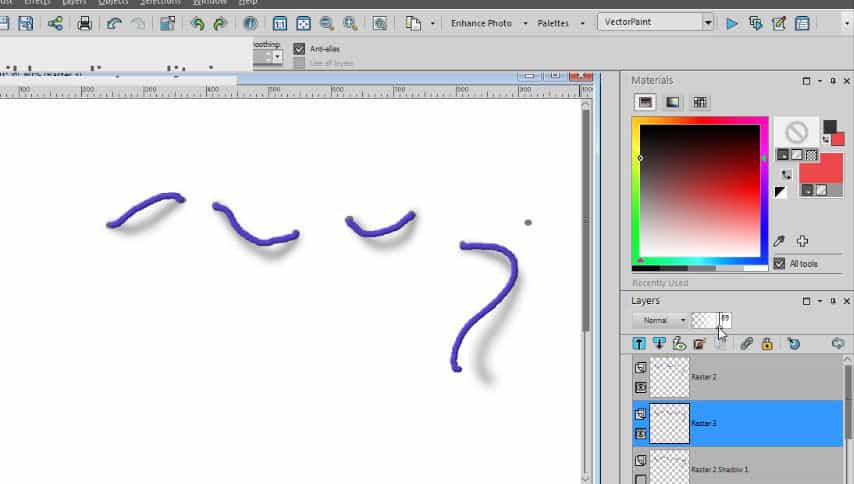
If you find it too dark, you can lower the Opacity a little bit.
Other ideas
You can add loose stitches alongside regular stitches. For example, you can have a series of "normal" stitches, but only have a few loose ones, as if the machine had skipped. You can also create a loose end, even for regular and even stitches.
You can also use this technique to add loose end for a knitting or embroidery project. It would be fun to have multiple ends in different colors.
Instead of a solid color to create the thread, you can also use a rope picture tube and reduce the scale. This would allow you to have more textures. Check out the store for various rope tubes.
Where will you add loose stitches?
For more ideas about creating stitches with PaintShop Pro, check out the Stitches Everywhere Master class.


