
Arranging multiple photos on a layout can be a bit challenging when you don't have a clear vision in mind. You can place photos, arrange them, change them and still be unsure of the end result. However, one simple way to start composing a layout with multiple photos is to place them in "a corner" arrangement.
What is it?
A corner arrangement means that the main elements, are placed along one horizontal and one vertical line. The photos might not cover the whole lenght of the edge, but you will still see that "corner". The photos can be very regularly placed, all straight and identical in shape and size. They can be more "free-flowing", with rotation and size variations. Since a corner arrangement will only use a part of the layout, scrappers have found various ways to use the rest of that space.
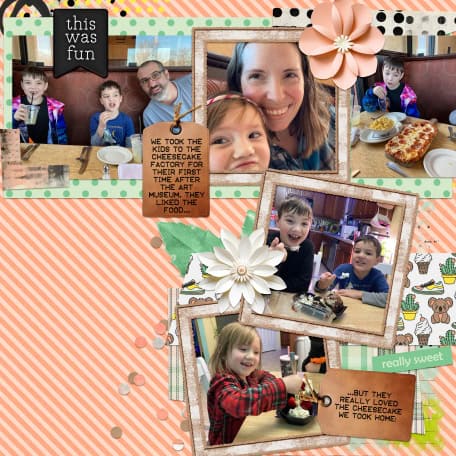
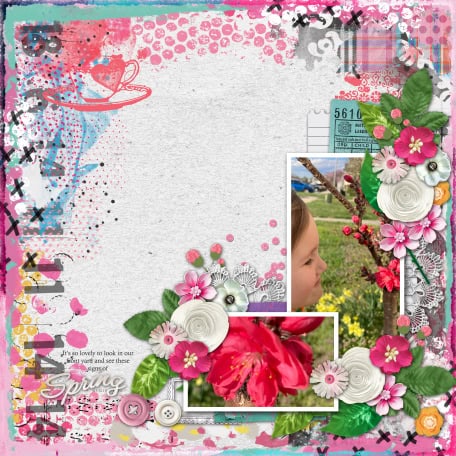
Using Titles
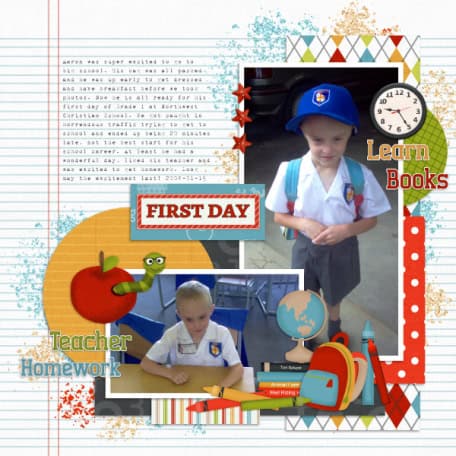
Since the corner arrangement leaves an obvious space, it is a great area to emphasize a title. Even though the title is not using the whole space, the simple fact that it surrounded by the photos makes it a focus of the page.
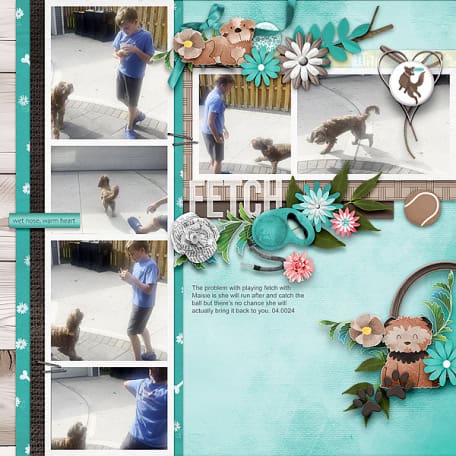
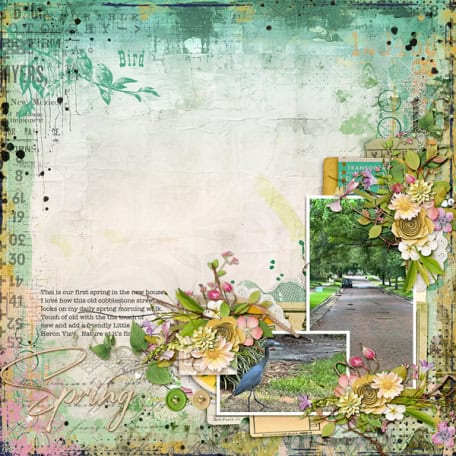
Adding journaling
With a fairly large area not covered by photos, you have many options to include journaling. You can use the whole section, or part of it.

Even just two photos can be arranged in a corner and leave plenty of space for the journaling.
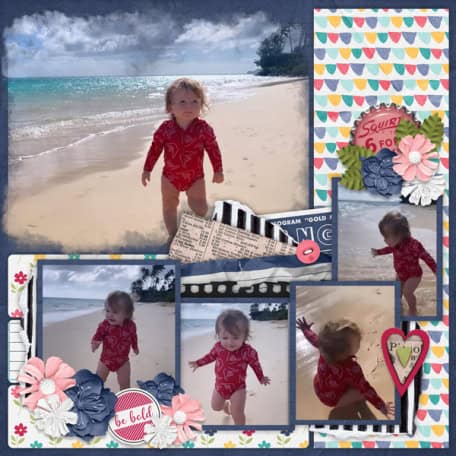
Using a larger photo
Although there is a corner arrangement for the smaller photos, you still have the option to feature a large one in the "empty" area. You can feature an actual photo, similar to the smaller ones, but you can also choose to apply a particular effect to the photo so it stands out a little from the other ones. You can use a mask effect, a watercolor effect, or any other type of texture that will create an obvious change from the typical photos used in the corner.
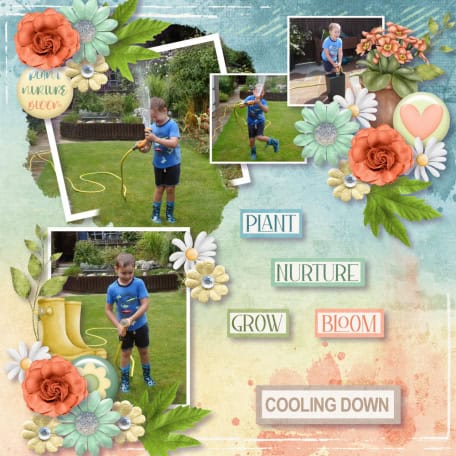
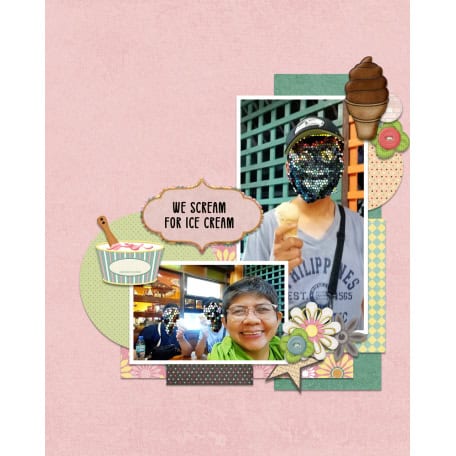
Combine title and journaling
If you have a little bit of journaling, you can use that area to include it along with a short title. They will fit well together with plenty of room to spare.
Leave it empty
You don't always need to fill every square inch of your layout. You can arrange your photo in a corner shape, and leave the rest of the page empty.
Sometimes, a simple patterned paper can be enough to "fill" the area if you don't like it too plain.
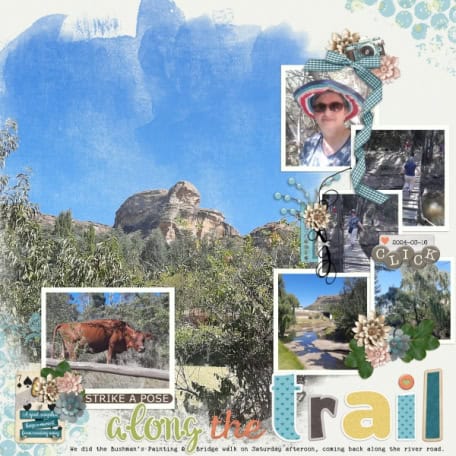
And if you feel that the layout still need a little more details, you can balance the corner of photos with decorative embellishment or mixed media elements.
Here is an example of using only a small section of the "empty" area for journaling, yet, the corner is balanced with some mixed media elements on the opposing corner.
How can you create your own layout with a corner arrangement? Remember that if you want some practice, you can use any of these layouts and scraplift them. Read more about scraplifting. And show us your pages.


