
You might already be familiar with the Gaussian Blur that we often use in PaintShop Pro, but there are other types of blurs too. What are they? What can we use them for? Let's explore this command a bit further.
Where are the blurs?
You will find the various blur options under the Adjust menu. All the six options have been present since many versions of the program. Even in my old JASC PSP9 version, the same options are available.
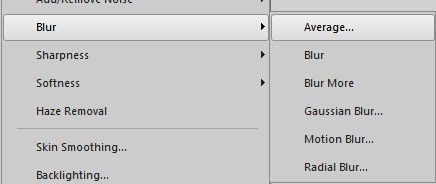
Remember that any option that shows with ... means that you will actually have additional settings to set. On the other hand, those without the ... will have a default application that you can't adjust. This is the case for the Blur and Blur More.
Let's look at each of those 6 commands and their settings (when applicable).
Average...
When you choose that command, you will get this dialog window that gives you the option to change the Filter aperture value:

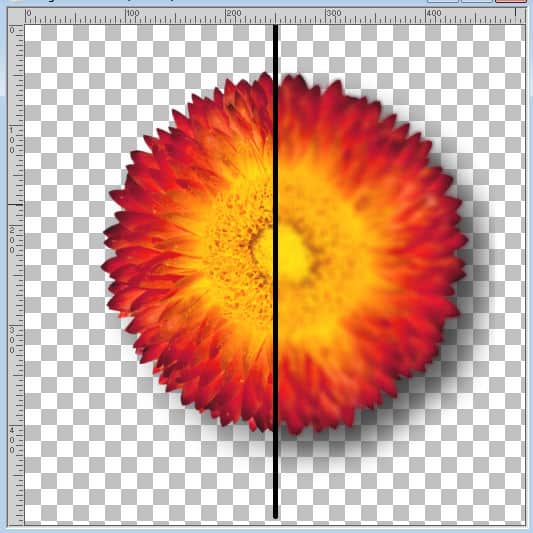
You can choose a value between 3 and 31, where the lower the value is, the less blurring will occur on your photo. Inversely, the higher the number, the more blur you will apply. Here is the difference in a photo (before and after) with an Average Blur of 7.
What can it be used for?
You can apply this command with a low setting to remove noise on digital images or soften details.
Blur and Blur more
Those two commands have no setting for you to adjust. The first one will apply a minimal blurring, while the other will add a bit more. If you choose the Blur and find that it is not enough, you can always apply it a second time.
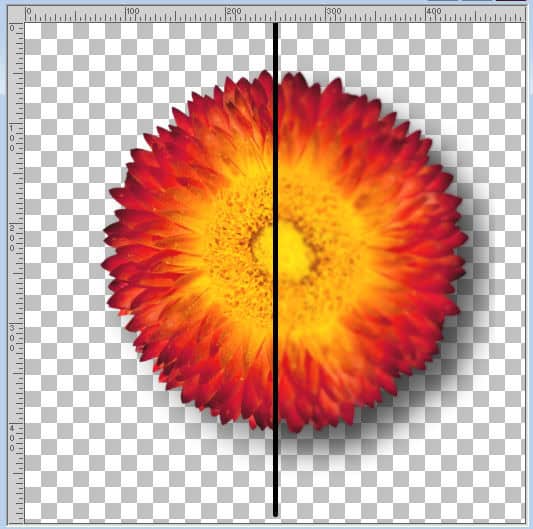
If applied only once, here is what you can get from the Blur command:
And this is with the Blur more command:
What can it be used for?
You can use these adjustments for minor corrections on photos, once you have made a selection on the area you want to correct.
You can also apply a blur on a background if you want to put more emphasis on the subject in the foreground.
Gaussian Blur...
This is probably the type of blur that most people use in PaintShop Pro. This command gives you the option to adjust the amount of blur on your project. It can range from very subtle to extreme, where you might no longer recognize the starting image.
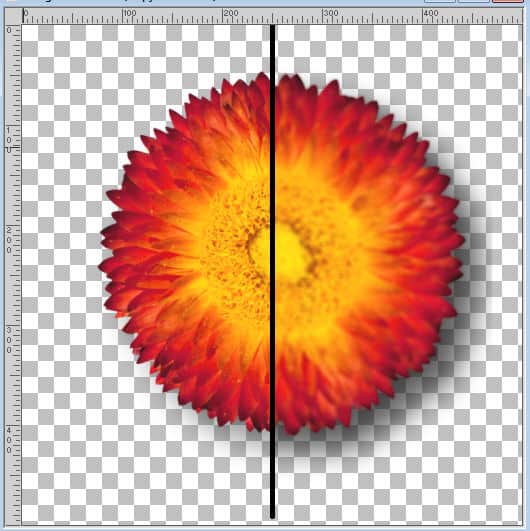
This is the dialog window you get with the Gaussian Blur... command.
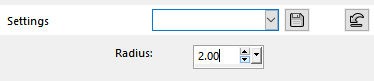
And a Radius value of 2.00 will give you this effect:
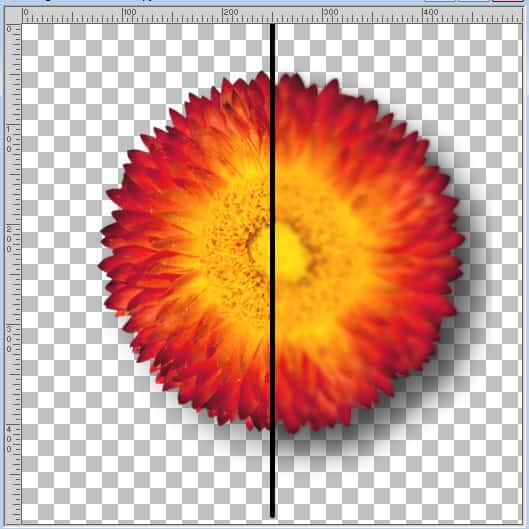
On the other hand, you can have a larger value for the Radius:
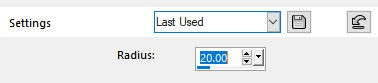
And this would be the result:
It is obvious that the details are mostly lost although the colors remain.
What can it be used for?
A Gaussian Blur is very versatile since you have such a large range of options for the amount of blurring. You can use a very low value to soften an image and remove some noise. If you use a high value, you can create a background that will perfectly match your photo since it uses the same colors.
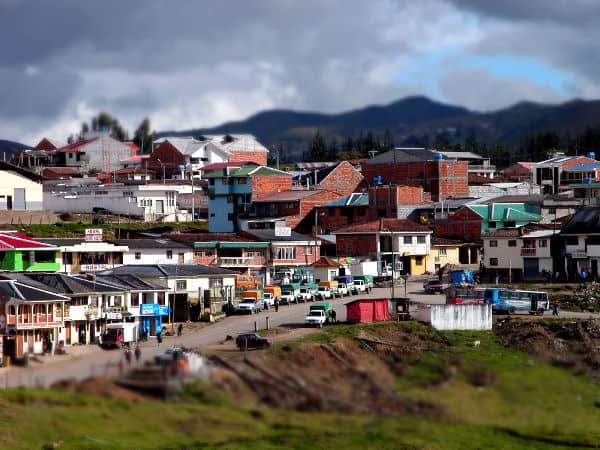
While playing with the different settings of Gaussian Blur, you can create a tilt shift effect as if you had a miniature project and the blur, applied to the front and the back, will keep the main section in focus.
Motion Blur...
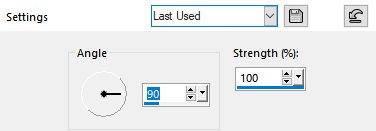
As you can guess by the name, this blur will often simulate motion. That blur that we get when taking a photo of a moving object is what we can replicate with this command. The dialog window for the Motion Blur... includes not only the strength but also the angle of the distortion.
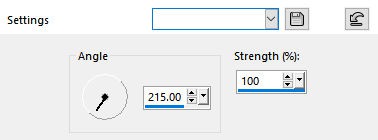
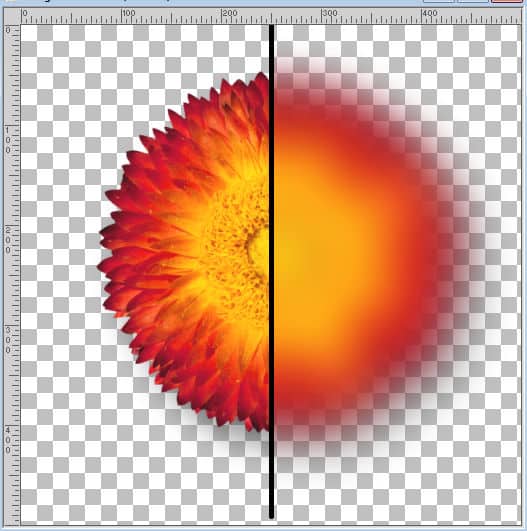
These settings would yield a result like this:
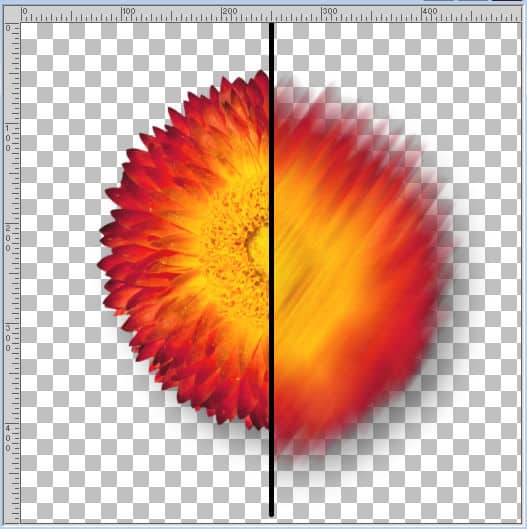
Notice how the angle matches what was in the dialog window. As for the strength, it was set to the maximum, but something more subtle can be achieved with a lower value.
A different angle will also yield a different result:
What can it be used for?
Obviously, if you want to add an element of speed to a still photo, you can apply this command. Beware that it will apply to the whole image so if you still want to see the details of the subject, make sure you have an extracted version of that subject.
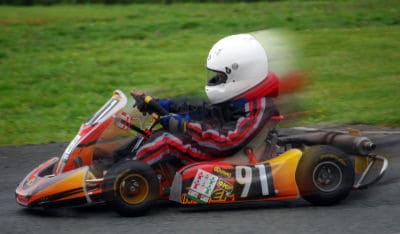
The movement can be horizontal as in a speeding vehicle, but it can also be vertical as with a falling object.
Radial Blur...
This time, you will get many more options as the Radial Blur includes three different types of blur.
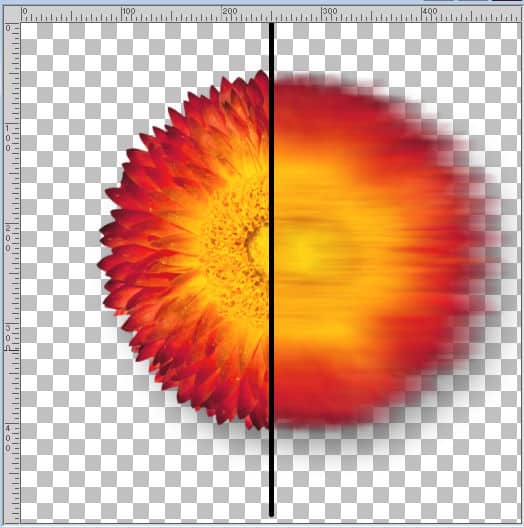
The first one is the Spin type. And you have also a variety of settings to control the Strength and the Offset.

These basic settings would yield this result:
You can see how the effect applies evenly, in a circular motion.
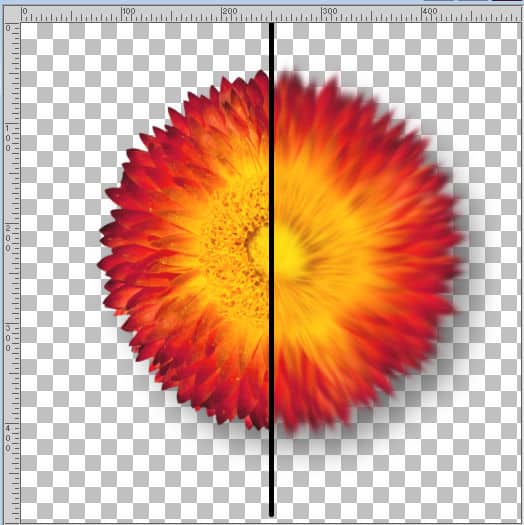
The next type of radial blur is the Zoom type. It also gives options for the Strength and Offset.
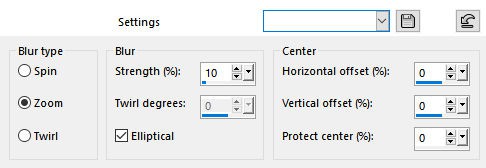
This blur will give the impression you are zooming in or out.
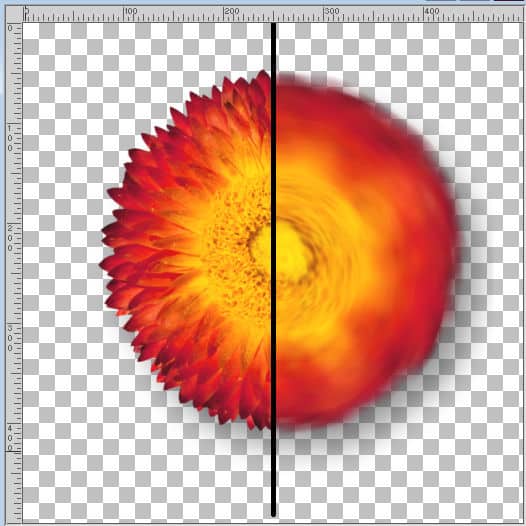
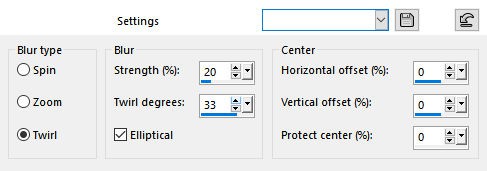
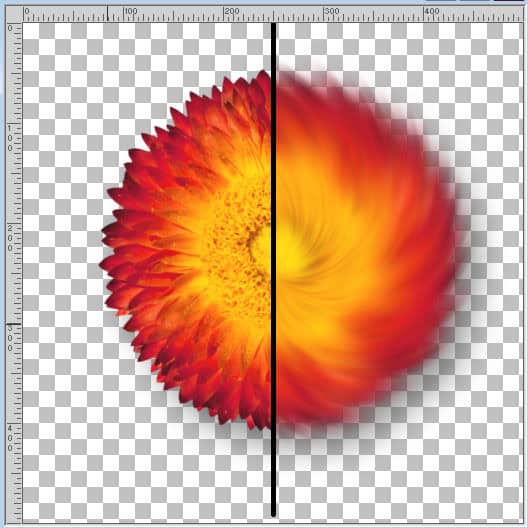
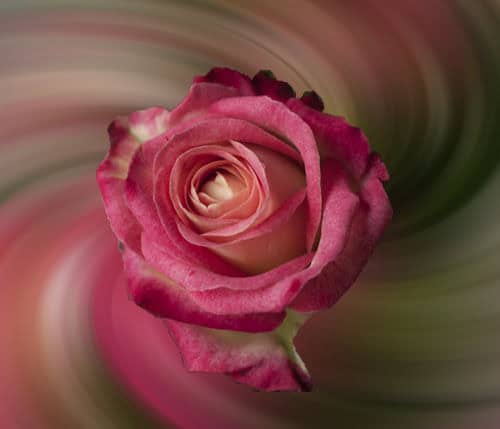
Finally, the Twirl option will also have Strength and Offet settings but also a Twirl degree. This will give the spiral effect more or less twist.
And this is what the Twirl blur would look like:
What can it be used for?
You can use the Zoom Radial Blur on a copy of an image if you want to add a bleed around your project for printing. This will allow the bleed area to match the color of the edge so any uneven trim would not stand out.
The Twirl option of the Radial blur can be used in the background to showcase a specific element of the photo by extracting it.
Do you want to see more steps in using the Blur commands and more projects that can be done with it? Check out the To Blur or Not to Blur master class.


