You can often find scrapbook projects using frames. They can come in a wide variety of shapes, types, and colors. And furthermore, you can use them in many different ways. Although you can use frames from within PaintShop Pro, let's have a look at frames that come in digital kits.
Why use frames?
Frames are more than just decorative elements. they serve multiple purposes, both aesthetic and functional.
At their core, we use frames to hightlight something, right? This is particularly true for photographs, which are often the centerpiece of a scrapbook page. By framing a photo, you create a distinct boundary that separates the image from other elements on the page, thereby enhancing its visibility and importance. Frames can also add a layer of aesthetic appeal to the photo itself, complementing its colors, themes, or emotional tone.
Frames are not limited to photographs. They can be used to encircle and accentuate any element on your scrapbook page, such as text boxes, quotes, digital stickers, or memorabilia.
Types of frames
As mentioned above, frames can range widely in their form. They can be rectangular, square, oval, or round, but they can also come in other shapes. You can find heart-shape frames for wedding themes for example.
In addition to its shape, a frame can be made of different "material". In digital scrapbook kits and supplies, you can find frames made of papers from the same kit. Those would be flat frames. Thicker frames could be made of acrylic. Some frames could be more elaborate, made of gold for example. You can find rustic frames made of old wood, painted or not, whild you can find elegant ones made of fine wood. You can find frames for just about any theme.

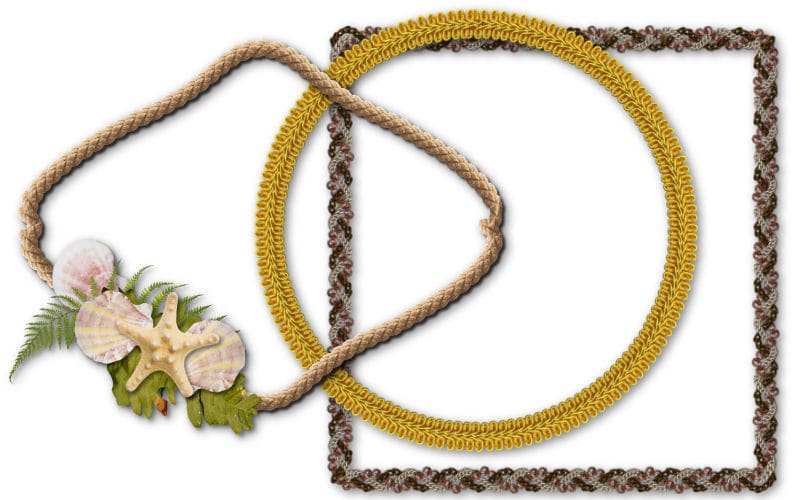
Although those are typical material for frames, you can also find some less conventional ones. How about a frame made of ribbons, or ropes? Or even a doodled frame? And how about a frame made of text?
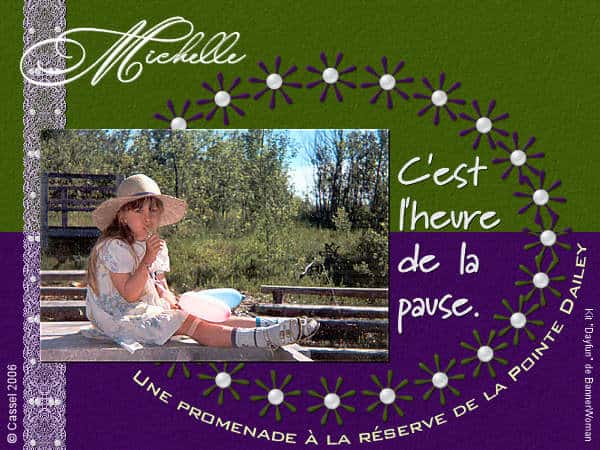
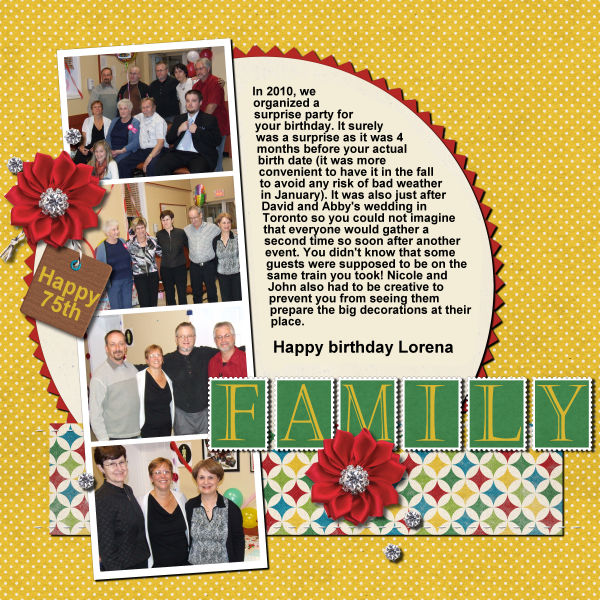
Another variety in the type of frames is the number of photo spots. Although single frames are the most common, you can have double or triple frames. Photobooth and film strips are some of those multiple frames that are commonly available.
How to use frames?
You can use frames as is and fit a photo inside of it. That is the typical way we envision using frames. If that is your plan, make sure you do not distort the photo to "fit the frame". Instead, resize the photo so the frame does not have any empty area around the photo. Then, if the photo is still too wide or too tall, crop out that excess. For a more detailed tutorial on resizing to fit a frame, check this article.
You know that frames don't have to encircle the whole photo. In fact, it can be great to offset them especially if you want to focus on a specific area of the photo without trimming everything.
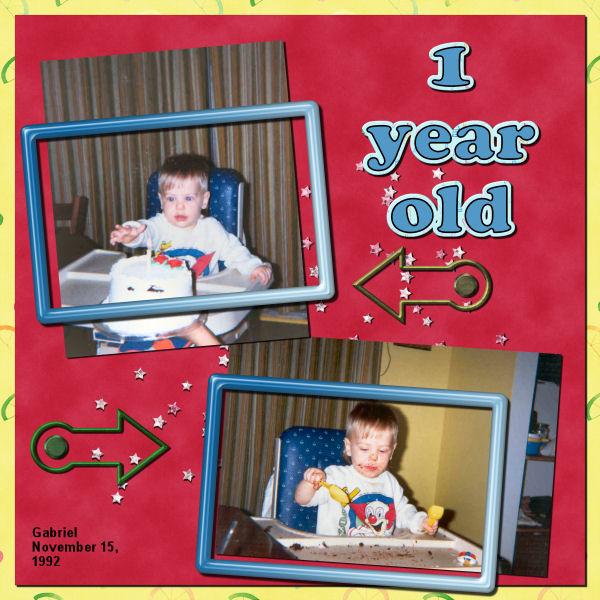
You can also be a little creative and "thread" the photo and the frame. This gives a very unexpected effect that just surprises the viewer while catching their attention.

Another very interesting twist in the types of frames is the "broken" one. This effect is from the use of a mask and a separate frame that is partially erased giving this unique look.
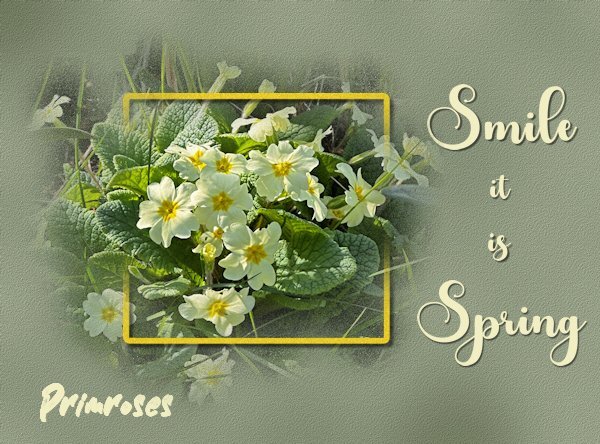
Creative use of frames
You can probably use the existing frames as-is. Adding them on top or around your photos will give you most of the opportunities you need. However, you can also tweak those frames to suit your theme or your project.
Frames can easily be embellished with elements. You can wrap a ribbon or a string around the frame. You can also add a cluster of elements to embellish it and use some elements that could be specific to your particular layout.

Of course, you can always tweak a frame by changing its color too. This can turn a frame that you might not think of using, into something that looks perfectly matching your project. Change the color or the saturation, or both.
Creating your own frames
Although many kits will include ready-made frames, you can also create your own. Simple shapes can be used to cut papers from an existing kit. Add some bevel for more thickness and you have a different look.
Use ribbons, lace, or other "mostly straight" elements, and simply arrange them to make a rectangle. Voilà! You have a new frame.
You can also use directional picture tubes, like chains, ropes, trims, and using the VectorTube script, you have the option to create frames following any vector shape.
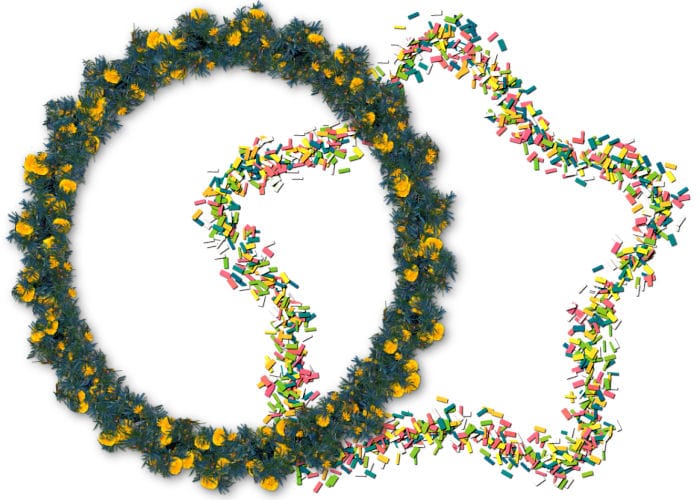
Even with non-directional picture tubes, you can create unique frames.
Although you might still like the simple, flat frames to embellish your photos, there is a world of options to turn your project into a masterpiece with frames.
A few classes in the Campus cover the topic of frames:
Framed with PaintShop Pro
Framing 101
Dynamic Frames
Of course, all these classes (and many more) are included inside our DIAMOND membership. Check it out.

