
In a previous article, we saw how to use a layered mockup to display your projects. However, all the scenes don't have a straight front-facing surface for you to add your image. Let's see what you can do when the display is angled.
Mockup to use
You might want to use mockups for posters, wall frames, computer screens, billboards, boxes, or closed books. In most cases, your image will need to be adjusted to fit various angles. But there will be a very simple way to do it.
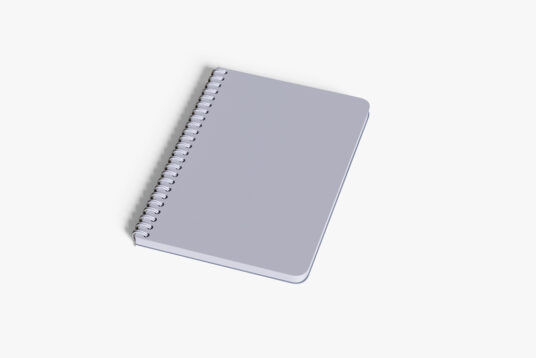
This is the mockup we will be using. You can download it HERE.
Choosing the photo
When using a mockup, it is important to start with the correct format of images. If you work with a square image and try to apply it to this mockup template, you would have to make sure you don't turn it into a rectangular format. If you have a mockup that is of a different format from your image, either allow some gaps or choose a different mockup. Beware that even if you have a rectangular image, the dimensions might not perfectly match.

Adjust the photo
The main task for this kind of mockup is to adjust the layout of the image. As you can see, it will need some distortion.
Layer the photo on top of the template and resize it as needed. You want the photo to size to match the largest edge of the mockup, which would be the section closest to the viewer.

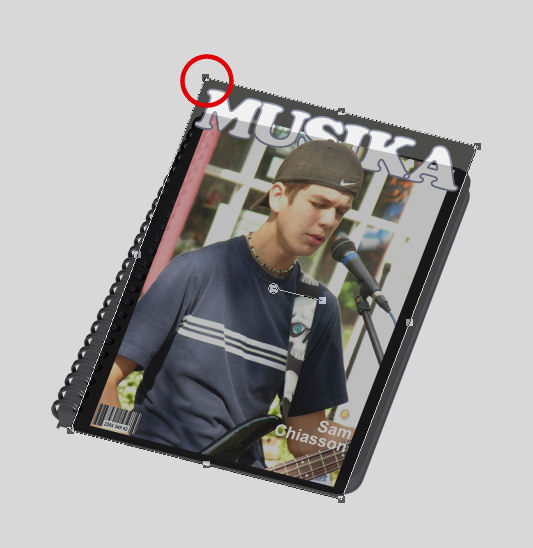
Activate the Pick too. Using the central handle, rotate the image so it will match the section closest to the viewer (the bottom in this case). I also reduced the opacity of the image to help me see the template better.
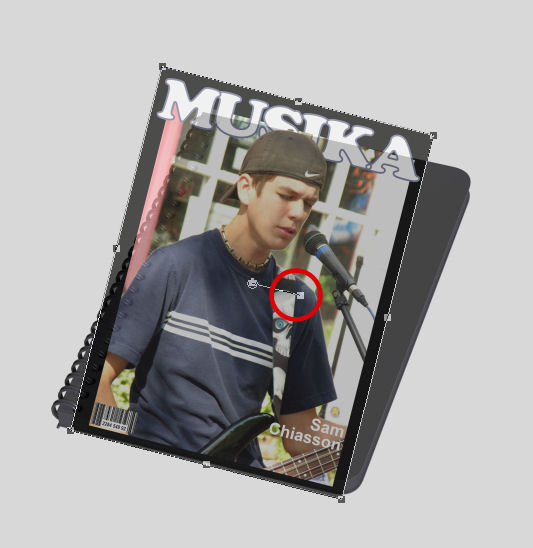
With the Pick tool, change the mode to Shear (or hold the Shift key) and use the middle node to move the whole top edge to align the image to one of the "vertical" edges. In this case, I will align with the right edge.
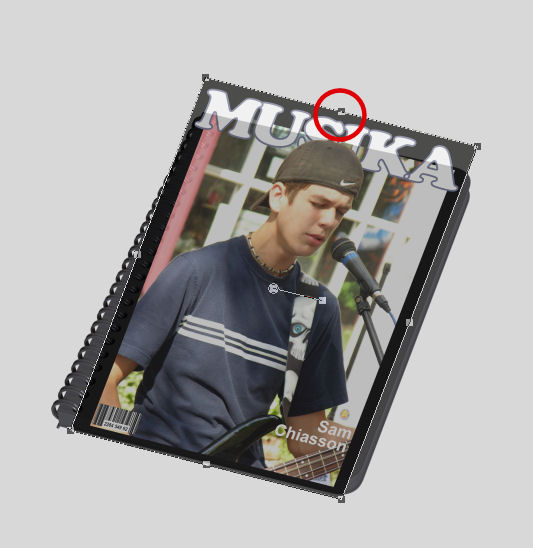
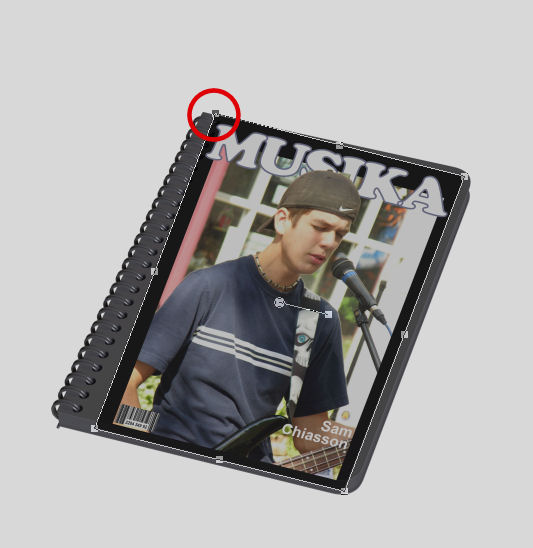
If your image is like mine, you can see that the height was more than the template. While the nodes are still just around the image, change the mode to Scale, and using a corner node, size down the image until the top matches the top of the template. DO NOT use a side node as that will distort your image.
At this point, you should have three sides matching the edges of your template. For the last corner, change the mode to Free (or hold both the Ctrl and the Shift). You just need to align the edges. Notice that since my photo was somewhat taller than the template, there will be a visible gap on the sides.
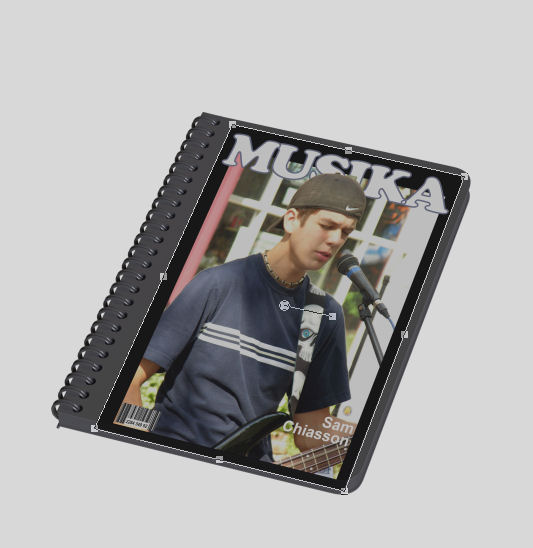
And now, the image should match the template without distortion.
Checking the template
Since most of the templates for mockups will be .psd format, some layers will not behave in PaintShop Pro the exact same way you would expect. For that reason, you need to check which group does what. Sometimes, the names will be obvious, other times not so much. If you can clearly identify which group you need to use, simply slide the image into the group. If you are unsure, you can test each group, by filling the bottom layer with a color.
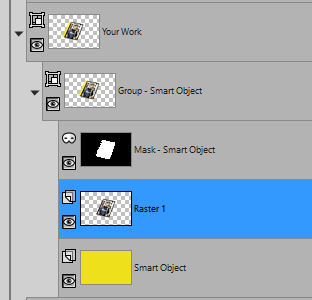
I used a bright color to find the correct mask group, but that is not a good color for the end result.

To fill that gap, I can use black to extend the frame of the image.

Or I could choose a color from the image.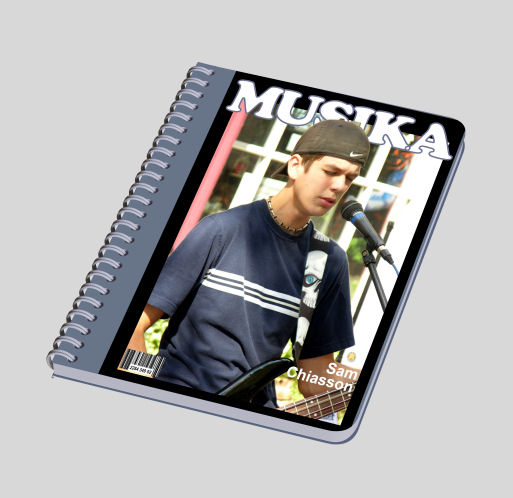
And now, you have a fun way to display your project.


2 thoughts on “Using a Mockup template with PaintShop Pro – 2”
I cant seem to make thedownload link on the page work. Your link takes me to it but from there I click download and nothing happens, it even counts down like it’s going to download, but nothing. I’m not sure what I’m doing wrong.
I found it! I was trying the big download button that took me to another website. I didnt expect the download button to be so small and way down the page.