
In various sites online, you can find frames for photos. They can be free or they can be purchased. Some frames are simple, rectangular and of the same size as your photo. That is great. However, you might end up with frames and photos of different size, different proportion or even different shape. How can you use them to create a great looking montage?
Layering a frame on a photo
Adding a frame to a photo is a matter of layering it as if you had physical photos and frames. The frame will sit on top of the photo.
In PaintShop Pro, you can copy and paste the frame on top of your photo. However, it is likely that the photo will be a Background layer and the frame will be larger so it will appear to be cut off on the edges. If that is the case, you can save some steps in copying the photo on the frame image, instead, and simply dragging it, in the Layers palette, below the frame layer.

If the two layers match, and the photo and frame are created the same size, this will be the simplest way to frame your image.

However, in most situations, this is not the case.
Different sizes
Enlarging any element or image will often result in loss of quality, and blurred details. If you need to enlarge a photo by 10%, it might not be very obvious. However, don't expect to double the size of your photo in the same way. In that case, you need to size DOWN the largest of the two. If the image is too large, you can size it down, and if the frame is too large, you can resize it. Don't enlarge the smallest of the two.
Different proportions
One very common mistake that we can see is to actually deform a photo so it can fit in the frame, when the two have different proportions. One can be rectangular and the other can be square. DON'T DO THAT! There are different ways to address it, but just like you can fit a square peg into a round hole, you can fit a rectangular image all in a square frame. Don't even try!

The first rule in resizing is to resize PROPORTIONALLY. In PaintShop Pro, you will likely use the Pick tool (K) to get some handles around your photo. Those will help you resize while you can see the size of the frame. The most important detail to check is the Mode. Make sure it is set to Scale. Once it is set to Scale, you still need to use ONLY the corner handles. ALWAYS the corner handles to keep the image proportional.

In older versions of PaintShop Pro, you could also use any corner handle and move it using the right-button. That would keep it proportional too. Then, you adjust the sizing (always proportional) to each other. If the two elements are of different proportion, you will have some of the image that will extend outside of the frame.

THAT IS OK. As if you had a physical photo and frame, you will need to determine what is important in your photos, and cut the excess.
Different shapes
Most of your photos will be either square or rectangular. Yet, some very interesting frames will be oval or in a totally unique shape. How do you match the two? Basically, the same way you would frame a printed photo to a physical frame: you would trim the photo to fit inside the opening. In the digital world, the same applies, although you won't use scissors.
Again, resize the image/frame proportionally, so the image fits inside the frame and fills in all the space in the opening. Obviously, there will be some excess.
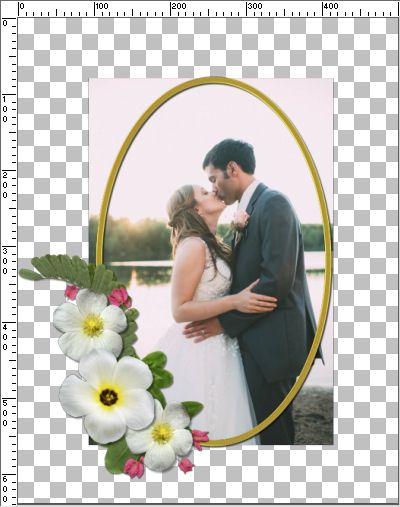
Depending on the actual shape of the frame, you can use the Freehand selection tool to selection "in the thickness of the frame" (convenient if it is a thick frame) or you can use the Magic Wand, set to Opacity, with a high tolerance (in case there are some shadows), and Contiguous box checked. Click in the center of the frame to select that area you want to keep. Expand the selection by a few pixels to make sure you won't create any gap.

Invert the selection (Ctrl-Shift-i).

Activate the photo layer and delete that section.
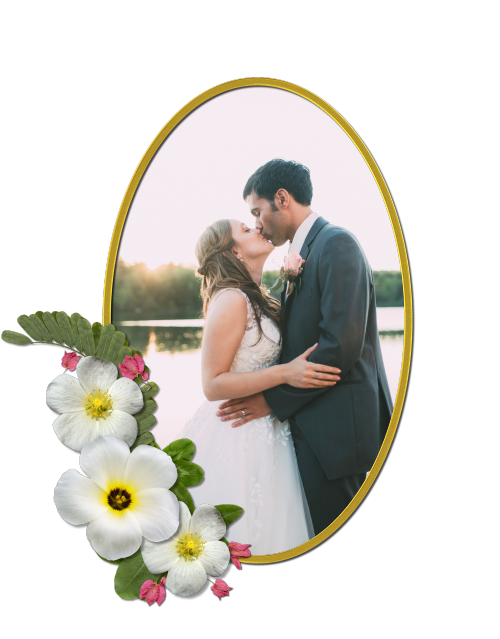
Many photos deserve an elegant or fun frame, but using the wrong technique can ruin the effect, resulting in a project that will make your viewer cringe.
With these few tips, you should be able to frame any photo of yours, correctly, without distorting any of those precious memories.


