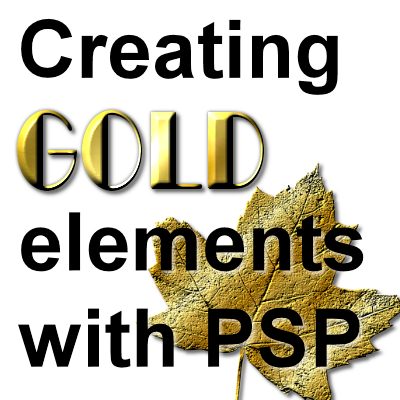
There are times when you would like to have an element made of gold but you have to create it from scratch as you want to use a particular shape. With PaintShop Pro, you can be like Midas and turn anything into gold. Various shapes will yield different results or will need different settings, but you can work those out.
Find the shape
Although you can use a simple shape, you will probably want to create something a little different. I will be using a heart shape, from the Preset Shapes available for download. I'll use a 300x300 pixels support, and use a black background, but that is only so it will be easier for you to see. Time to draw the shape I want, in white.

Convert to raster
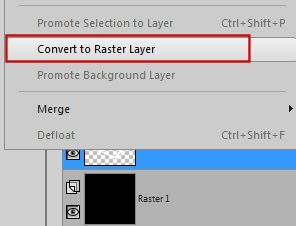
If you drew the shape with the brush tool or if the shape is already in a raster layer, you can skip this step. If you used a preset shape or a font, you can convert it to a raster by right-clicking on the vector layer and selecting Convert to Raster Layer.
Smoothen the design
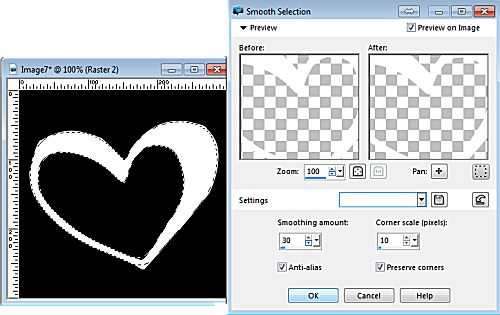
If you have a very smooth shape, or if you want to keep some rough edges, you can skip this step. If you would like something smoother than what you have, select your white shape with the Magic Wand, and go with Selection > Modify > Smooth. If you have some sharp corners that you want to keep, check the Preserve Corners box, otherwise, leave it unchecked.
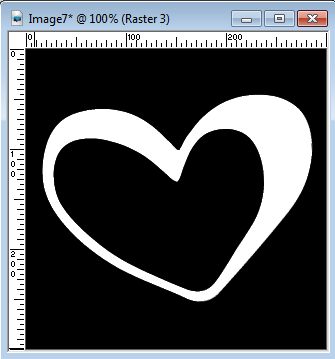
Add a new layer and flood fill it with white. You can then delete the previous layer where you had the uneven shape.
Find a gold pattern
For this step, you will want to search for various seamless gold patterns. I am using the tile called argul10.jpg. I am not sure where it came from as I have had it for many years.
Sculpture effect
The Sculpture effect gives you a combination of a flood fill and an inner bevel. You can get to this effect with Effects > Texture Effects > Sculpture. You can play with most of the settings to see what result you want to get with the shape you started with.

Turning real elements into gold
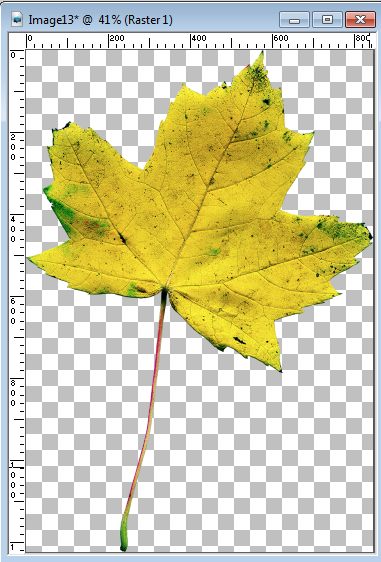
The technique above is really simple and straightforward and applies to basic shapes. However, the Sculpture effect can also be applied to other designs, even if they are not all white. Let's see how we can turn this maple leaf into a gold-plated one.
Apply to an image
The Sculpture effect will give different results depending on the details of the element. Every contrast in color will become a detail that the sculpture effect will emphasize. This means that an image with glitters for example will end up looking like sand! For this leaf, I am hoping to get the main veins but not EVERYTHING. So I'll have to adjust the Smoothness to a lower value than when you have a plain white shape. You might also want to tweak the Size value, depending on the size of your image. If your image is large, the repeating pattern of the tile might be too obvious (and odd-looking), so by increasing the size to 200% or 400%, it will be less obvious.

And with the effect applied, you have a fun gold leaf.

What will you turn into gold?
 If you want to add more jewelry to your stash, check out the Jewelry Making Master class. You will see how you can create pearls, gems, and precious metal chains to embellish any of your pages or projects.

