
When working on projects with photos, although you might often want sharp, defined edges, at times, you will want something softer. It could be for a subtle effect, or because the defined straight edges look too harsh. Whatever the reason, here is a simple method to create a soft edge, very quickly.
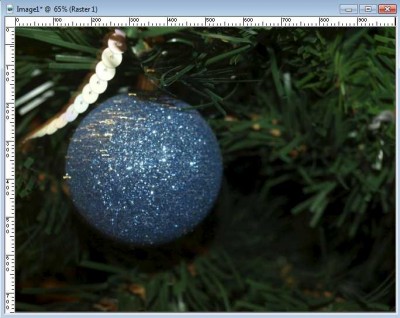
Promote the background
After you have duplicated your image, to avoid working on your original, promote the layer to a raster layer. You can do that either by right-clicking on the Background layer in the Layer Palette and choosing "Promote Background Layer" or you can go to Layers > Promote Background Layer.
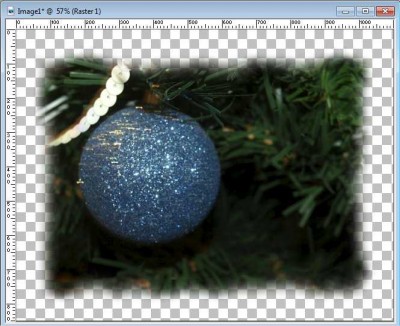
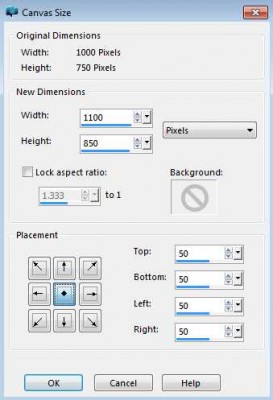
Resize the image and the canvas
Although you can always work on full size image, if you know you will need a smaller size, you can do it now, with Image > Resize. Then, you want to add a little bit of "wiggle room" around with Image > Canvas size. Add about 100 pixels vertically and horizontally, and choose to center your image.
The Eraser tool
Activate the Eraser tool with settings similar to these. The exact values will depend on the size of your image.

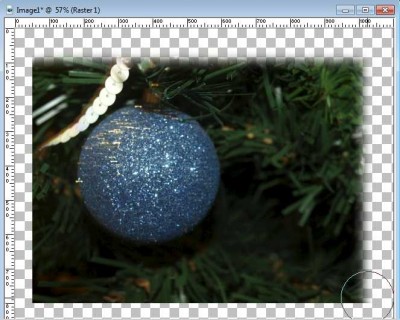
Start erasing
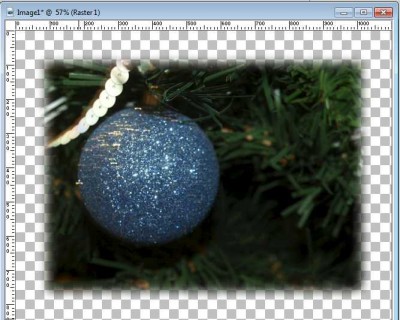
Starting in one corner, left-click. You will see a bit of the corner being deleted. Hold the Shift key, and click on the adjacent corner. Keep the Shift key down, and click on the other corner and continue until you get back to the original corner.
There you go
Now, you have a soft edge all around the photo. You can copy and paste it anywhere you want.
Add unevenness
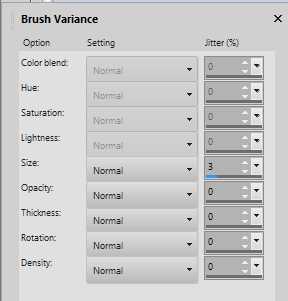
If you want to add some irregular edges, you can do so by opening the Brush Variance Palette (F11), and changing the jitter % for the Size setting, to 2 or 3 (don't go more than that as it will likely not look good).
Repeat
Now, just repeat the same process and you will see that the edges will now be randomly erased, for a different look.