

Working with vectors allows you to place various brush strokes or picture tubes in a neat path using the VectorTube or VectorPaint scripts. However, sometimes, you might want to place those elements along part of the path only. You can do that by cutting your vector path! Let's look at some examples.
Creating the path
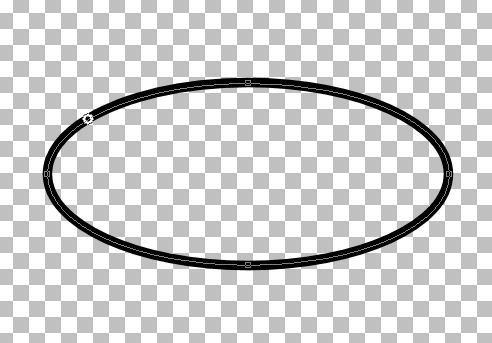
You can create a path with any of the vector tools, whether it is the Pen tool, one of the shapes tools or the Text tool. Let's start with an ellipse. Let's draw a simple shape.

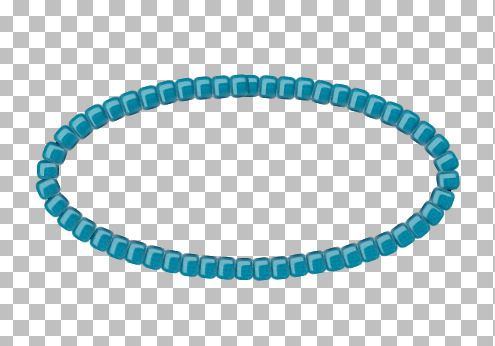
Using the VectorTube, I will add some seed beads. Notice that it will cover the whole shape.
What if I want the beads only on the top? I could use the Eraser tool, but it will be tedious and if there is any shadow on the tubes, those would be lost.
In addition, in some shapes, you might see that unsightly overlap that is common when using this script.

But there is another way.
Cutting the path
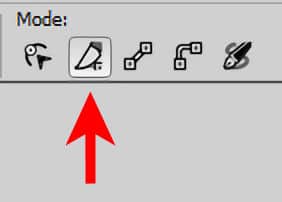
In the Pen toolbar, there is one tool that is not used very often: the Knife. Make sure you activate the Pen tool, as it won't be visible with the other vector tools.
This tool will allow you to cut a path and will add nodes at that point. Since this tool is meant to cut a PATH, you have to make sure your vector object is a path. If you drew with the Pen tool or the Preset shape, it is already a path, but if you used a different shape or the Text tool, you have to convert it to a path (I know it seems illogical since you can already add text along that "path"). Right-click on the line, and select Convert to Path.

Now, let's activate the Knife tool, and cut our ellipse.
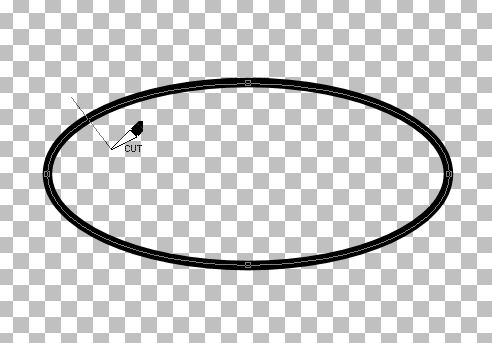
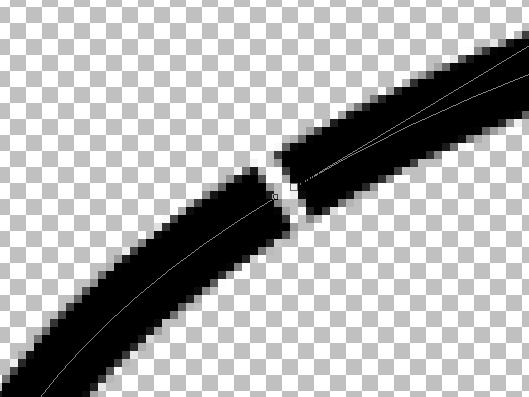
And this is the result.
Notice that there is a new "node" that has appeared where I cut the path. That node is larger than usual.

If you activate the Edit mode, and click on that node, you will notice that you can move it, but it will only move half of it. The reason is simple: this is a double node: one node for each side of the cut.
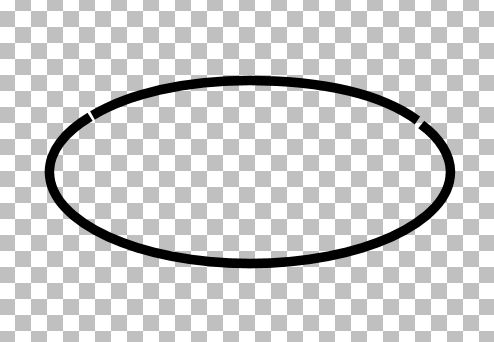
Although you don't have to move it, it just makes it easier to see. Now, let's cut on the other side of our ellipse, where I would want the beads to end.
In order to place the beads only on one section, we can delete the other one. One simple way to do is to select all the nodes, and hit the DELETE key. However, sometimes, the nodes we want to remove might be very close to those we want to keep. For that reason, move them away from the piece you want to keep.
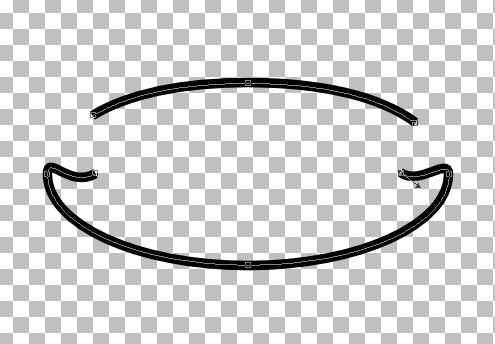
Then, with the Edit mode, select all those unwanted nodes.
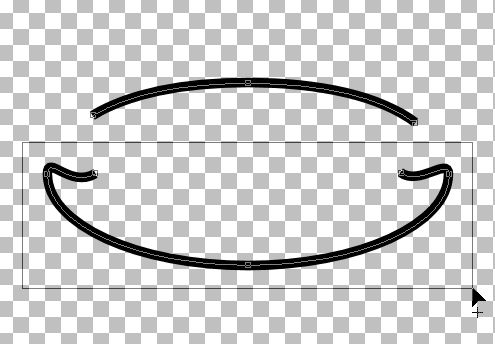
And hit the DELETE key. Voila, you now have only the section you needed to add the beads.
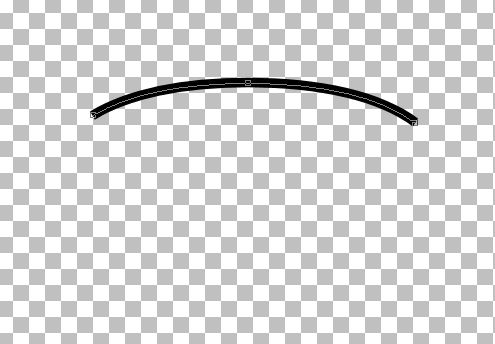
So now, you have a simple section of your original path. On its own, it might not be that useful, but here is where the magic happens, when you can use that segment in a project.
Using the segment
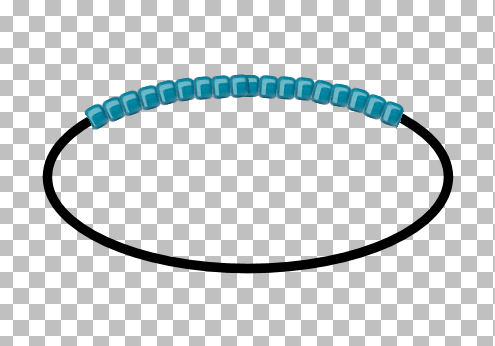
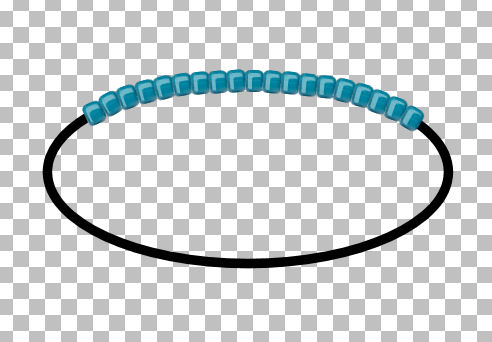
This segment now acts as if you had created it separately. Now, let's run the VectorTube script.

Notice that there is no overlap in the middle since we don't have a closed-loop shape. Also, the ends are perfect, and if there were any shadows, they would be included normally.
Combining with the full shape
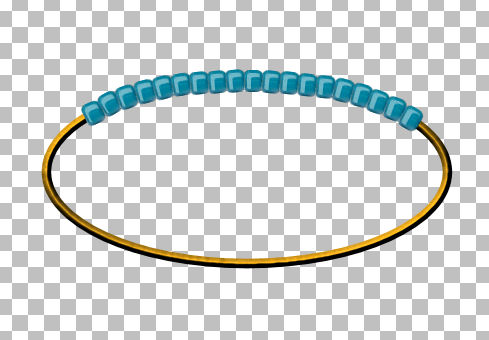
If you want the full shape without beads and a section with beads, then you need to duplicate your shape in the first place and keep one uncut. Although it looks like a single shape, with beads on a section only, they are separate layers.

So you can now convert the "full" shape into a raster, and apply an effect like a bevel to get something really cool.
Multicolored sections
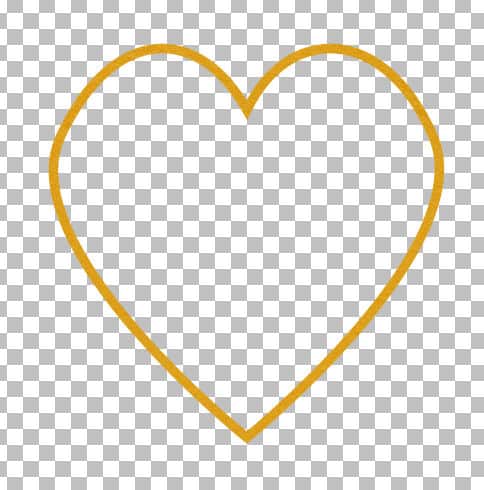
What if you want to add elements of different colors in different sections? The process is the same except that you will have to work on multiple copies of that starting shape. Let's make three sections that will have their own color. Let's start with this shape.
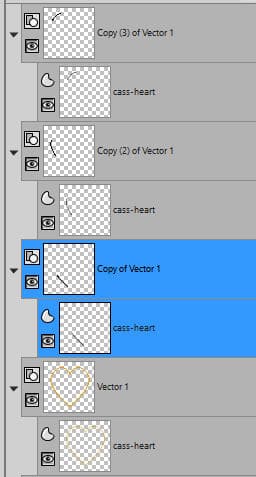
We duplicate this shape three times so each copy will be for one color and I'll keep one for the basic shape. I changed the color of each segment to black, so the cuts are more obvious. Don't worry, we won't need those paths once the VectorTube has created the series of tubes.

In the Layers palette, you can see each segment on its own layer.
Let's run the VectorTube script on each segment, with a different color tube.
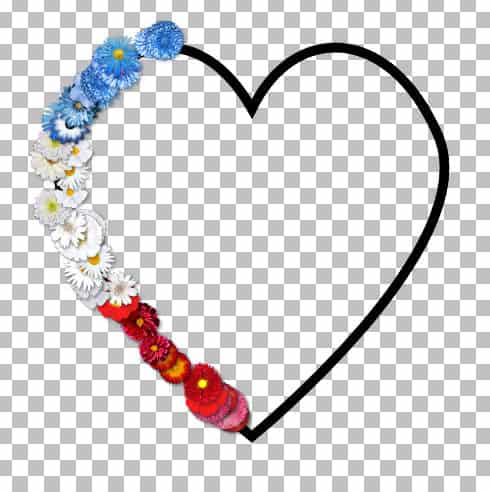
And for a finishing touch, let's convert that base shape into a metal wire, add shadows on the segments, and fill the background with a color to make it easier to see.

What else can you create now that you can cut vector paths?
If you want more in-depth look at vectors and how to manipulate those nodes, check out the full-length Masterclasses called Vectors in action and Further Vectors.


2 thoughts on “Cutting vectors”
This tutorial is long and seems compliated but with this demonstration it seems to be easier to do. Thank you!
Thank you! I have trouble understanding how to get vectors to work. This example makes it much clearer.