
If you have a rectangular or square image and you would prefer to have rounded corners, you could follow this article. However, when adding a border, some processes will generate something that is not square. Let's see how you can add borders that are still square.
Add border
If you have a photo that has no border and you want to add one, simply use the Image > Add border command and you will choose how thick you want your border. Of course, this will only work on a flat image, or it will flatten any multilayered image.
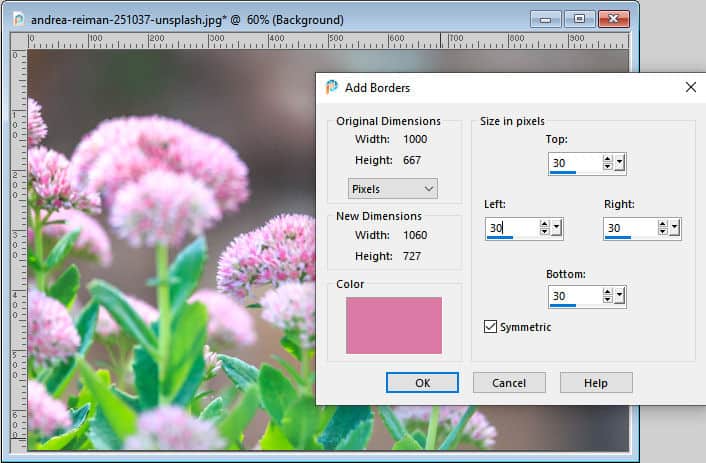
This will give you those square corners.

This process will always have square corners.
Select Selection Borders
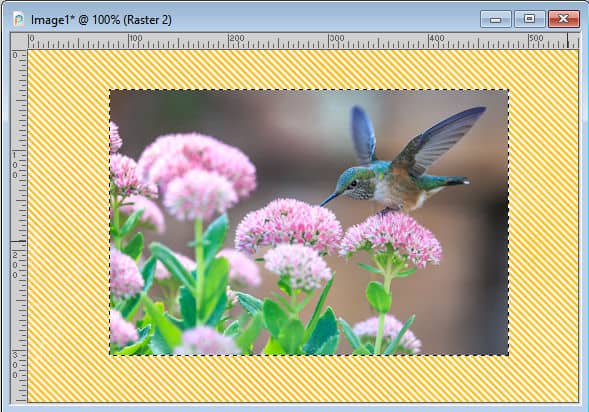
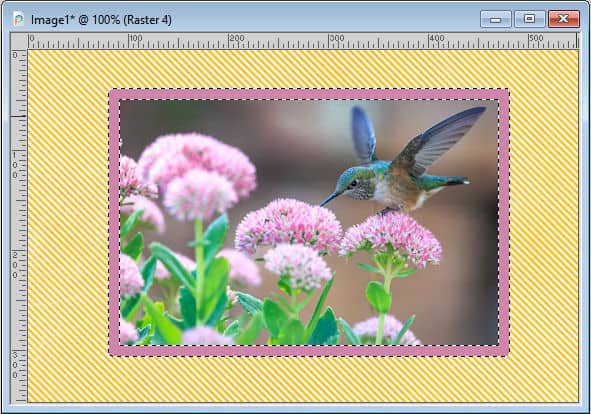
If you are working on a project and you cannot use the Add Borders because your image is already on a project, you can select your photo with the Magic Wand, set to Opacity match mode. This should select your photo.
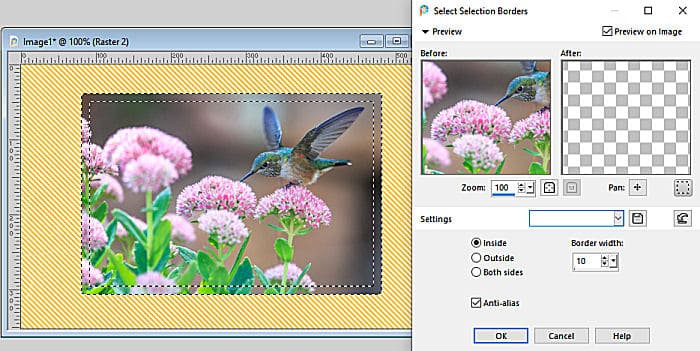
Choose Selection > Modify > Select Selection Borders. Here, your options are to have the borders inside, outside, or both. If you choose the Outside or Both options, it will create rounded corners, which is what you want to avoid. So select Inside, and enter the thickness you want.
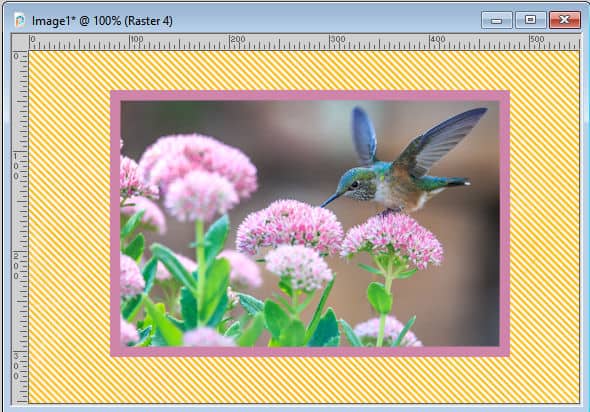
Then, fill with the color you want.
Once you deselect, you can see how the corners are perfectly square.
Create selection from...
If you are not able or prefer not to create a border inside of the photo, you can start with the same selection, and expand it by the amount you wish.
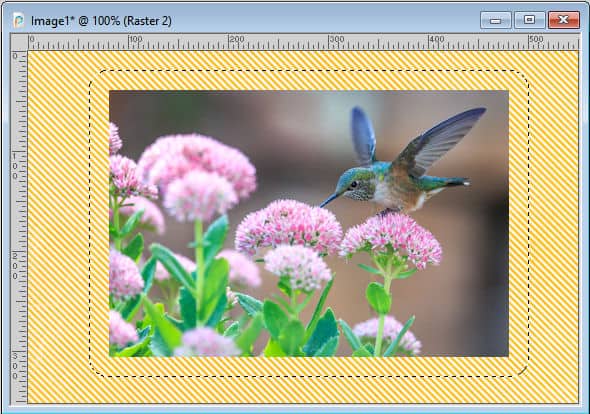
Of course, you will notice that the corners have been rounded, which is what you want to avoid, right? At this point, activate the Selection tool and you will see these options in the toolbar.
![]()
Selecting the first option of the three will create a rectangular selection based on the selection you already have.
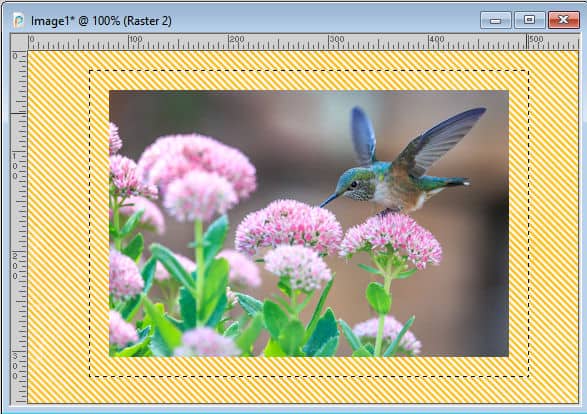
At this point, you can either use the Select Selection Borders again, to create a selection around the photo, and fill it, or you can add a new layer under the photo and fill the whole rectangle.
Resize image
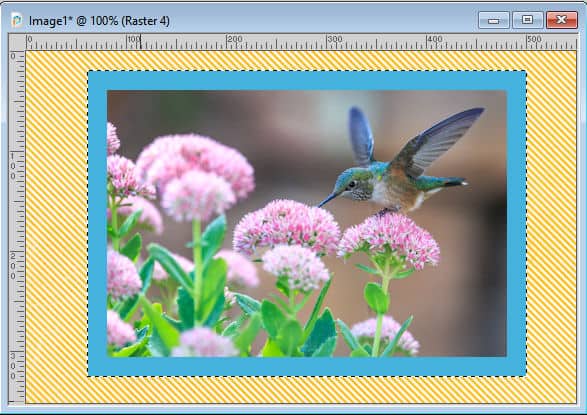
If your photo is not perfectly straight, the previous approach will not work as it will just create a selection that has horizontal and vertical edges. So, what can you do with an angled photo?
Of course, you can still use the Select Selection Borders while choosing to create the borders inside the current selection. This will work, but if you want to add a border without cutting inside the photo, there is yet another method.
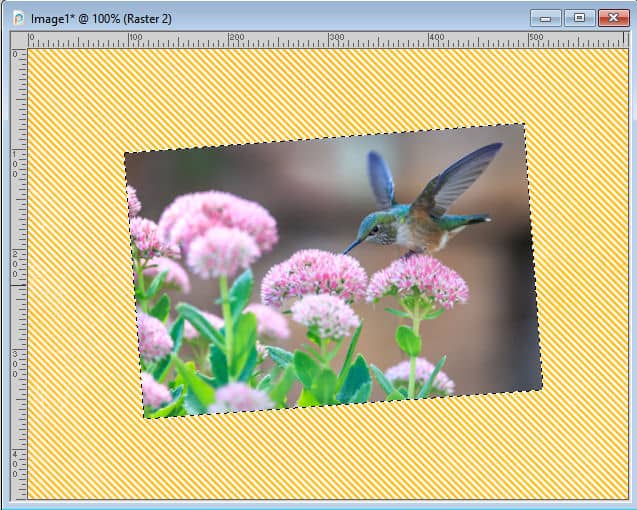
If you currently have a selection, deselect. Then duplicate your photo layer. Activate the bottom layer (likely the original), and resize it. Using the Pick tool, set to Scale mode, move the corner handles to the dimensions you want the added borders to be.

Lock the transparency of that layer.
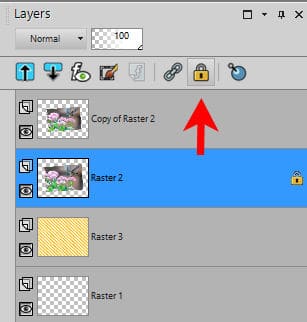
Using the Fill tool, with the color you want, click on the bottom photo to replace all pixels with the material you chose.
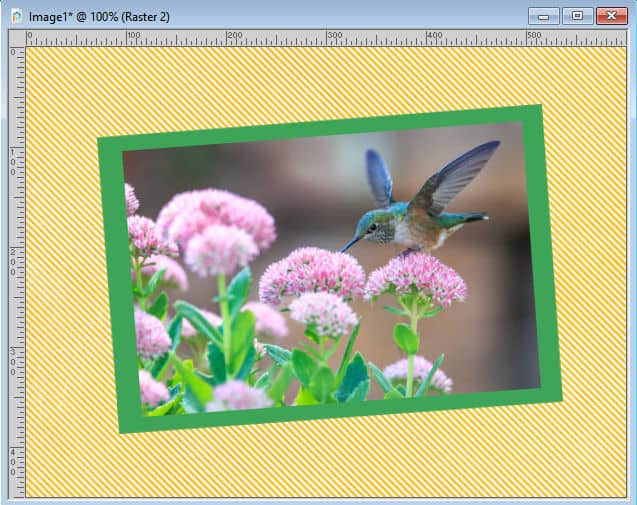
If you find that the edges are not as even as you wanted, it might be because it was hard to see with two layers of the picture. So, instead of resizing the photo, you can replace it by the color of the border and then resize it with the Pick tool. The end result will be the same.


4 thoughts on “Adding square borders with PaintShop Pro”
Thank you for this article ?! I had seen you explain it somewhere in a class, but I couldn’t find it again. I didn’t know how to get rid of those round borders anymore ?
Never would have thought of adding it “inside” the photo. Great idea. Thanks for that.
I Love my Teacher!
thank you, you always are so Awesome and so kind and Sharing ty ty ty
This was so helpful. I do borders all the time, and finally can get square ones. Thanks.