Most scrapbooking templates that you can find online will be square. Sometimes, you might want to create your page in a rectangular format to fit your printer or to match other albums you have. Although it is possible to find rectangular templates, they are harder to find, and what if you find a template you like, in a square format?
Why change the format?
You will typically print scrapbook pages at full-size at 12x12 inches (36003600 pixels). Most home printers cannot accommodate that size so one option is to resize everything to 8x8 inches (2400x2400 pixels). Unfortunately, once you have printed those pages, you will still have to trim them as you end up with a blank section. That is wasted space for your photos, journaling, or other decorative elements.
Resizing the template
You need to determine if your printer will print up to the edge of your paper or if it will leave a blank border. If it prints to the edge, you will have a full 8.5x11 inches to work with, but if it trims the edge, you should consider working with a format of 8.25x10.5 inches. You can still work on the full size of a page, making sure you avoid any meaningful element on the edge since it will be cut off.
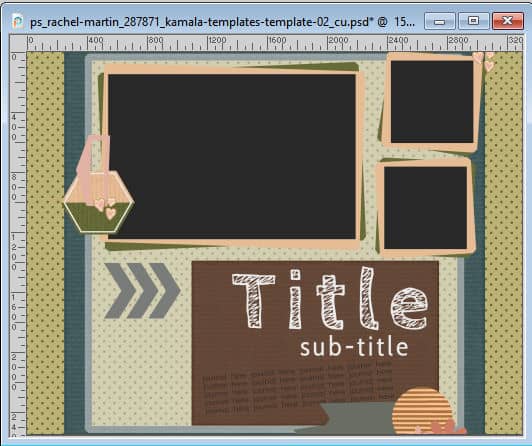
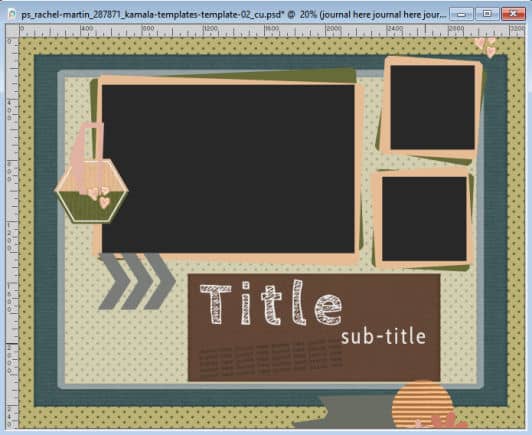
Let's start with this layered template from Rachel Martin. You can get it HERE.
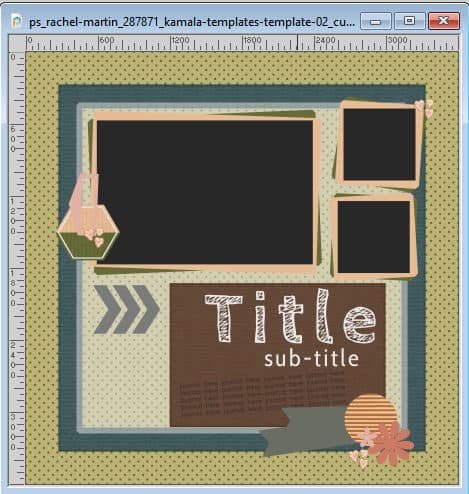
Let's work under the assumption that you can use the full area of the 8.5x11 page. It might be easy to think that one can just resize directly to that dimension in one step, but this would distort elements. You don't want that. The first step will be to resize your 3600x3600 pixels template to 3300x3300 pixels which is the larger dimension of the paper. Make sure that both values (Width and Height) are linked because you want the whole template to be resized proportionally.
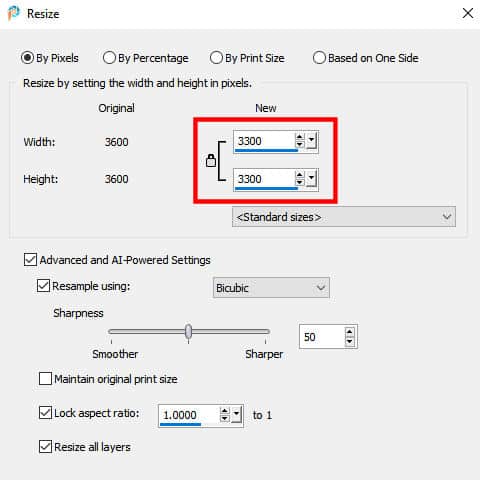
This will resize all the elements of the template to the maximum size possible. It won't seem to have changed much at this point because it is proportional.
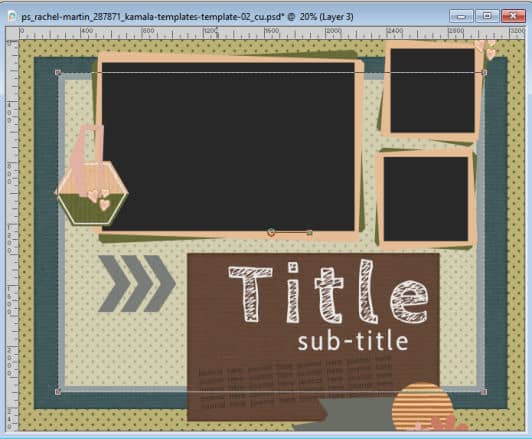
The next step is to change the format of the canvas, without distorting anything. You can do that with Image > Canvas resize and adjust the new dimensions to 33300x2550 pixels (which would match 11x8.5).
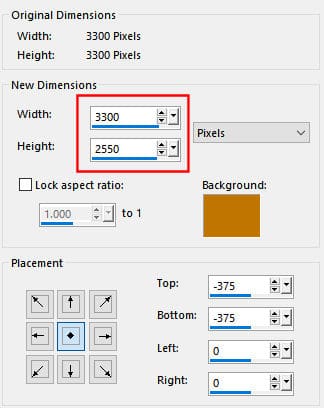
We will create a horizontal page in this example. If you wanted it vertical, you would invert the position of those values.
Rearranging the components
This resizing of the canvas will yield this result.
Obviously, we are losing the overall feel of the original template. It is going to be important to resize the square frame and overlay to fit the new rectangular shape.
As you see, other elements are very close to the edge or even "cut off", while they were not in the original template, so we need to address that. First, I will move the photos and the matching mats toward the middle. If possible, I would rather not resize the photos because they are very important to a page.
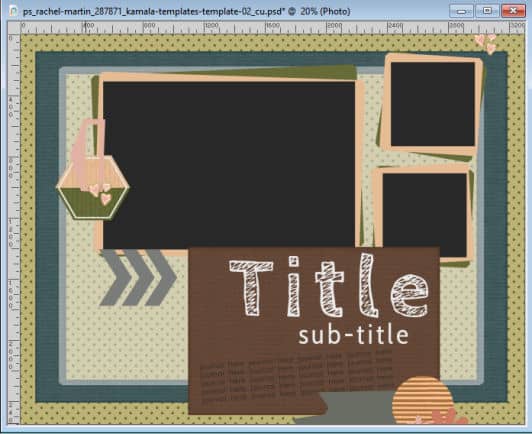
The brown area, at the bottom, seems too large for what is available now that we moved the photos to the middle. So I will resize that paper. Initially, it was all inside the frame, so let's resize its height to match that.
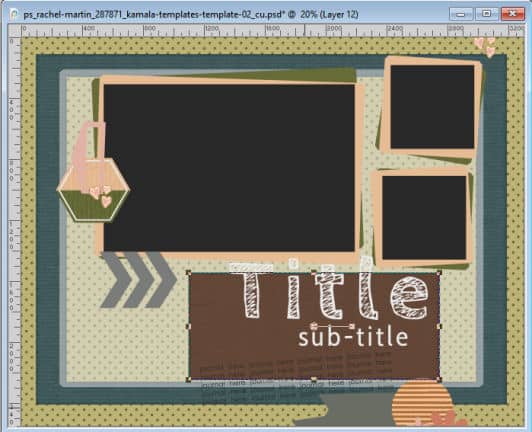
Obviously, you will need to resize the Title and Sub-title elements but since they won't be used as is, you can resize them proportionally, even if they will end up smaller than in the original template.
Moving elements inward
Now, let's move the elements that are "cut off" toward the middle of the canvas, at least to replicate the placement of the original template.

When we resized the canvas, we didn't really cut any of the elements. It is easy enough to grab the elements and move them inward to their new location. Occasionally, some elements might seem to have disappeared, like the three hearts at the bottom. Although they were out of the canvas, they are still accessible. Find the correct layer in the Layers palette and activate the Move tool. Hold the Shift key and move the canvas anywhere inward and the element will follow. Holding the Shift key is the simplest way to access those elements.
At this point, you can resize or rearrange a few elements to finish.
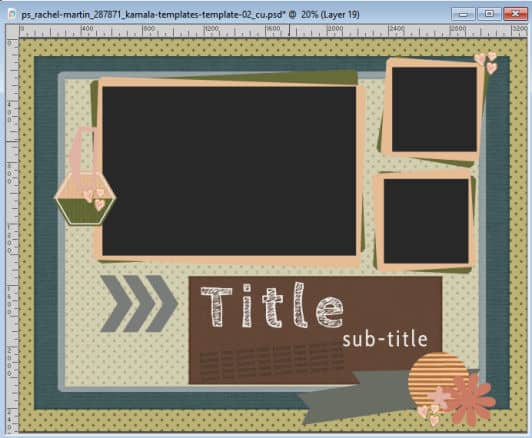
Once you are done rearranging the template to fit a traditional 11x8.5 inch, save it with a new name so you won't overwrite the original. For example, you can add "-rectangle" to the existing name.
If you want more information on using templates to create your scrapbook page, check this article.
Although this whole process is easy, it can be time-consuming. There is a script that can do all this for you, in just a few seconds. If you plan on resizing many templates, it can be a time-saver. Check the Template Resizer script in the store.


7 thoughts on “Resizing scrapbook templates”
This is very interesting to learn how to resize a template because of the many layers. Thank you!
This is a great help. When I “resized” templates, I would treat it more like a sketch challenge than actually resizing, always losing something in translation.
You make it so easy to follow, it is a pleasure to be part of scrapbook campus.
Thank you for this explanation of the “correct”way to do it. I have tried myself and realise now that I could have done it quicker and easier! But at least I now understand better how to do it.
Thank you for the script, Carole! It saves a lot of time and anguish! 😉
Thank you, Carole!
I was trying to resize a template and made a complete mess of it. This article makes it easier to understand how to do it.
Glad it could help.