

In version X7, Corel added a new feature to PaintShop Pro called the Magic Fill. It is meant to get rid of elements on a photo and replace them with something that would come from the existing background. Let's explore this tool a bit further.
Where is it?
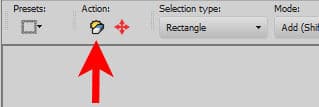
You can find the Magic Fill icon as part of the Selection toolbar. It will only appear once you have selected one of the existing Selection tools. In the toolbar, it shows as greyed out by default. As soon as you make a selection on your image, the colors will appear as it becomes available.
How to use it?
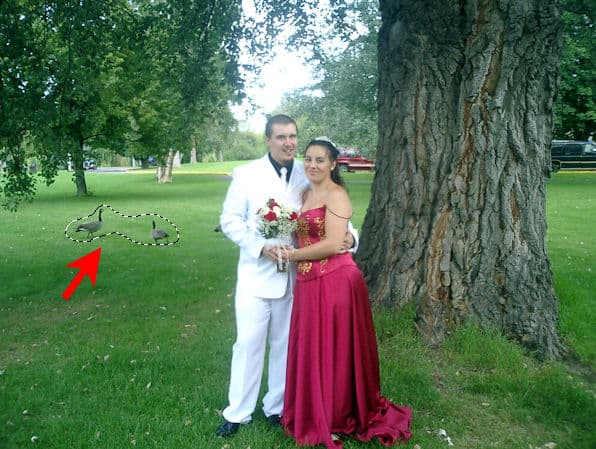
The principle behind this tool is that it will replace the selection you make, with something surrounding that selection to blend in the "hole". Simply put, you make a selection around the item you want to remove...
And you click the Magic Fill button.
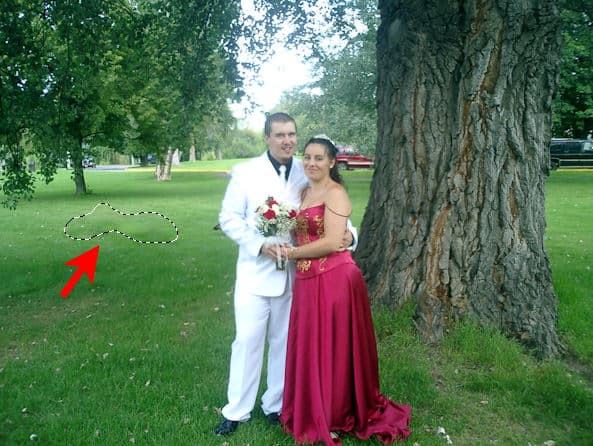
And you can deselect now.

It is not perfect, and the transition between the area selected and the area around is somewhat visible to you. However, someone else looking at the photo, will not know there were birds there. They might not even see that imperfection.
How does it work?
Understanding how this feature works will help you get the best result from it. It will also give you enough information to know if this is the correct tool for what you want to do.
Once you have made a selection, the program knows which pixels to replace. That is the easy part. Then, it will "look" in the area adjacent to the edge of the selection and will use that to fill in the area. This means that you have to have some "filling material" around your selection to get a better result. Let's see this in action.
Let's use this image of three suitcases.

I will select the top one to remove it.

Once I click on the Magic Fill, the program fills that area using some random segments from around the selection. You can see that it used some of the greenery from above the selection, however, it also used a part of the second suitcase which is below that selection. It obviously didn't have enough of the surrounding image to make a great fill.

So, you have to be careful to use the Magic Fill on areas where the program can find something suitable around the selection, to fill the area. And since the program does not know what should or should not be included in the fill, it is our job, as users, to know when that tool is more likely to yield a good result.
What can we do with imperfect results?
Depending on what kind of "odd" fill you get, you can still make use of the Magic Fill. Let's see how we can work with this image.

Let's remove the trash can using the Magic Fill.

As you see, the program used part of the bicycle, and it does not look like it should be there. The rest of the area is quite good though, so I would only need to get rid of the yellow "spot" that is out of place. Since most of the selected area is good enough, I can make a smaller selection around the yellow spot (and another area just above it that seems to replicate some of the spokes from the wheel).

Then, I can apply the Magic Fill again.

And once I deselect, it looks like that trash can was never there.

If you saw this picture in the first place, would you know there was a huge trash can there before?
What if the Magic Fill is not the right tool?
Depending on your photo, and what you want to remove, it is possible that the Magic Fill is simply not the right tool for the task. Despite its name, it is not really magic. Lucky for you, there are other tools you can use: the Scratch remover, the Clone tool or the Smart Carver. If you want to dig more into other ways to get rid of some elements on your photos, Get Rid of It is a full-length class on the topic. There is so much power hidden in your PaintShop Pro!


