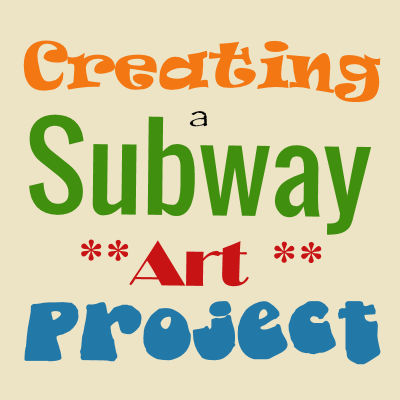

You might have seen those types of word art where various words are displayed in different fonts, different sizes, and sometimes, different orientations to fit inside of a frame. This type of project can be referred to as "Subway art". Let's see how you can create your own project with PaintShop Pro, whether you plan on using it for a frame to put on the wall, or a greeting card for a friend.
Start with the final dimensions
Let's assume we want to create a project that we can print at home to frame afterward. Since most home printers will only use 8.5x11 papers AND will often leave a gap on the edges, let's open a blank image that is 8x10 inches, or 2400x3300 pixels (if you are using 300 pixels per inch).
Choose your words and phrases
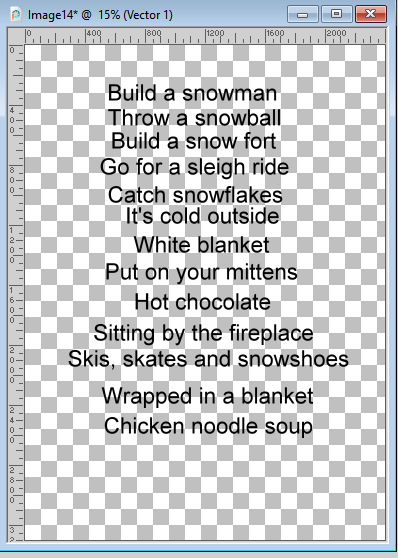
Your project will likely revolve around a theme, whether it is an event, a person, a holiday, an activity, etc. Find at least a dozen words or short phrases that will represent that theme. Let's choose a winter theme.
Let's add each word or phrase to our blank canvas. The size, color, and font don't really matter yet. Just make sure the size makes it easy for you to read. Add ONE word/phrase at a time, so that you will end up with a different object for each one, in the layers palette.
Place your guides
One particularity of this type of word art is the fact that all the lines of text will fit exactly the same width. In order to replicate that, let's place a vertical guide at 0 and one at 2400, which are the edges of our image. You pull the guides from the rulers. If you don't have the rulers visible, check the option under View > Rulers. Also make sure that Guides and Snap to Guides are also checked.
Play with the font
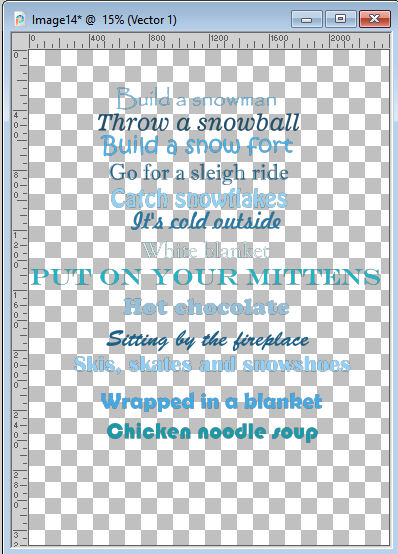
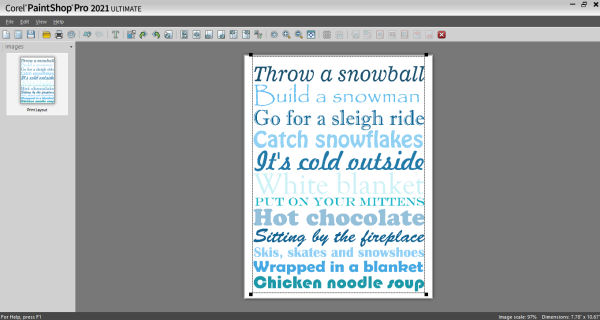
For each of the word/phrase you have, activate the object in the Layers palette by double-clicking on the thumbnail, then highlight the text. Now, you can choose a different font for that word/phrase, and also a different color if you want. Since my theme is WINTER, I will choose shades of blue.
You can choose just a few fonts and repeat them, or you can pick a different one for every single word/phrase of your project. Here is my list of phrases, with different fonts and different colors.
Time to align
Now that you have your words/phrases with the fonts and colors you want, it is time to align them based on the guides you placed. You can start at the top or at the bottom. Either way, you might end up having to make some adjustments in the end.
Let's start at the bottom. Move the text you want at the bottom, using the Text tool, otherwise, all the other words will follow. Place it on the left, until it snaps.
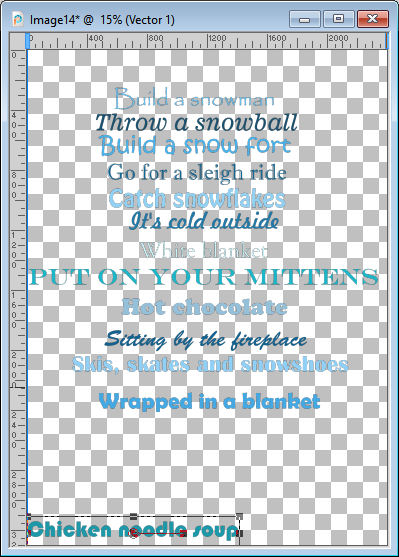
As you can see, there are nodes around the text. Use the top-right node to stretch your text to the right edge of your image. It should then snap to the guide you placed.
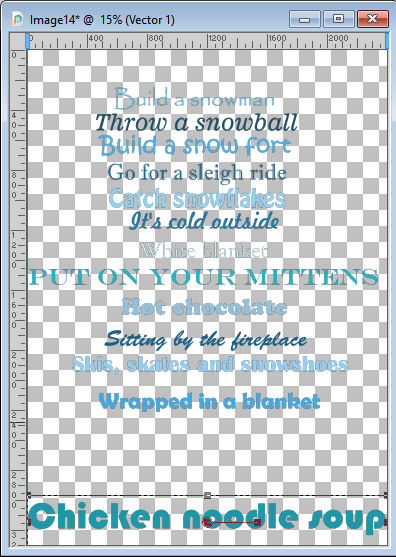
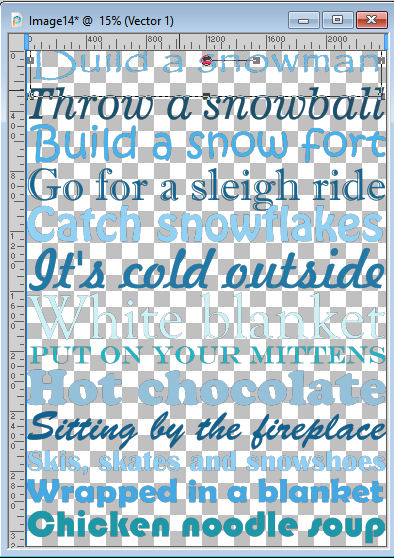
And then, let's repeat these steps with each of the phrases on the project. It is possible that you will end up with more text than you need or fewer. You can always adjust the project by adding more words/phrases, or letting go of a few.
If you end up with just a bit too much text for the space you have, you can opt for one of the following solutions:
- skip some of the extra lines
- change the font to something that is wider than what you have for some of the lines so they won't be as high
- use the top-center node to reduce the height of some of the tallest lines
Of course, you can also use a combination of those options.
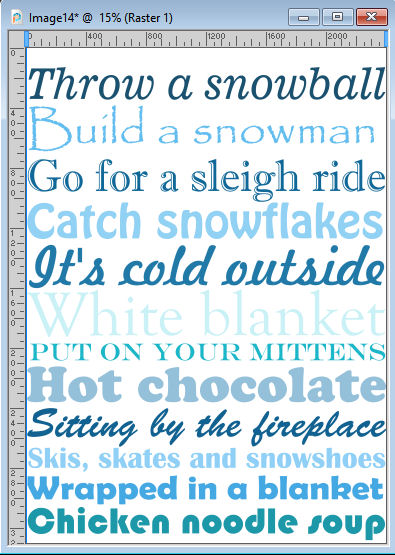
In this example, I will replace "Build a snow fort" by the "Build a snowman" line. And here is my arrangement (I added a white layer underneath so we can see better).
Time to print
Since this particular project was planned to be printed at home, you can now go to File > Print Layout and arrange that project on the available canvas. You might need to adjust the overall size to make sure there is a margin all around your text to prevent your printer from cutting off some design on the edges.
Once it is printed, it is up to you to frame it or use it as is.
Since this project is made entirely of vector objects, you can easily enlarge it if you wanted a full-size poster to be printed at a print shop (since your home printer likely won't allow much larger sizes) or you can reduce it and use that on a greeting card. You can also use only some lines, and make a horizontal project to be printed on a mug for example. The possibilities are endless.
What will you create?


