
PaintShop Pro has a lot of common tools and photographers have the ability to tweak their photos in many ways. Those tools are not just for professionals, as everyone can use them to edit photos in creative ways. Let's see how you can change the color of a particular element with PaintShop Pro. Although there are several ways to change colors, we will look at the Change to Target tool.
Change to Target
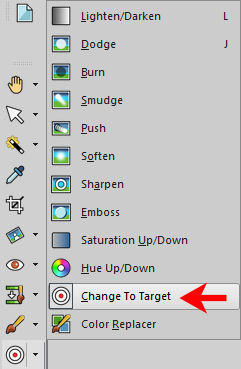
This tool has been available for many versions. I can confirm that it was already in PaintShop Pro, in the old Jasc 8 version. It might not be readily visible in the Tools toolbar as the Lighten/Darken tool is typically the default one displayed. However, by clicking on that tool, you will open the fly-out list of other tools, and the Change to Target will be there for you to select.
Once you have activated the Change to Target tool, you will notice a very familiar toolbar of settings appears. They are almost identical to the Brush toolbar.

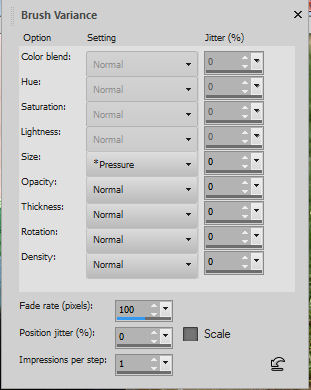
All the settings for the Size, Hardness, Step, Density, Thickness, Rotation and Opacity are identical and will behave exactly the same as the regular Brush tool. Even the Brush Variance palette (F11) can have some settings adjusted. This is important to remember as the Size setting might be set to vary based on *Pressure, if you are using a graphic tablet. If you don't know that, you would be wondering why the brush is not behaving as expected, and show small or large from time to time.
Since we want to change color of something, we will have to make sure that Mode is set to Color.
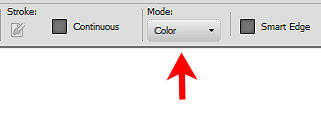
This will ensure that the color you are selecting is the color that will be used and shown on the object in question.
Paint on your surface
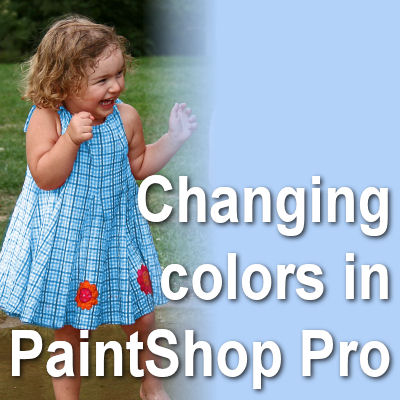
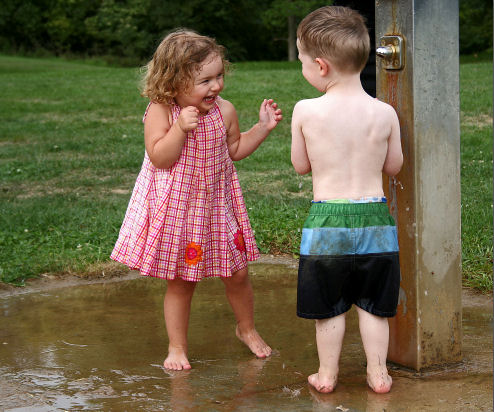
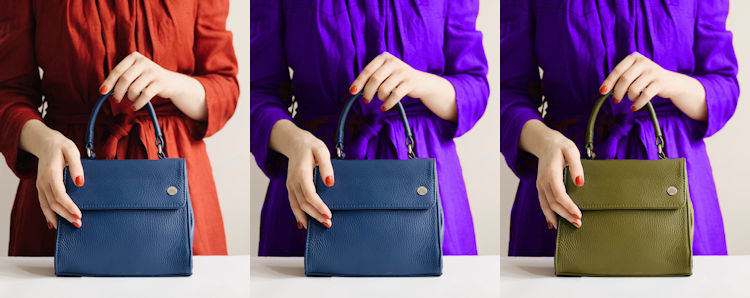
Now that you have set the various settings for the tool, you will choose the target color you want. On this photo, I will change the color of the dress, from red to blue (I picked the same blue as in the boy's shorts).
In the Materials palette, I will select a blue for the foreground. This will allow me to use the left-click on the mouse to brush over the surface. The Change to Target tool will paint over all the pixels but will replace them based on the brightness of the source. This means that the white pixels will likely stay white, and the black will stay black but everything in-between will be treated as if it were greyscaled.
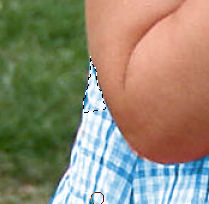
 As you can see, the darker pixels became darker blues, and the lighter ones are still matching the lightness. Notice, however, that whether the pixels were red or orange, the Change to Target brush will cover them all. This is why this technique might not work too well on a very busy multicolored pattern. That is, unless you want the tedious task of painting tiny sections at the time or unless you want to turn it into a monochrome pattern.
Unlike other tools, you have no way to "unerase" if you go over the edge. This means that you have to be very careful and reduce the size of the brush tip when you get into tricky sections. Another way to avoid going over the edge is to make a selection where it is risky. Then, you just brush over the selection.
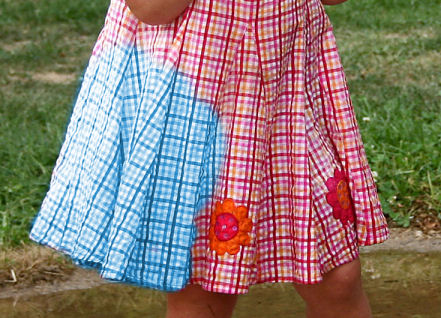
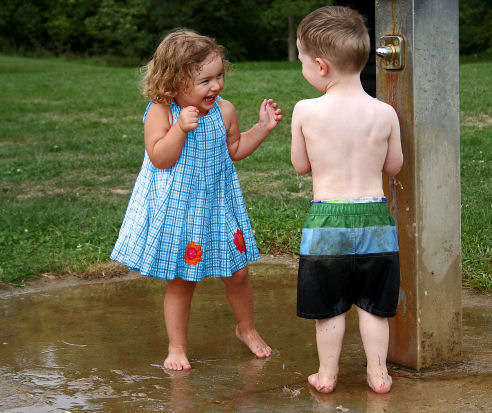
And now, we have our dress in a different color.
In this example, I purposefully left the flowers in their original colors, just to keep some interest. Brushing over them would have made everything too monochrome, in my opinion, but that is just a personal preference.
One situation where this technique might not work too well would also be images where the color you want to cover is blended into something else that you cannot get around to, like hair. If that is what you have on your image, you might want to reduce the opacity of the brush tip in that area. The color won't be as bright, but you might find the correct balance between fainter color and not coloring on the hair.
Using this tool, you can now expand your wardrobe and accessories!
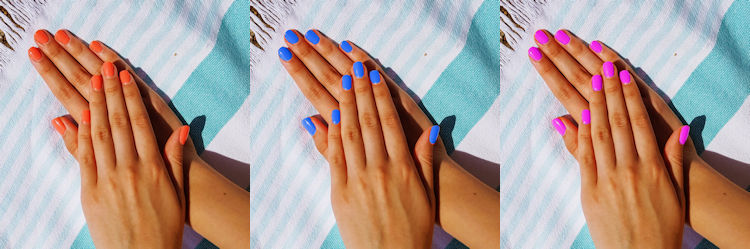
Or how about changing nail color without much work?
What else will you change?


2 thoughts on “Changing colors in PaintShop Pro”
That’s good to know but I wonder if you could explain what the benefit of using one color changing tool over another. For instance, is the change to target tool better than the color changer tool in some circumstances? I like the color changer because it is automatic instead of doing it manually with a brush but is there an advantage to this tool that I’m missing?
I might have to do another post about that other tool. The Color replacer tool will replace a specific color by another one, so if you want to change all the yellows to green, that is the tool you will want to use, while the Change to Target will change ALL the colors to the target color you choose, keeping the luminance. Depending on the design and the color you are working on, you might get a great result, but if you have a lot of shading, the result might be less than ideal. But it is surely one tool one can still try.