
The Flood Fill tool is one of those tools that you will be using on so many projects that it will become second nature. Although it is a simple tool, and usually intuitive to use, it does have various settings that can make it even more powerful or turn into a headache for you. Let's have a look.
The Flood Fill tool
Although in older versions of PaintShop Pro, the Flood Fill tool was a single tool, in recent versions, it has now more options that you can find in the Tools toolbar.

We are not going to look at the Color Changer or the Gradient Fill as those could be for other articles.
The Tools options palette
As soon as you activate the Flood Fill tool, you want access to various settings to use more of the powers available. If the Tools options palette is not showing, hit F4 on your keyboard. This will open the tool settings, or you can go the long way with View > Palettes > Tool Options.
![]()
Let's have a look at the various options that you can use, or check if something is not going the way you want.
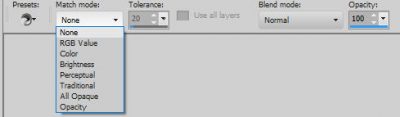
The Match mode
The first setting that you will want to adjust is the Match mode. This setting will make your tool behave very differently depending on how you set it.
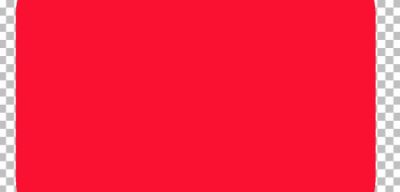
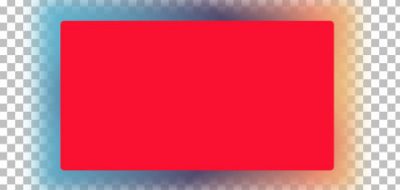
When None is selected, it SHOULD fill every pixel of your image, no matter the color or the opacity. The reason I specify that it should behave like that is that it does not (anymore) but there is a way around this: if you select all (Ctrl-A), then, it will fill all the pixels inside that selection, which is your whole image.
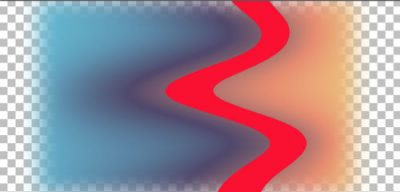
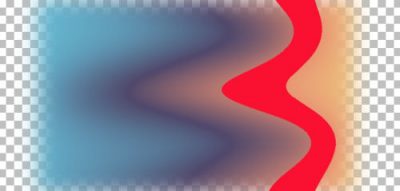
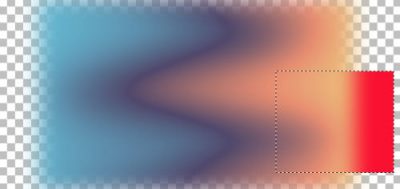
When you set the Match mode to RBG Value, it will fill the area based on the Red-Blue-Green value of the pixel where you will click. This means that if you click a few pixels to one side, the result might be different. In the image below, notice that inside the selection, only a section was filled with red.
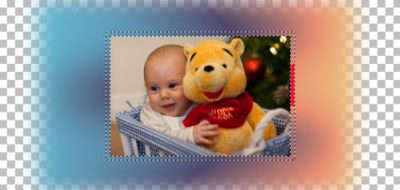
The Color option will select all the adjacent pixels that are of the same color, even though there might be shading variations.

The Brightness setting will obviously find all the adjacent pixels of the same brightness value.
The Perceptual option will match the adjacent pixels that "look" similar in shading and brightness.
The Traditional setting will combine the RBG, and the shading and brightness, so it will be more precise than just the RGB setting.
If you choose All opaque, the tool will fill every adjacent pixel that is not completely transparent.
On the other hand, if you choose Opacity, it will fill every adjacent pixel of similar opacity level.
Of course, each of those settings (except for the None), will also be modified by the Tolerance level, which is right beside the Match mode. A Tolerance value of 0 will only fill pixels of the same opacity level.
On the other hand, a Tolerance value of 100, will result in filling more pixels as the calculation will be more "lenient".

Use all layers
This little checkbox will become available only when you have more than one layer on your project. This can be very useful (or very annoying) so it is important to know what it is for. With that in mind, you can troubleshoot if something is seemingly going wrong.
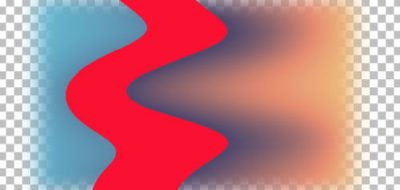
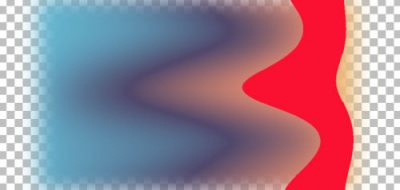
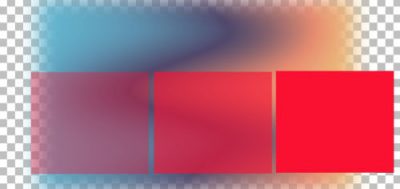
All the Match modes listed above can be applied only to the active layer, or all the layers. This means that if you have a particular selection and have the Use all layers checked, the filling will not be even as it will choose the pixels based on the Match mode that is "seen", even if it is on a different layer. For example, using the RBG Match mode, this selection will be only partially filled, even if it is on its own layer.
If you ever experience this issue, it is likely because the Use all layers is checked OR because the Match mode is other than None. Those two settings will yield that unexpected result.
The Blend mode
This setting will let you modify the filled area in the same way two layers would interact together when you change the Blend mode. It will allow you to get the same result as adding a separate layer and changing the Blend mode, however, it also makes it a one-time application and you cannot tweak it further, so just be careful.
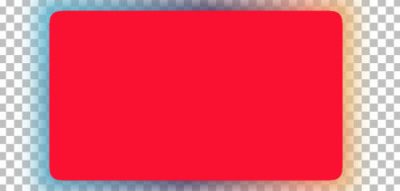
Among the options for Blend modes, the last one is called Paint behind. Again, it is a way to apply the filling behind the existing pixels. You will typically see the effect when you have semi-transparent pixels.
Opacity
Just like for the Blend modes, this setting will fill the area you want with an opacity that is other than 100%. It will yield the same result as if you had an opaque layer and you changed its opacity in the Layers palette.
Now that you have an overview of the various settings of the Flood Fill tool, go and experiment with them. You might find some new uses for all those settings in your next projects.


3 thoughts on “The Flood Fill Tool in PaintShop Pro”
This was very nice, thank you! I never messed with the Fill options, and I’m very pleasantly surprised by what it can do.
SOUND INTERESTING
Very interesting!! I’ve never worked with the different settings and just wanted it to fill my selection. I’m going to have to play with this. Thank you, Carole.