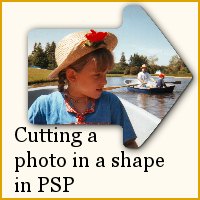
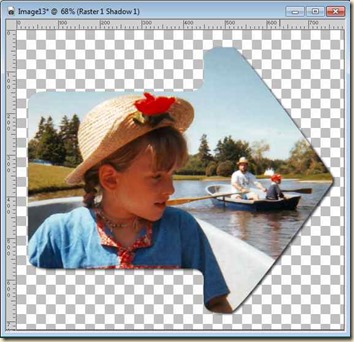
If you want to have your photo displayed differently than the traditional square or rectangular shape, you can use any of the preset shapes from your Paintshop Pro, or any shape you might have added to your collection. Here is a simple tutorial on how to achieve that result.
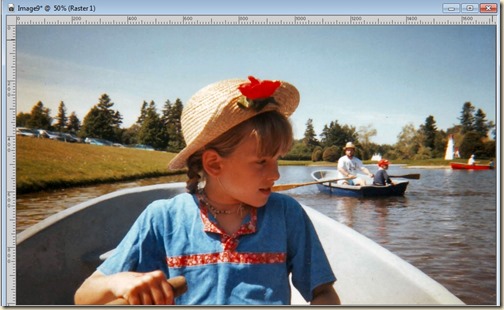
1- Open your image on your workspace.
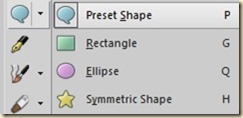
2- Activate the Vector tool of your choice. You can choose a Symmetric shape, an Ellipse shape, a Rectangular shape or a Preset shape. I will be using the Preset shape as it gives me more interesting options of shapes.
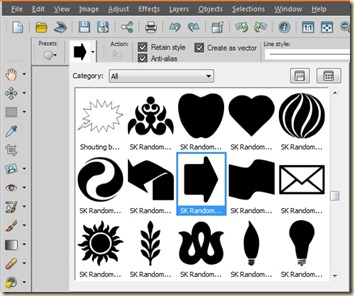
3- In the toolbar, pull down the list of shapes and choose the one you want to use.
4- Keep the checkboxes checked for Retail style and Create as vector.
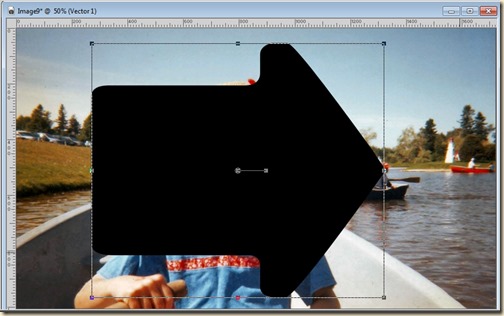
5- Draw the shape on your photo.
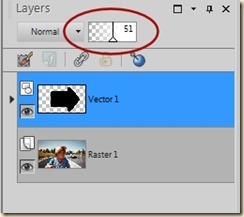
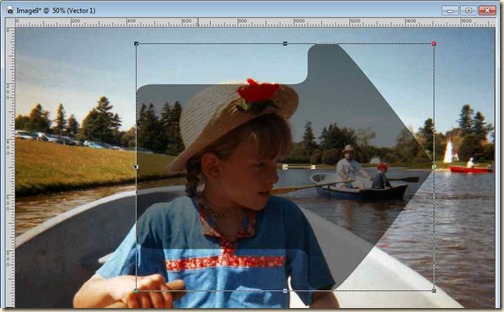
6- Reduce the opacity of this vector layer so you can see better what parts of the photo will be inside that shape.
7- Adjust the placement of the shape as you want. You can also resize it, or rotate it. Since it is a vector shape, the edges will stay well-defined.
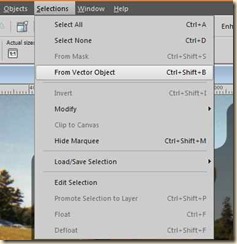
8- Go to Selections > From Vector Object and it will turn your shape into a selection. If the Vector tool is still active, you will not see the “marching ants” that indicate a selection, but it is still there (activate another tool if you want to see them).
9- Activate the layer with the photo. Copy (Edit > Copy or Ctrl-C) and paste as a new image (Edit > Paste as New Image or Ctrl-Shift-V)
Now you have your photo, cut in a unique shape while your original photo was untouched. You can now use your cut photo in any graphic project you want.
For a video demonstration of this technique, check it out in the Tips & Tricks section.
Go ahead and cut your photos in unique shapes and show us the result. How will you be using those photos?





4 thoughts on “Cut a photo based on a preset shape”
I thought this would give me an outline of a person to overlay a photo… no?
Answered my own question. The Father’s Day Silhouettes are in the preset shape folder. That works!
X7 now allows you to do this in one easy step – once you have the vector object positioned correctly, click on the “Action” button and a new image will be created. A new layer in the original file is created as well.
You are absolutely correct. One new function of X7 allows this.