If you followed the previous tutorial suggesting that you group the elements in a single-layered file before starting to actually create your scrapbook, you are wondering what is the next step. As mentioned initially, the goal of these "10 minutes" tasks is to allow you to work while you have no time to complete a whole project or to batch the process for several projects at once. Today, we'll work on the photos only.
Hide the extras
Since this "10 minutes" will address the photos, for now, hide all the elements and text in the Layers palette. Leaving them there will be more of a distraction so this way, it will save time as you won't have to move things around all the time to see better. If you want, you can work directly on your project, or you can copy and paste your photos as new images, which might be necessary if the photos are larger than your canvas!
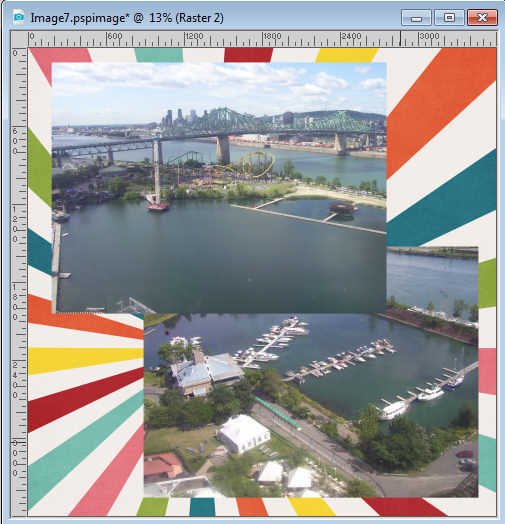
Adjust the photos
In the first step, we only placed the photos, untouched, on the project. Now, it is time to fix them if they need to.
Do they need a little boost for their colors? You can adjust the Levels with Adjust > Brightness and Contrast > Levels.
Are they faded? Use the Fade correction command with Adjust > Color > Fade Correction.
Do you have odd colors on your photos? Turn them to greyscale with Adjust > Hue and Saturation > Hue and Saturation and lower the Saturation to zero. If you are working on the project itself (with all the layers) DO NOT use the Image > Greyscale command as that will apply to ALL the layers, including your papers and elements. If you are working on the photo itself, separate from the project, then you can use it.
Are there any intruders in your photos (objects or persons)? Do you need to remove someone or something from the photo? Use the Magic fill or the Clone tool, depending on what it is.
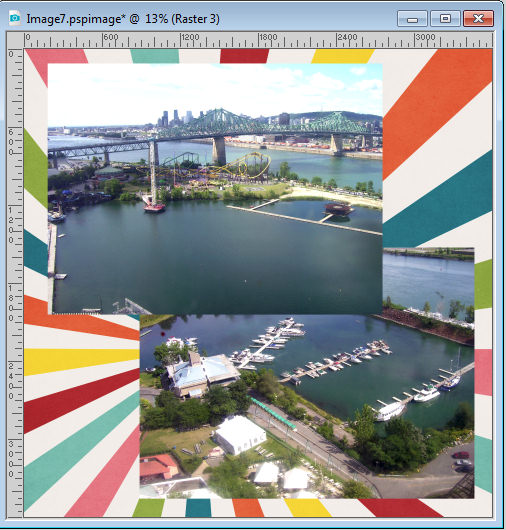
Crop the photos
Maybe your photos are off-centered, or there is just too much unnecessary sky or wood in it, which distracts from the actual focus. It is time to cut things off. If you are working on your photos separately from the project, you can use the Crop tool. When the photo is still on the project, you are better to use the Selection tool to select that extra area and simply cut it off with the Delete key.
Resize the photos
Maybe your photos are way too large to fit on a standard 3600x3600 pixels canvas? It is time to resize them. Even if they are smaller than that, maybe you have several photos and due to their number, their size needs to be adjusted so you can see them all. This is the time to resize them to approximately what you want. Don't be too picky yet; you can always tweak further later.
Also, if you are not too sure about the final size you want your photos, err on the bigger size because, as you know, if you size up, you will lose some quality on your photo. It might not be a big deal but that loss of quality adds up every time you enlarge a photo or rotate it, which is also why you DO NOT rotate your photos yet (if you want them rotated at one point).
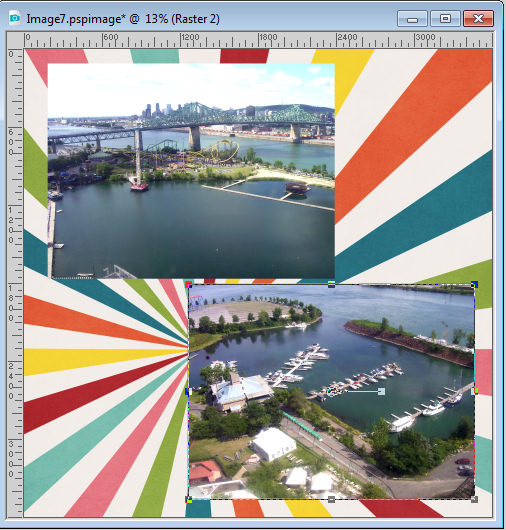
Arrange the photos
Now is the time to play around with the placement of your photos. Do you want them on one side? Do you want them at the bottom? Do you want them to overlap each other? Since you don't have all those distracting elements visible, it will give you an idea of how the photos will be displayed. Consider how much (or how little) text you plan on adding to the layout. Consider the title location. Just keep those points in mind.
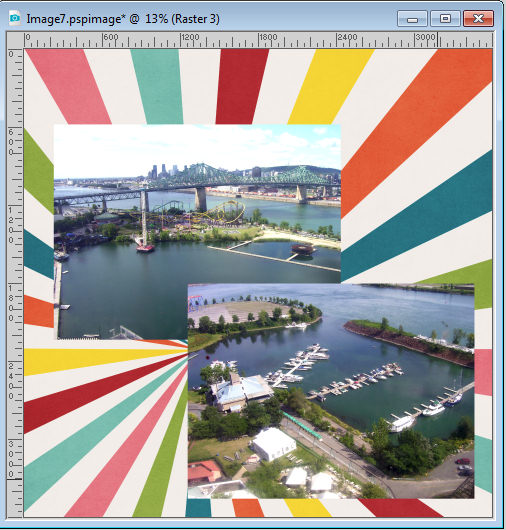
Although it is still not much, this layout is starting to take shape. Of course, it is still far from complete, and I can still change my mind (don't we all?) but it is at least bringing me closer to a full project, little by little.
Remember to save again as a .pspimage format, so you will keep all your layers. This will allow you to come back to your work when you have another 10 minutes to spare.
The next step will be dealing with the papers.



4 thoughts on “10 minutes to scrap – Photo fixes”
Thanks for the tip, really enjoy your tips and tutorials.
Now I understand your thinking behind the 10 minutes to scrap. I nearly always edit the photos I’m going to use I projects, after I have downloaded them off the camera, and before moving them into their appropriate folders. otherwise I will hundreds and hundreds to sort through at a later date.
I guess, in that case, you would likely skip this step! 🙂 (saving another 10 minutes)
I do the opposite of what you do, which is to resize when using the photo. Love this blog always learning something new. Keep the fantastic work.