
In the fall, we have a lot of back to school theme projects. Notebooks could be part of those projects. Adding a spiral binding to a notebook to showcase a photo or artwork could give a unique effect. Let's see how to achieve a realistic look.
Get the spiral binding
You might be able to find some ready-made spirals but they will likely lack in versatility for your project. In this tutorial, I will be using some Spiral Binding tubes, available in the store. There are two sets available, here and here, depending on the color you need. Once you have placed the picture tube files in the Picture Tubes folder of your PaintShop Pro, you are ready to start.
Create your cover
In our example, we will only use a closed notebook, so we will work only with the cover. You can use any image you want, whether it is a full photo or a collage, just create a single layer for the cover. Of course, if you created a collage, keep a version in .pspimage format for future reference!
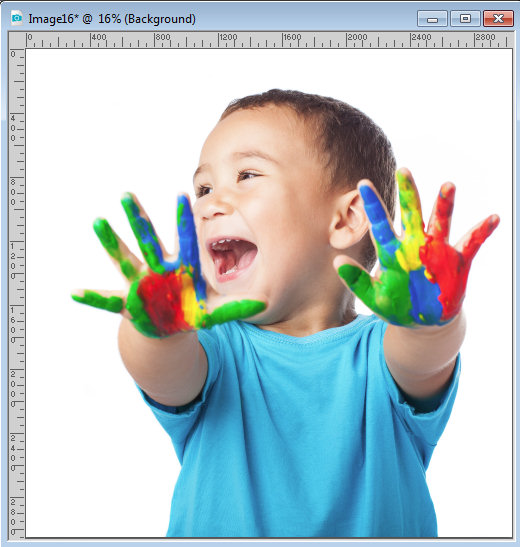
Add some space around your image either by sizing it down or increasing the canvas size. Make sure that your image is not a background layer. If it is, promote it to a raster layer so you will be able to add that extra space around the image.
Add the spirals
Add a new raster layer and find the spiral tube you want. I picked the one that included a shadow to save time. Click above the image, hold the Shift key and click below the image. Make sure you are placing the tubes on a vertical line using the ruler to guide you. At this point, it does not even have to be along the edge.
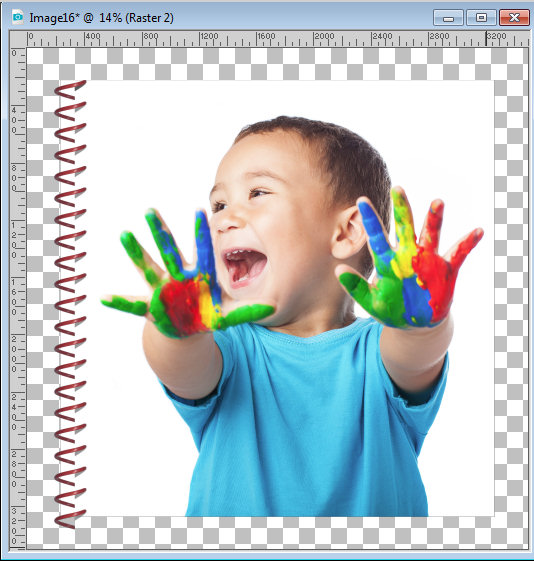
Move the spiral to make sure that the first ring is above the page. Notice that the shadow is darker. That is because it is created twice when you make that strip. At the same time, move the spiral so that the edge of the shadow matches the edge of the image.

It is now time to delete the spiral that is above the image and if you have some below too.
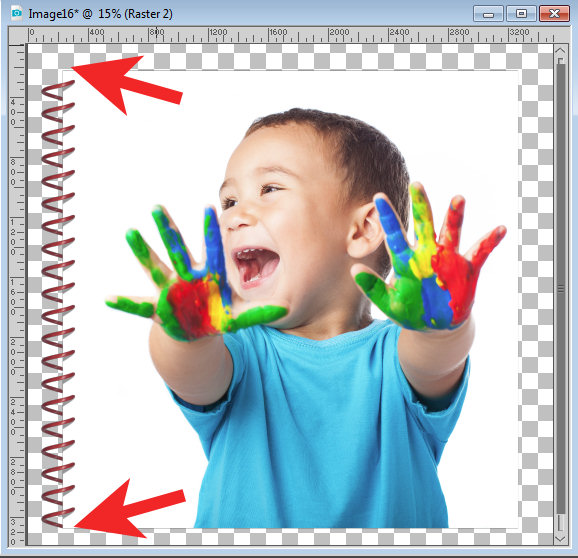
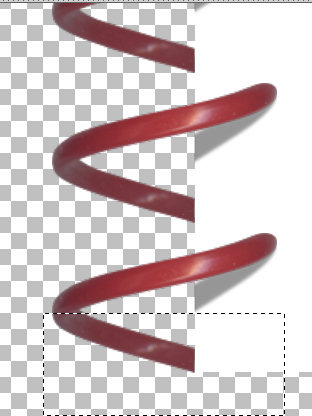
To add a little realism, the bottom spiral can't be ending too close to the edge of the paper so we will curve it back up slightly. With the selection tool set to a Rectangle, select the bottom half of the last spiral. In the Layers palette, right-click on that layer and click on "Promote Selection to a layer", then back to the layer for the whole spiral, and delete that selection (so you don't have it twice).
Activating the Pick tool, hold the Shift key so that section will come upward as if the spiral was warped a little.
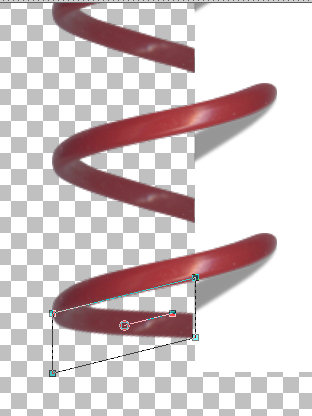
Once that is done, you can merge the two sections of the spiral together.
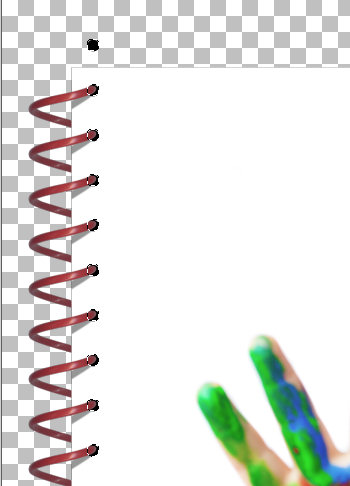
Now, it is the time to add the holes. Add a new Raster layer and find the "hole" tube of the same spiral number (here, I used the number 03). Make sure you are using the same scale setting as the spiral and place the hole tubes along a straight vertical line, just like you did for the spiral. It is ok if it is not aligning with the spiral. We will take care of it later.

Now, move the layer BELOW the spiral layer and align the holes to the tip of each spiral.

Once it is in place, using the Magic Wand, select outside of those holes, and invert the selection with Ctrl-Shit-i.
Hide the hole layer (or you can even delete that layer if you want). Activate the cover layer, and hit the Delete key. This will create real holes.

Deselect. Now, add a bevel to your cover to give it some dimension. The exact settings will depend on the size of your starting image.

Create the back cover
Now, it is time to add a back cover for the specific notebook. After all, you don't want a spiral to hold a single cover. Duplicate your top cover and move the bottom layer to the right and to the bottom. The amount you move will again, depend on the size of your image.

If your image has an even white edge all around, especially to the right and the bottom, you can skip the following steps. If you have part of the image showing, like in our example, you have to get rid of it. Increase the Brightness to the maximum of 255 which will turn the cover to white. If your cover is a different color, you can also lock the transparency and fill it with the color you want.

Since this step removes the bevel effect, I need to add it again but this time, the back cover will simply look like a plain white cover.

Since the back cover is behind most of the notebook, it will typically be darker, so with the Brightness setting, lower it to a level that will look realistic.
And now you have it, a fund notebook with a spiral binding.

Once you merge all the layers, you can add some rotation to your project or even some perspective if you want to lay it "flat".
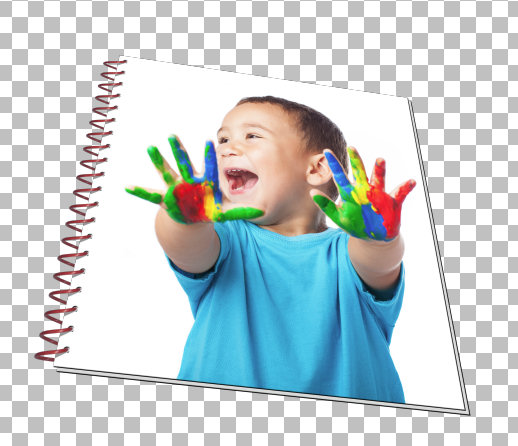
If your plan is to angle your notebook toward the left, you will have to plan ahead and move the back cover toward the left instead of the right, so you would see the cover on that left edge. Otherwise, it won't look very realistic.
Using other spirals in the sets, you can also create an open notebook, so the options are endless to create a notebook for your school-related theme project.


1 thought on “How to use spiral binding”
I like this and will use it for several things. I think first it will be “a page from my journal.” I like it for an art project that my grandkids did….probably several images per page. Also, I have several sketches that I would like to keep a record of, so there will be another use.