
When you take pictures of objects, buildings or surroundings, you might not always be able to place yourself perfectly straight in front of it to take a centered and proportional photo. You might be at a slight angle because of the physical environment. Maybe you were just too much and in a hurry to move somewhere else. Either way, there is a tool in Paintshop Pro that will allow you to fix this issue.
The Perspective Correction Tool
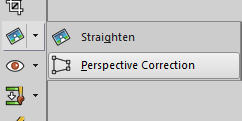
This tool has been available for many versions. It is present in the old JASC PSP8. Although its location has slightly changed, it is easy to find in the Tools. If it is not readily visible in the Tools bar, it might be hidden under the Straighten tool. If you have an older version, it might be under the Raster Deform Tool.
Using the Perspective Correction Tool
Using this tool is fairly straightforward.
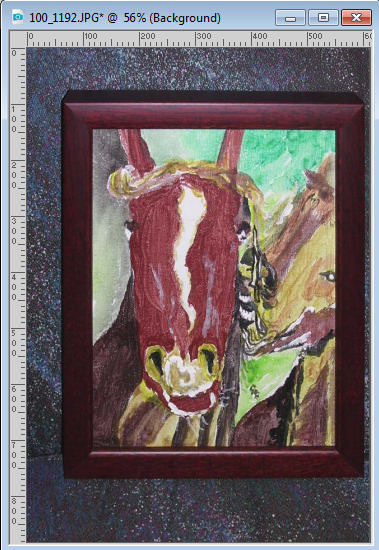
Open your image.
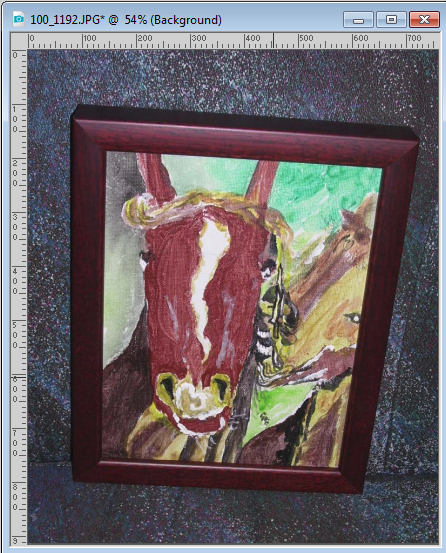
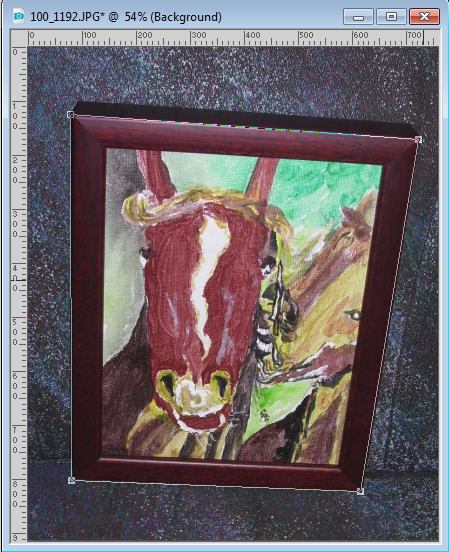
Activate the Perspective Correction Tool. You will see a frame with 4 nodes appear on your image.
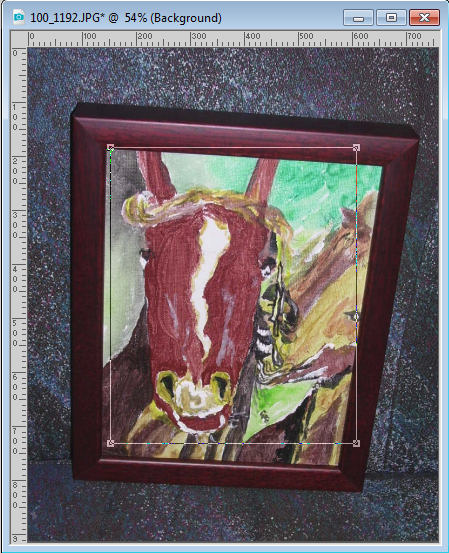
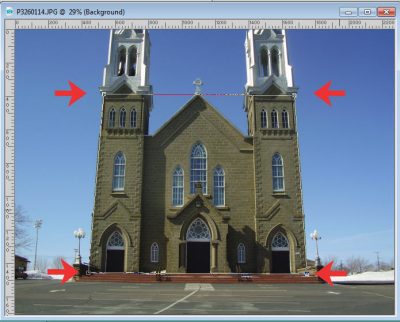
Place the nodes on the actual corners of the element you want to correct.
When you are happy with the placement of the nodes, click on the checkmark to accept those adjustments. The program will then apply those corrections.

And the program will fix the perspective for you.
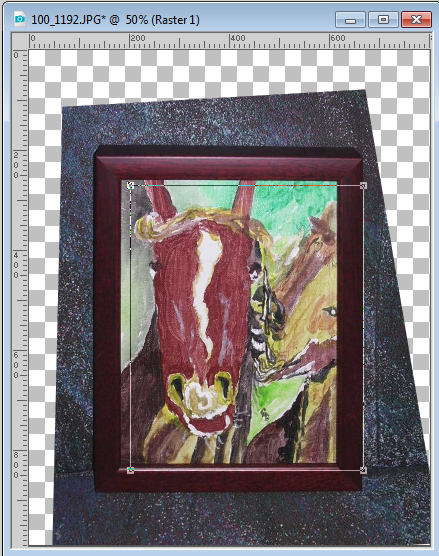
Notice that the overall image has irregular edges and shows some empty areas (if your layer is a Background layer, the empty space would be filled by the background color from your color palette). This will now require you to crop the image to remove those useless sections. However, there is a way to let Paintshop Pro do the trimming for you. This is the Crop image option.
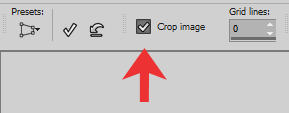
If you check that option before accepting the node location you set, the program will trim as little as needed to have a full photo without odd empty spaces. If your image was on a Background layer, the canvas would be trimmed to have NO empty space, but if your image was on a Raster layer, it will trim it, yet keeping the overall size of your canvas intact (which is perfect if you have other layers you don't want to trim).
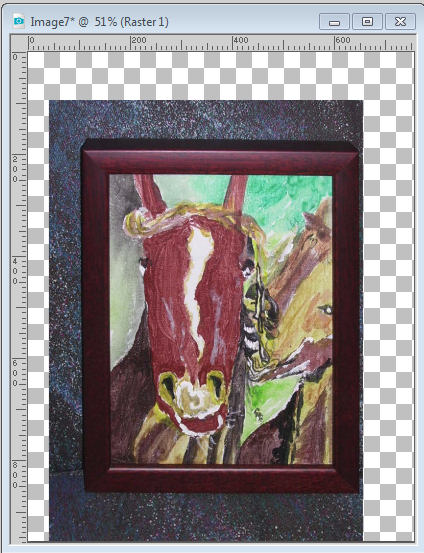
And now you have a straighter element, even if you took the photo at an angle.
Although in this example, the four corners are very well defined, it is possible that your photo would include a building or other object that is too big and you cannot see those corners or don't have the same defined frame to use. If that is the case, you can "guess" based on other elements in the photo, whether they are wall edges, horizontal decorations, etc.
And this photo, once corrected, would look like this:
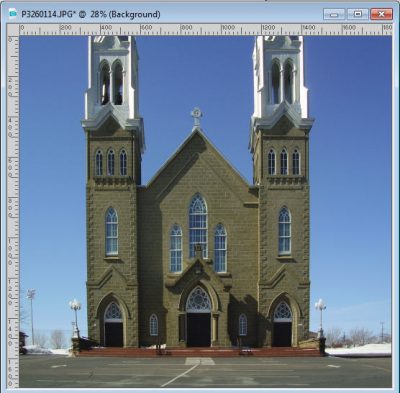
Although you have an easy tool to use in Paintshop pro to correct the perspective of any photo, remember that sometimes, you will want some perspective to give impressions of height or width. Not all perspective needs to be corrected.
What project do you have that will need some correction?


2 thoughts on “The Perspective Correction Tool”
I’ve used the perspective tool for years, but there is something I’ve never had much luck with. Maybe you can help: Many times when I’ve have perspective issues (grabbing shots on the run gives lots of examples) I find that I don’t have four nicely-designed corners to use. Often one side extends out of the frame completely. In the case of your church building that would probably have to be a throw-away, but suppose I didn’t care about the foreground or preserving the doors (I’m only interested in the steeples, for example); how do I figure the bottom line? Sometime, just guessing what would be a straight line works, but often when I try to guess this, the rest of the image is distorted. Is there a quick-n-dirty method of determining the off-camera side of a bad perspective picture when you don’t have all the information?
Unfortunately, you can only guess what the lines should be. Also, remember that you don’t have to place the nodes close to the edges: if you have a particular section that you know has to be straight, use it, and the rest of the image will be adjusted. For example, if you want to adjust the perspective of a steeple, there must be some elements that you know are vertical, and some that you know are horizontal. Place the nodes there, and that particular section should adjust for you.
Give it a try and let me know how it goes.